


Laundry room ideas don’t have to be complicated to look good. Adding beadboard walls is one of my favorite ways to create an accent wall that feels classic. It’s one of those laundry room ideas that looks custom but is totally DIY-friendly. From beadboard half walls to full accent walls, this is a simple upgrade that works especially well in small spaces.
Disclaimer: This page may contain affiliate links. If you click on one of these links and make a purchase, I may receive a small commission at no extra cost to you. I only recommend products and services that I believe will add value to my readers. See our full Affiliate Disclosure at this link.
Beadboard Walls & Why They Work in Small Spaces
When space is limited, every design choice matters. Beadboard works in small spaces because it adds texture instead of bulk. You’re not adding cabinets or shelves—you’re just upgrading the wall itself. A beadboard half wall also gives you a natural place to break up paint colors, add hooks, or style the wall without cluttering it.
Materials & Tools Needed
- Beadboard panels
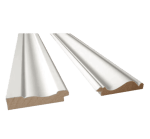
- Trim that the beadboard slides into
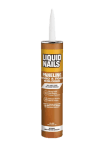
- Paneling and Molding Construction Adhesive
- Nail Gun
- Nails
- Caulk (Home Depot is double the cost of Amazon)
- Paint










Installing Beadboard Panels
Step-by-Step Breakdown
Step 1: Planning the Project
Laundry Room Accent Wall Ideas
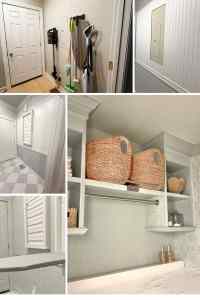
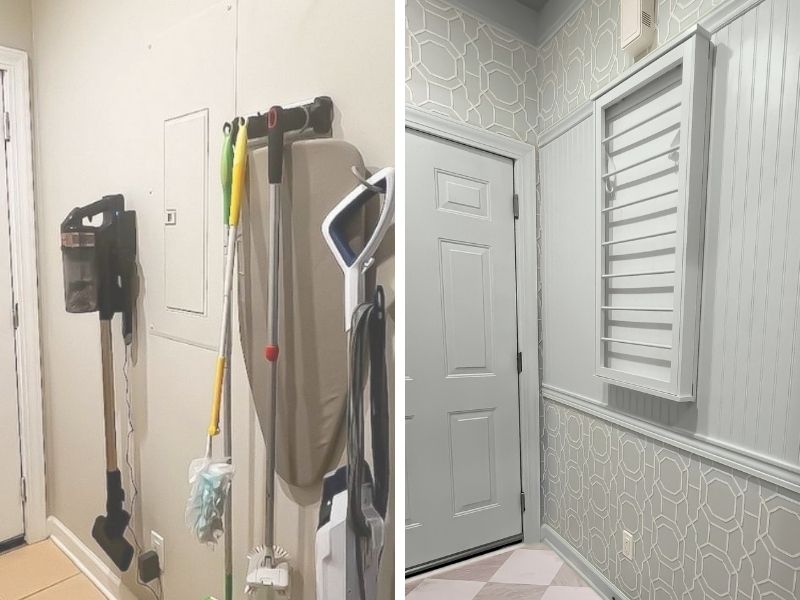
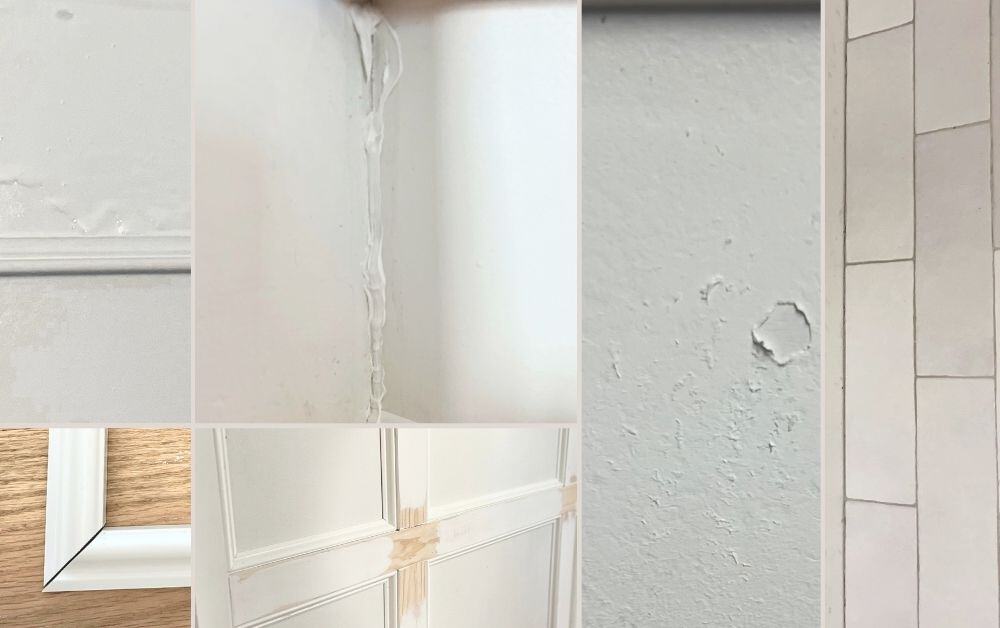
This wall needed a lot of love. We needed to add additional outlets in our garage, so the laundry room wall was sacrificed. After some drywall work was done, it was left looking… rough, to say the least. I knew putting up beadboard would be the perfect solution, I also didn’t want to buy more wallpaper (see: Why I Wouldn’t Use Peel-and-Stick Wallpaper Again). I measured the wall and figured out exactly how much of the wall paneling I’d need.
Step 2: Prepping the Space
For Half Wall Paneling
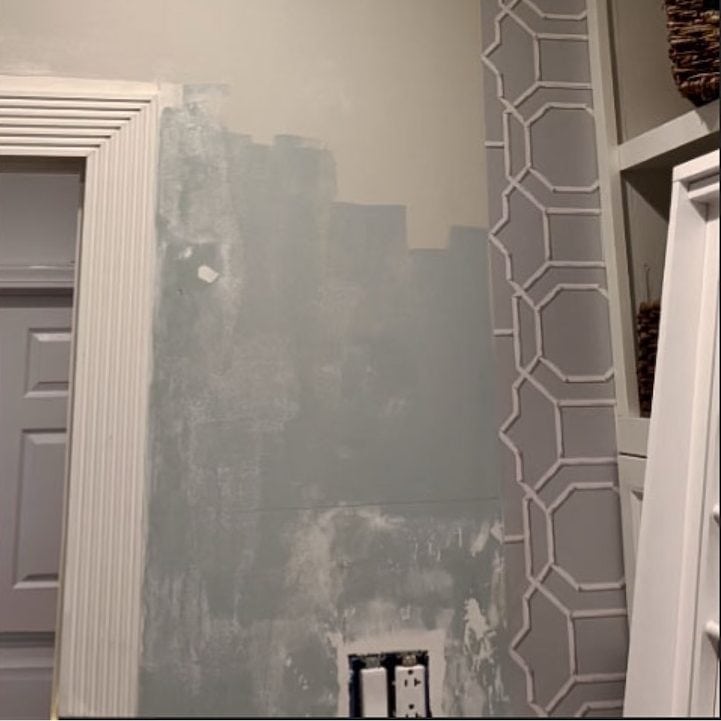
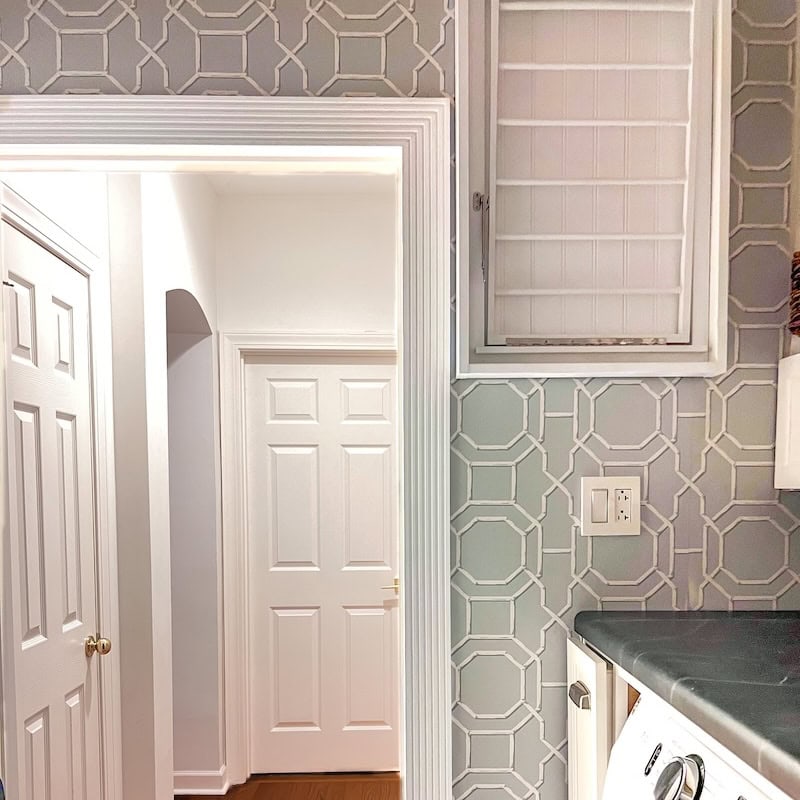
Before I could start, I cleaned up the wall and made sure everything was smooth. Or smooth enough—let’s be real, it wasn’t perfect.
Then came the fun part: cutting the beadboard to size. If you’ve ever used a jig saw before, you know it takes some patience to get it just right. Especially when working with materials like MDF. This panelling I used was made from MDF. Here are a few options if you wanted to stain it, or seal it to show the wood grain:

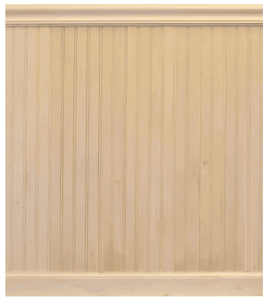
Step 3: Attaching Beadboard Panels
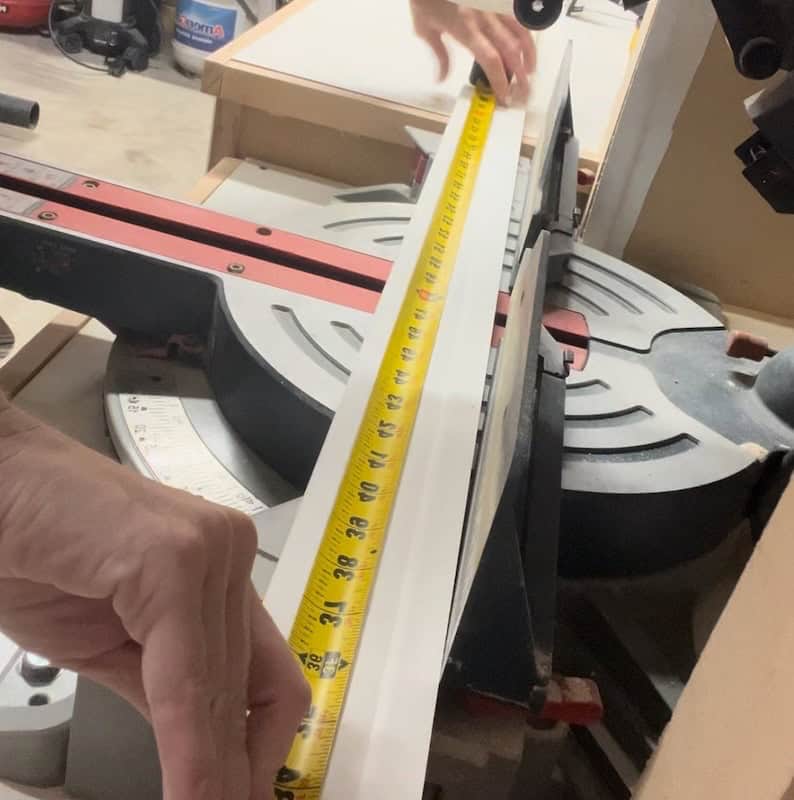
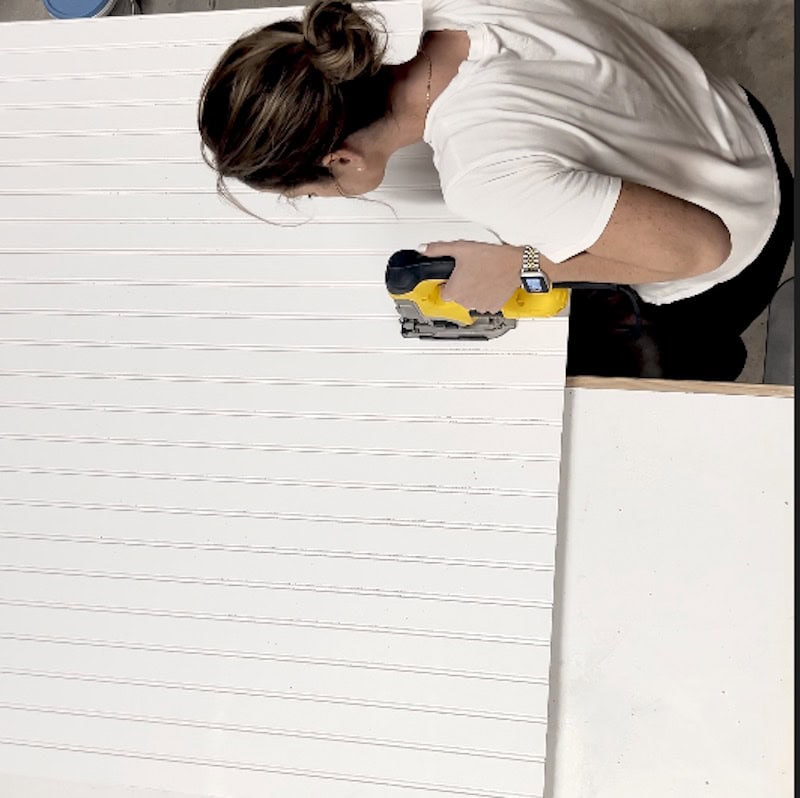
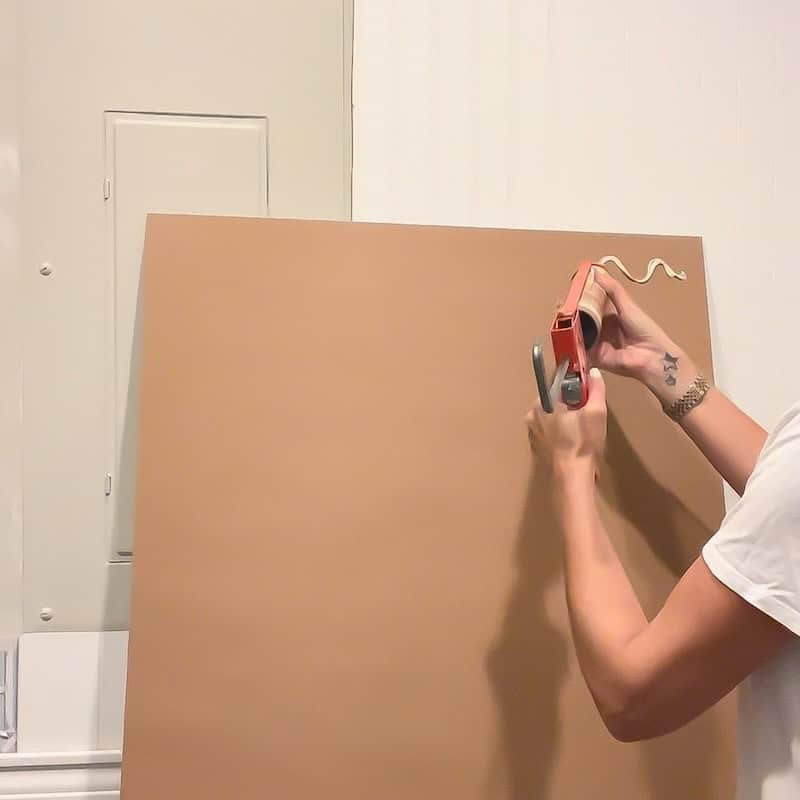
Once everything was cut, I attached the bottom trim to the wall first. The trim has a groove for the beadboard to slide into. This made the whole process so much easier.
Next, I carefully slid the beadboard into place and secured it to the wall. Hanging half wall paneling is actually a very simple project. I used panel adhesive to hold the trim and beadboard panels in place, then secured them firmly with my nail gun for extra support. Seeing the panels go up was one of those “this is actually working!” moments that keeps me hooked on DIY.
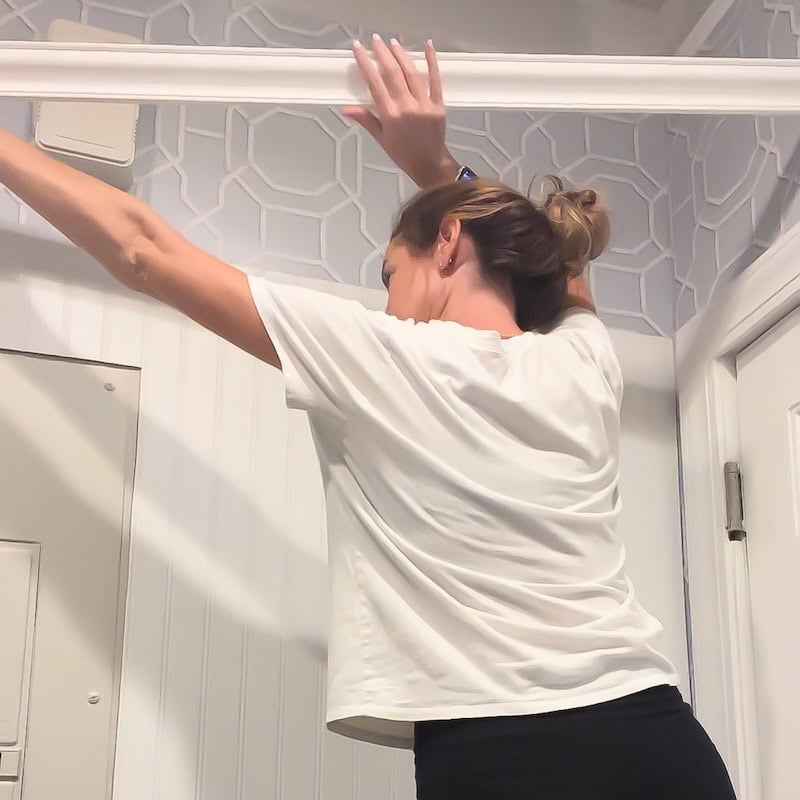

Step 4: Caulking and Painting

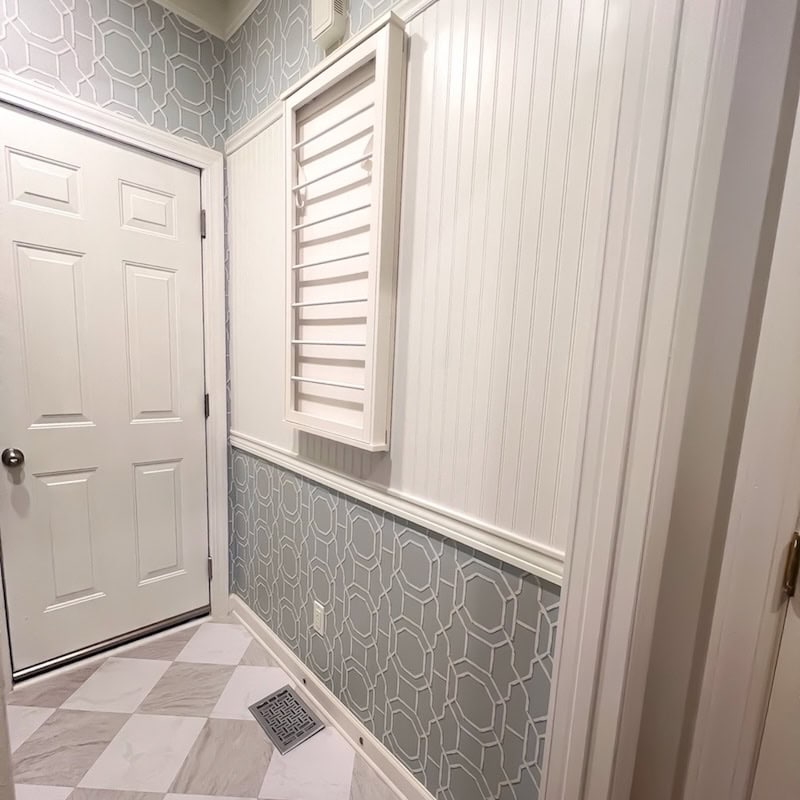
After I was finishing installing the beadboard in place, it was time to fill in all the gaps. I caulked the edges, making sure everything looked seamless, and then painted the whole thing for a fresh, finished look. Check out my Ultimate Paint Guide here.
What’s Next? How to Hide a Breaker Panel With a Drying Rack
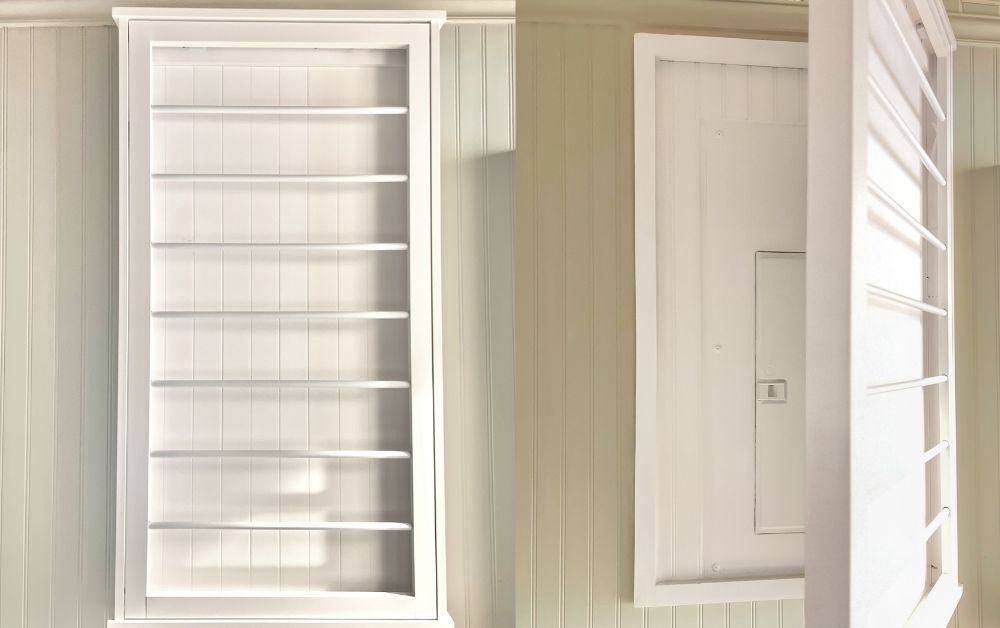
How to Hide Your Electrical Panel or Fuse Box
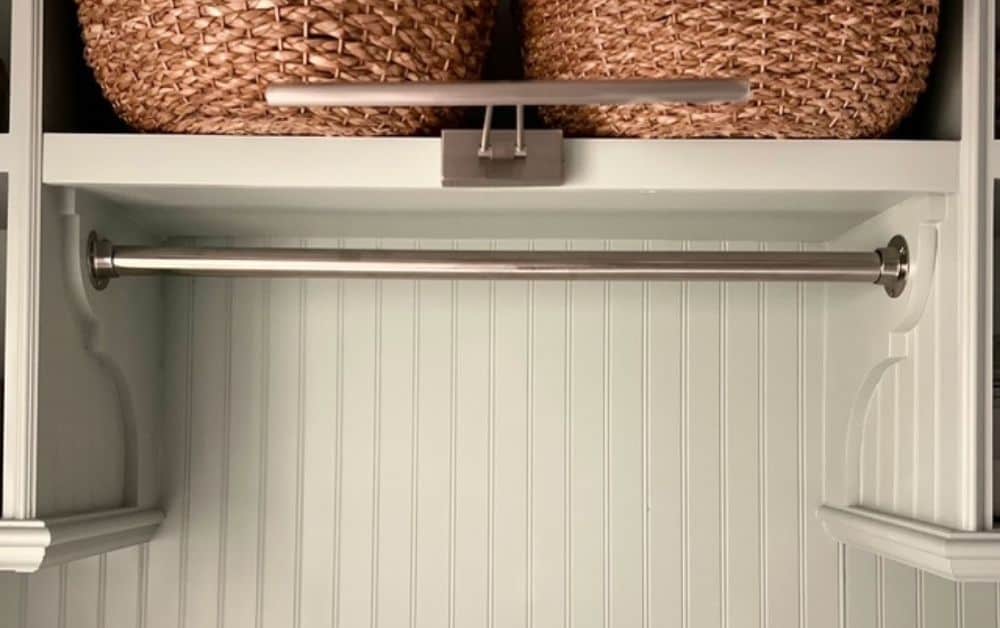
Looking for ways to hide an electrical panel? Check out this guide to creating a wall-mounted drying rack that serves a dual purpose.

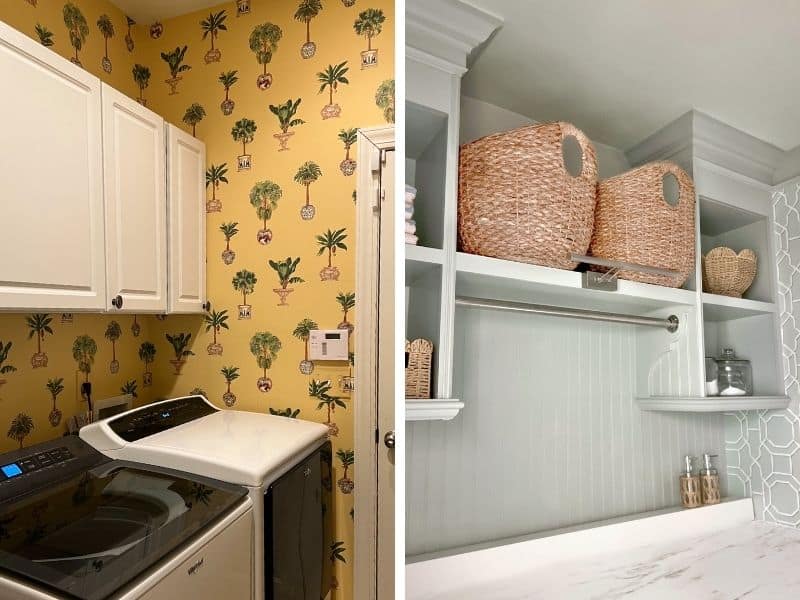
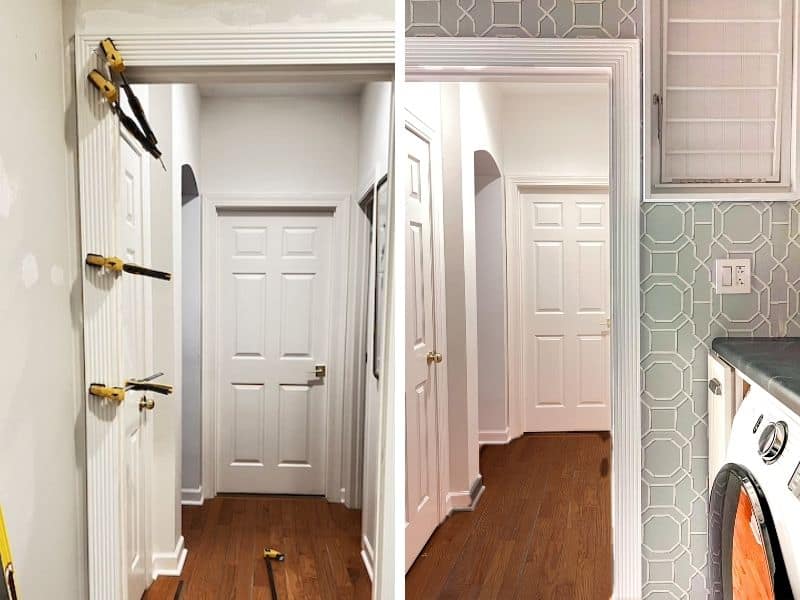
Before & After
LAUNDRY ROOM RENOVATION

Laundry Room Projects
If you’re laundry room is too narrow, or you’re lacking space anywhere I have some creative fixes to maximize space in this hard-working room.


Something went wrong. Please refresh the page and/or try again.
What to Expect:
- Daily project recaps to inspire your creativity
- Step-by-step guides to ensure your success
- Tips and tricks to make your DIY experience enjoyable
Latest Projects
Check Out My Latest Home Makeovers and DIY Transformations
More Ideas
If you’ve got more time for home improvement ideas check out these projects.


Something went wrong. Please refresh the page and/or try again.














Leave a Reply