

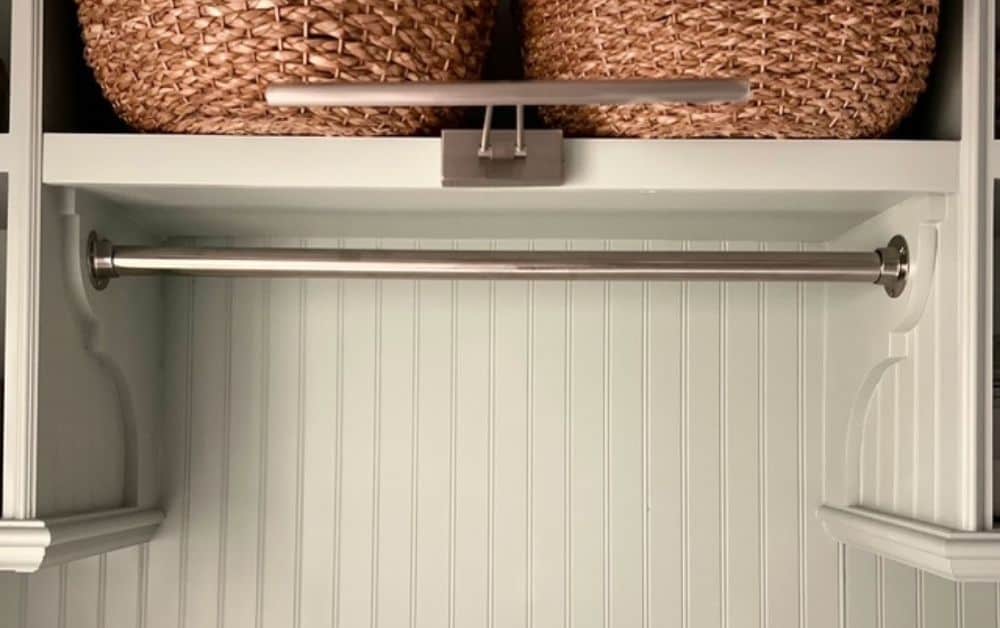
If you have a small laundry room, you’ll understand the struggle of not having a place to hang clothes to air dry or to organize when folding.
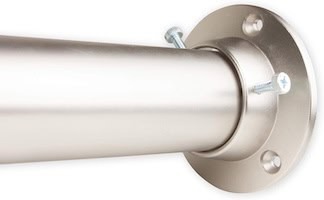
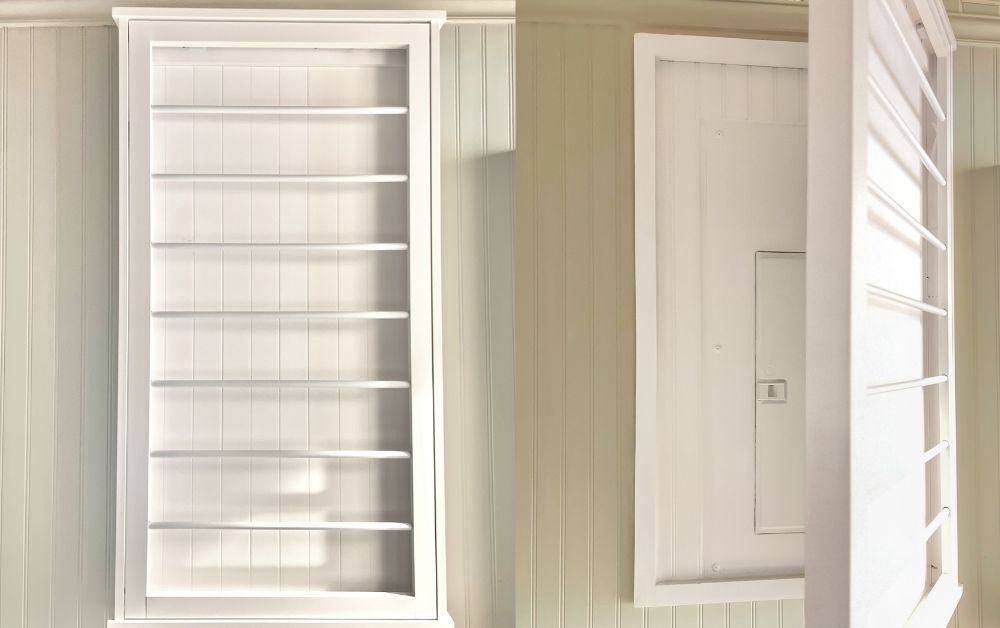
Our narrow small laundry room needs creative hacks to maximize space and functionality. I built a hinged door with a drying rack to hide the electrical panel), sliding narrow cabinets on the sides of the washer and dryer and a fold-down ironing board. But I still didn’t have anywhere to hang clothes while folding. I made the bracket myself but if these dimensions work for you here are some options from Amazon.
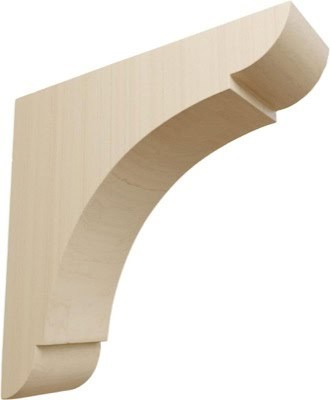
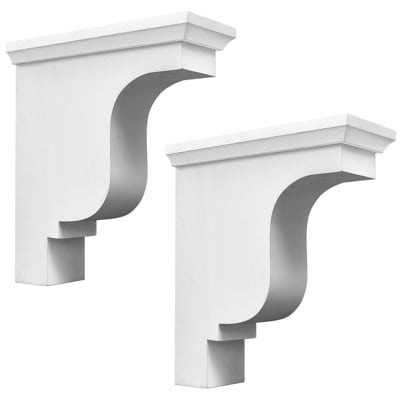


What I Used
Materials:
- 1×12 wood board for brackets
- Metal rod (or dowel)
- Rod brackets
- Nails
- Glue + caulk + paint (I used Behr’s Cabinet Paint in Riverdale)



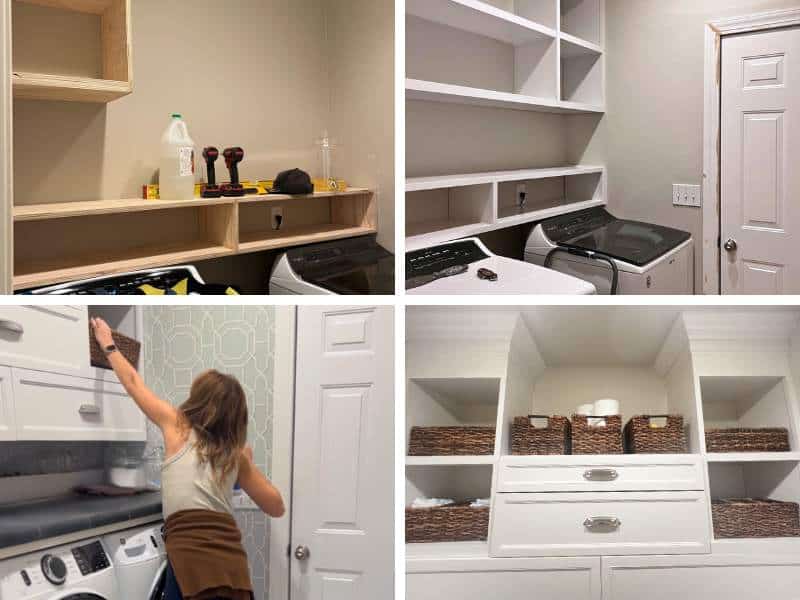
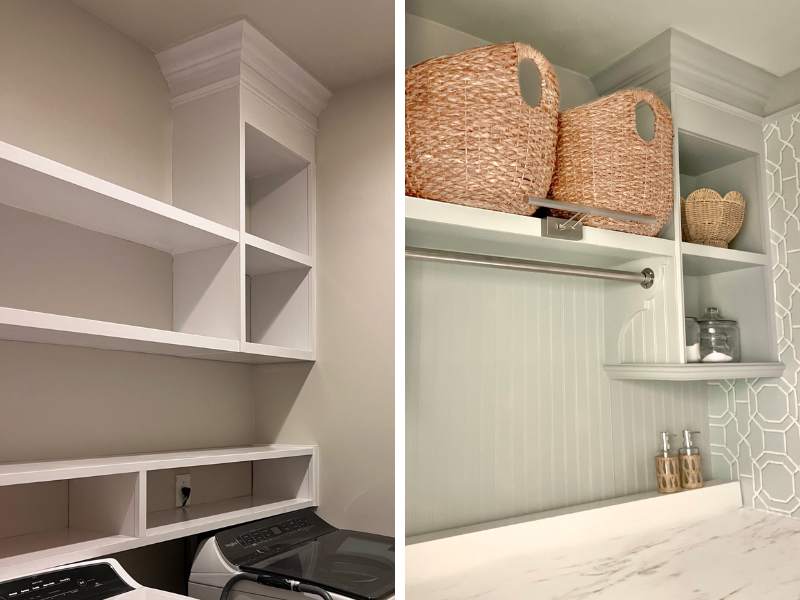
I originally had cubbies here, and while they looked fine, they weren’t actually useful. This setup completely changed that. It adds storage, a place to hang clothes, and looks like a custom built-in without being complicated to build.

Table of contents
Disclaimer: This page may contain affiliate links. If you click on one of these links and make a purchase, I may receive a small commission at no extra cost to you. I only recommend products and services that I believe will add value to my readers. See our full Affiliate Disclosure at this link.
Why the Cubbies Didn’t Work
The cubbies took up space, but didn’t really solve anything.
They were too small (only 12”high), didn’t give me a place to hang clothes, and honestly just became a catch-all. I needed something more functional, especially in a room that gets used daily.
The Idea: A Shelf + Hanging Rod Combo
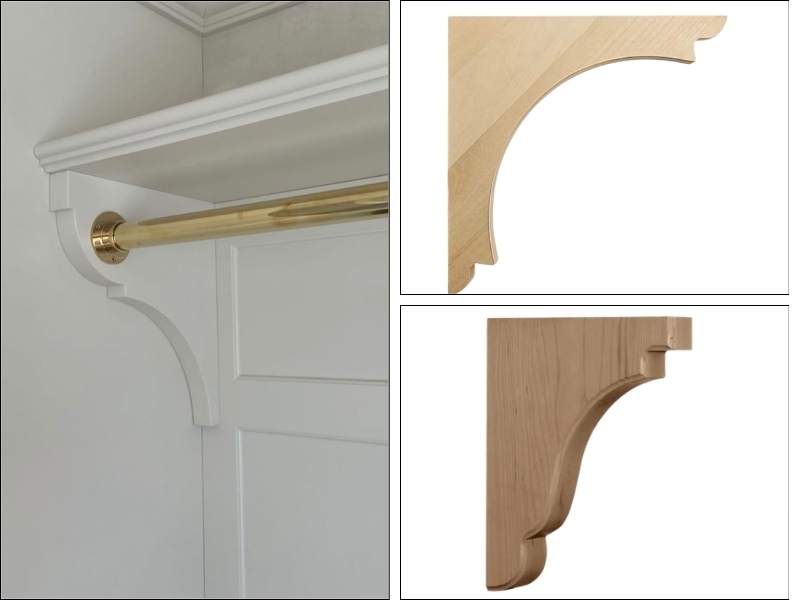
Instead of closed storage, I swapped it for a simple shelf with decorative brackets and added a hanging rod underneath. It gave me a large shelf on top to store laundry baskets, a hanging rod to organize clean laundry and more

Designing the Brackets
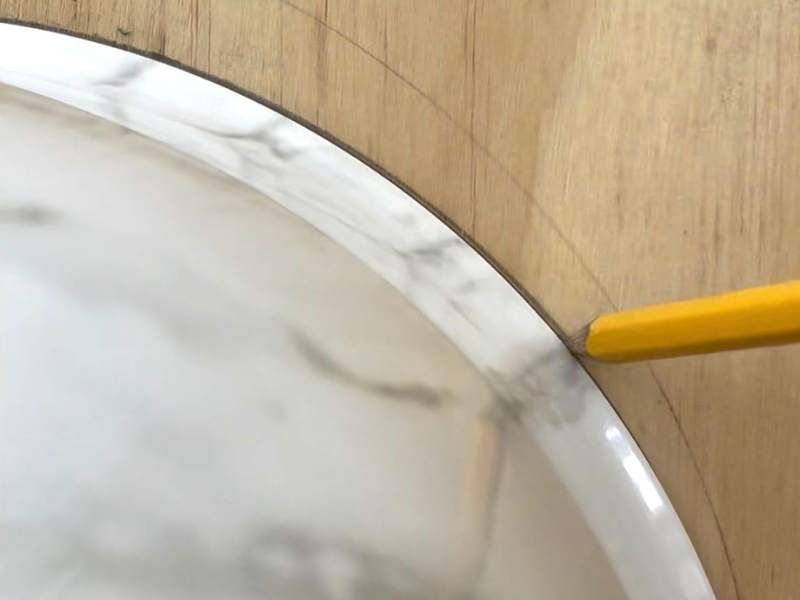
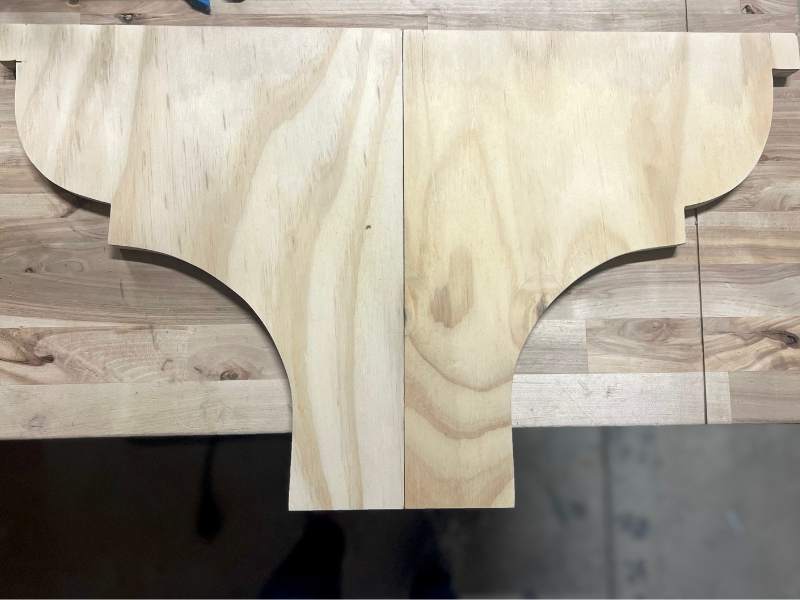
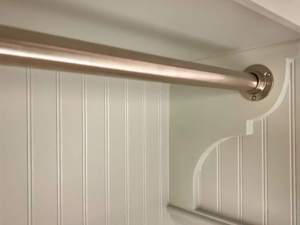
I kept the shape simple but added a slight curve to make it feel more custom. I used a large bowl and a small bowl the create the curved design. The easiest way to do this is to sketch one bracket, cut it out of carboard, and use it as a template for the rest. I cut the first bracket out of wood, sanded it and put it up and it was too short.
Cutting the Decorative Shape
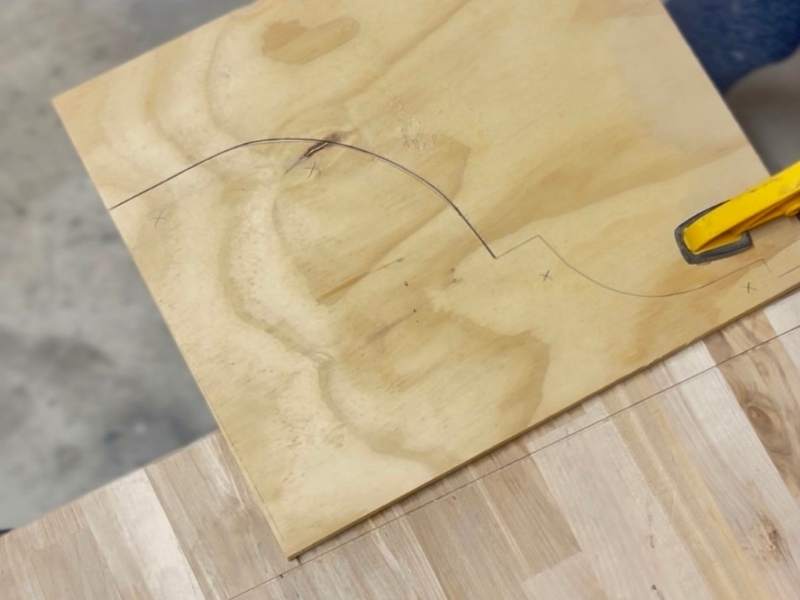

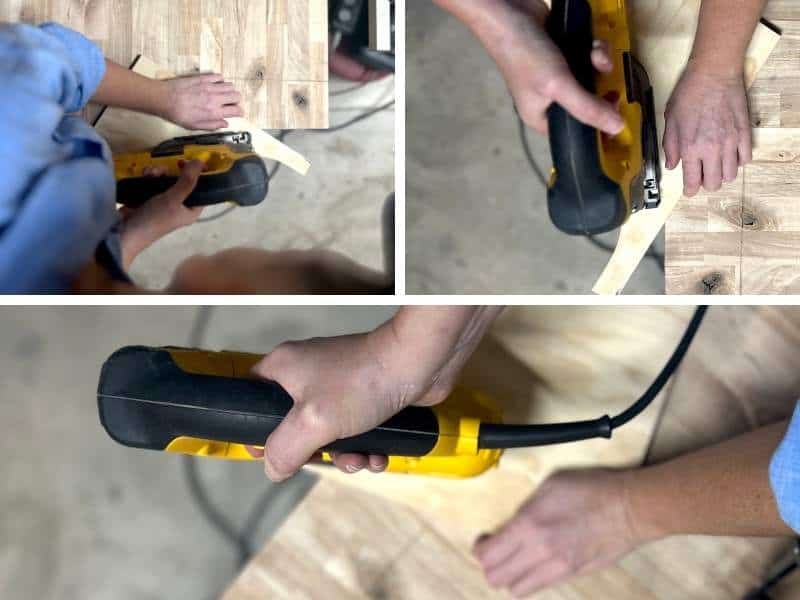
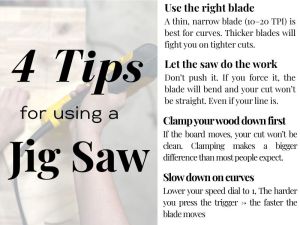
I used a jig saw to cut the curves. I tried to cut perfectly along the line, but ending up sanding it to clean it up. So don’t stress about getting it perfect right away.
Check out my tool guides

Sanding and Prepping
Once everything was cut, I sanded all the edges smooth and rounded the edge ever so slightly. This is what makes it look finished, not the cut itself.
Installing Shelf Brackets
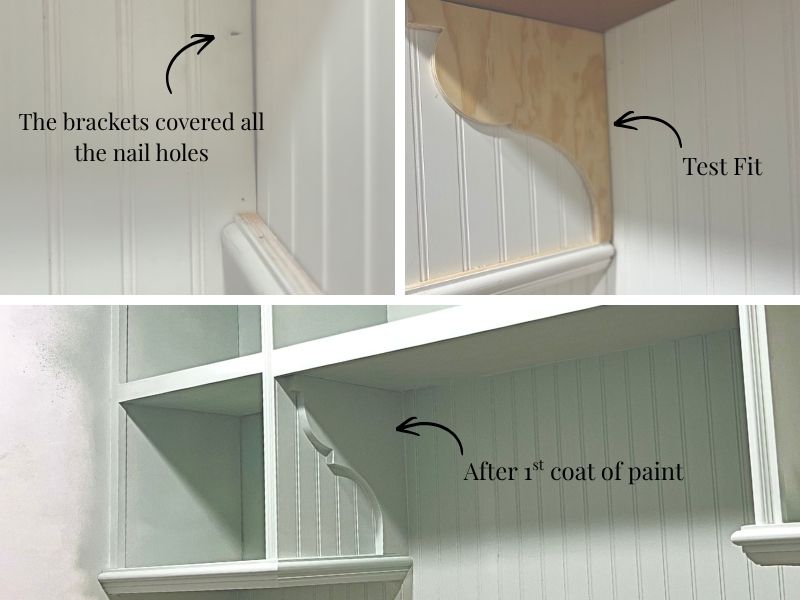
I installed the brackets first, making sure everything was level. The shelf was already there (it was the top of the cubbies), so this was more of an aesthetic update to cover the gaps left after removing them. I had already added beadboard before installing the brackets (you can see how I did that here)

I attached the brackets with wood glue and a nail gun, then went back and secured them with screws when I was attaching the rod brackets. After that, I filled the holes with wood filler, caulked the edges, and painted everything. Just make sure to prime over any caulked areas first.
Adding the Rod
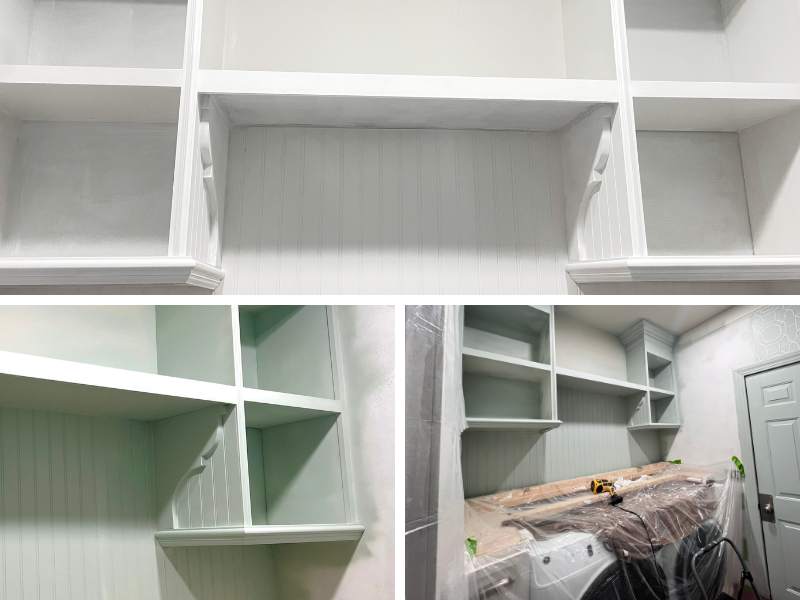
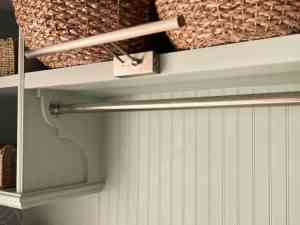
The rod goes underneath the shelf using simple brackets. I used a hanger to decide exactly where to place the brackets. Which was about inches in from the wall and inches down from shelf.
Drying Rod Specs (What I Used)
- Rod: 72-inch satin nickel metal rod cut down
- Diameter: 1-5/16 inches
- Bracket Spacing: No more than 32 inches apart
- Why I chose this: It can handle the weight of wet clothes without bending or sagging over time
The Finished Result
This ended up being one of the most functional upgrades in the whole room.
It looks lighter than the cubbies, gives me a place to hang clothes, and still adds storage without feeling bulky.
What Actually Works in a Small Laundry Room
This works so much better than the cubbies ever did. I can actually hang clothes to dry, everything is easier to access, and the whole space feels more open instead of heavy. It’s one of those upgrades that looks good, but more importantly, it works for everyday use.
If you’re working with a small or narrow laundry room, especially over a washer and dryer, this is one of the simplest ways to add functional storage without taking up more space. It completely changed how this space functions day to day.
If You’re Updating Your Laundry Room…
If you’re doing a full refresh, see my other Laundry Room Projects

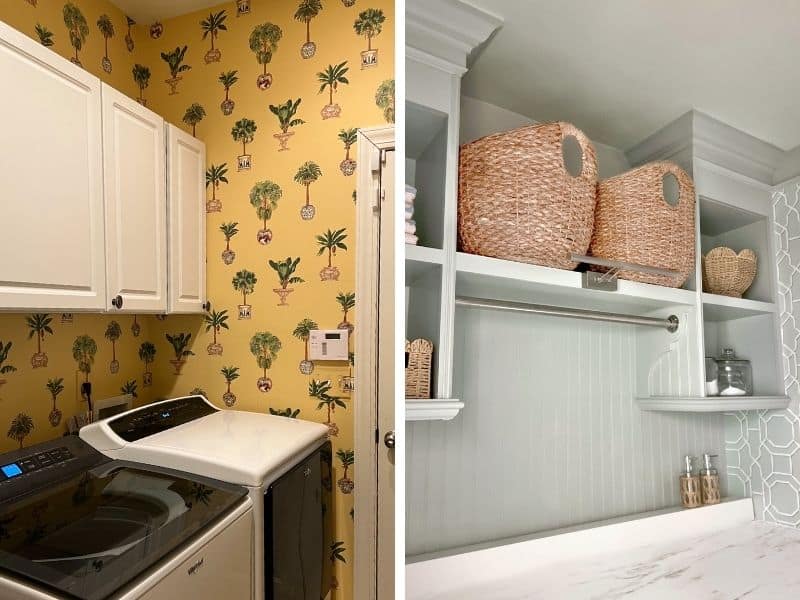
Before & After
LAUNDRY ROOM RENOVATION
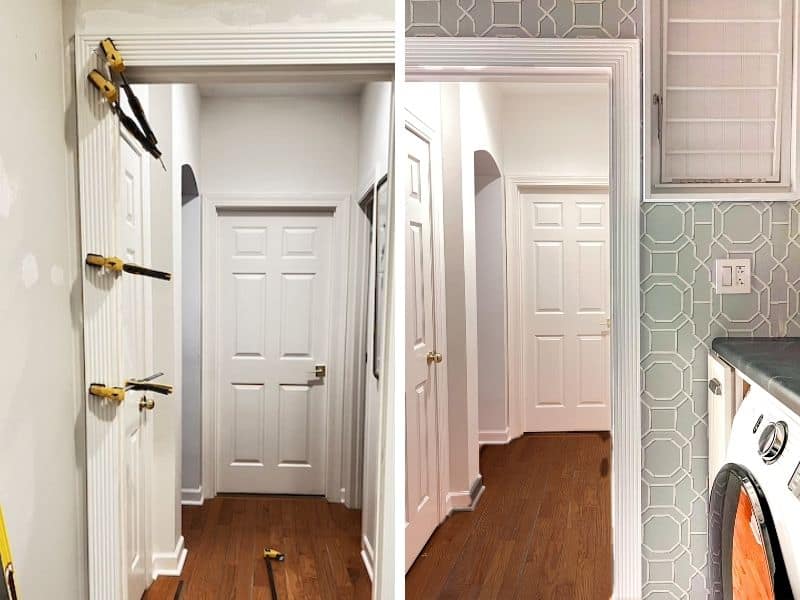
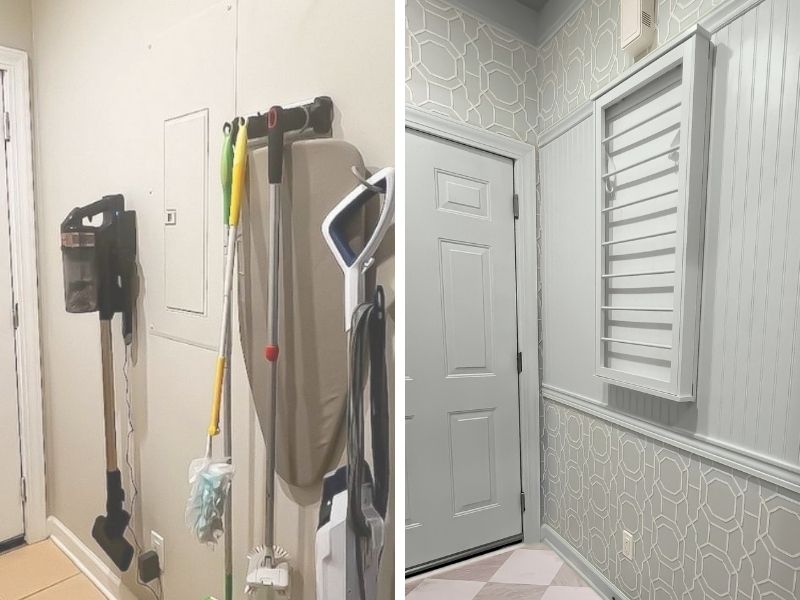

Laundry Room Projects
If you’re laundry room is too narrow, or you’re lacking space anywhere I have some creative fixes to maximize space in this hard-working room.


Something went wrong. Please refresh the page and/or try again.
FAQ
How do you hang a drying rod in a laundry room?
If you’re attaching your rod to wood (like cabinets or built-ins), you can secure it directly using wood screws. I started by using wood glue and a nail gun to attach the decorative brackets, then secured everything with 1 1/2″ wood screws through the 3/4″ rod brackets and into the shelves.
If you’re installing into drywall, you’ll want to anchor into studs if possible, or use heavy-duty anchors that can handle the weight of wet clothes.
What type of rod works best?
Metal rods (like brass or steel) hold up better over time than wood dowels, especially for heavier or wet items. Painted finishes tend to chip and wear, so a solid metal rod will look better long-term.
I used a 72-inch satin nickel rod (1-5/16-inch diameter), that I cut down to 32”. According to the manufacturer’s recommendation; no more than 32 inches apart to make sure it could handle the weight.
What if my drying rod is longer than 32 inches?
If your rod spans more than 32 inches, add a center bracket if possible (here are 1-5/16 Inch diameter center support brackets in brass and polished nickel)
How much weight can a drying rod hold?
Most drying rods can handle about 20–60 pounds, but it really comes down to how it’s installed. A solid metal rod with good support will hold up just fine, lighter setups, not so much.
Latest Projects
Check Out My Latest Home Makeovers and DIY Transformations
More Ideas
If you’ve got more time for home improvement ideas check out these projects.


Something went wrong. Please refresh the page and/or try again.














Leave a Reply