


Shop My DIY Outdoor Shower Sources




Disclaimer: This page may contain affiliate links. If you click on one of these links and make a purchase, I may receive a small commission at no extra cost to you. I only recommend products and services that I believe will add value to my readers. See our full Affiliate Disclosure at this link.
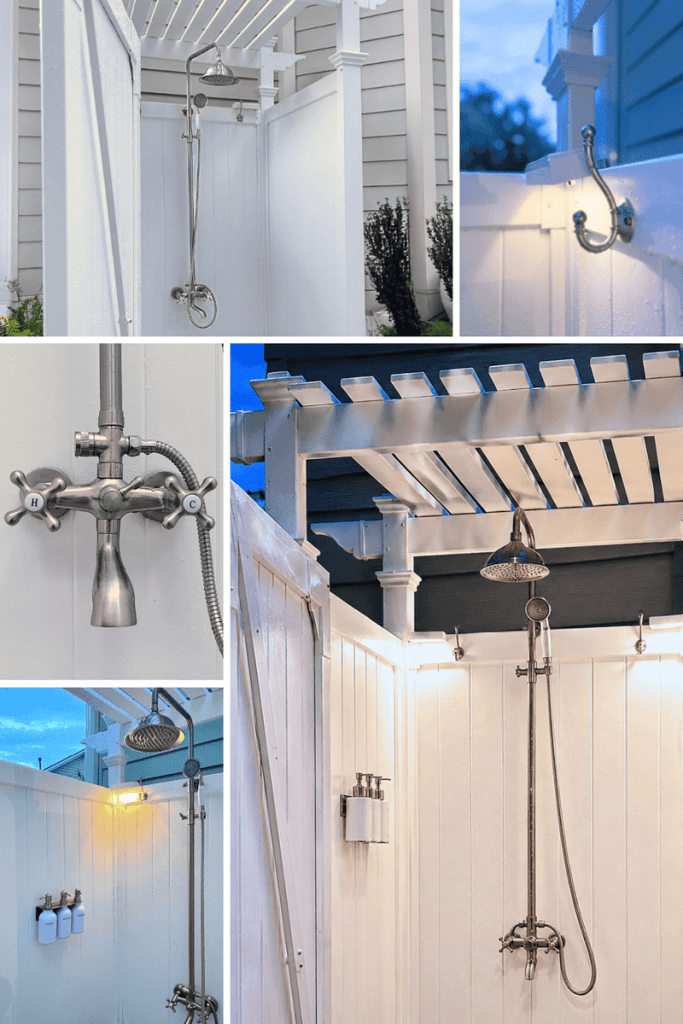
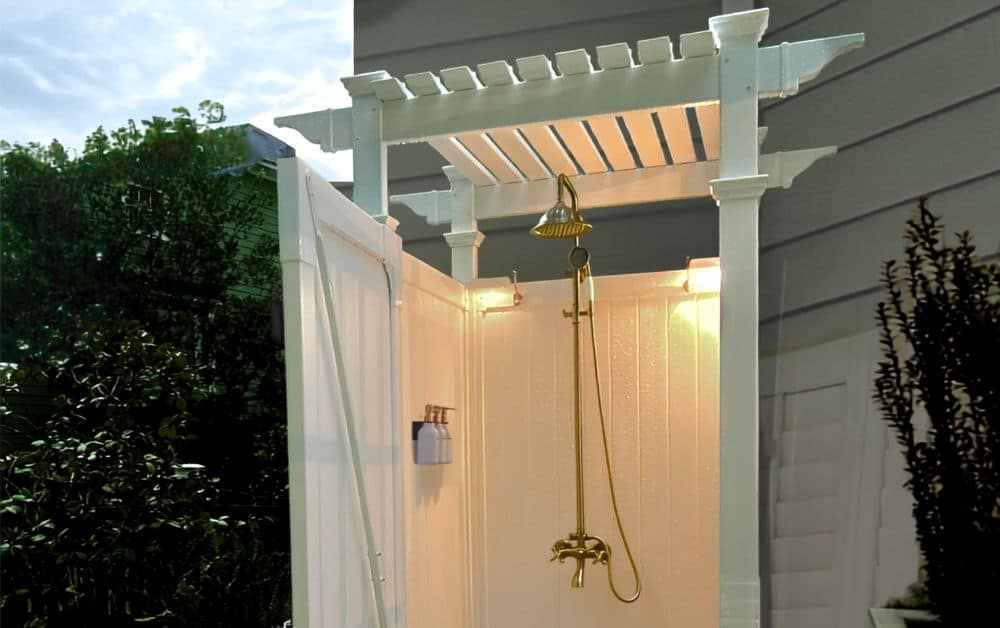
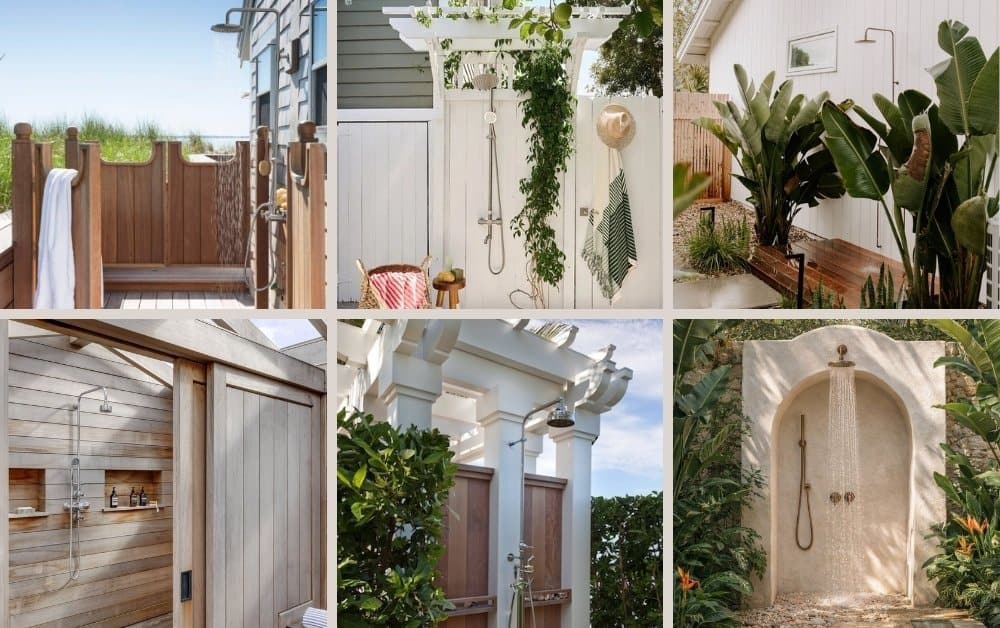
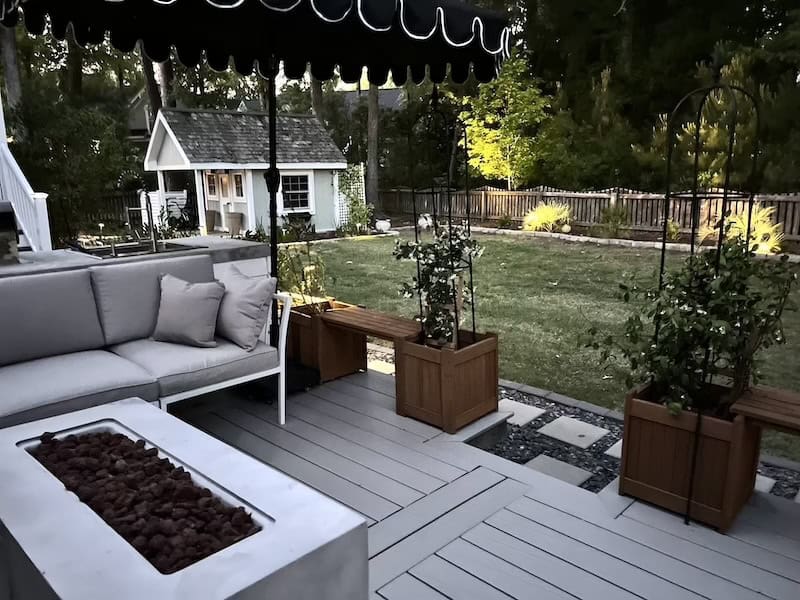
This outdoor shower turned out even better than I imagined. It started as a way to rinse off after beach days, but it’s become one of our favorite spots in the backyard. From the pergola and privacy walls to the hidden plumbing and finishing touches, every detail was chosen to make it feel like a custom-built outdoor retreat.

Why I Chose What I Chose (Because Apparently I Have Opinions and Time to Research)
When I started planning this project, I had a very specific vision in mind, but I knew it would be difficult to explain every detail to someone else.
Like all of my DIY projects, I enjoy being in control of the design and having the flexibility to make changes along the way if something isn’t turning out exactly as I imagined.
Every product below was chosen because it solved a specific problem I had researched to-death to solve.
These are the exact products I used (or seriously considered) and would recommend if you’re building your own outdoor shower.
1. Best Outdoor Shower Enclosure Kit
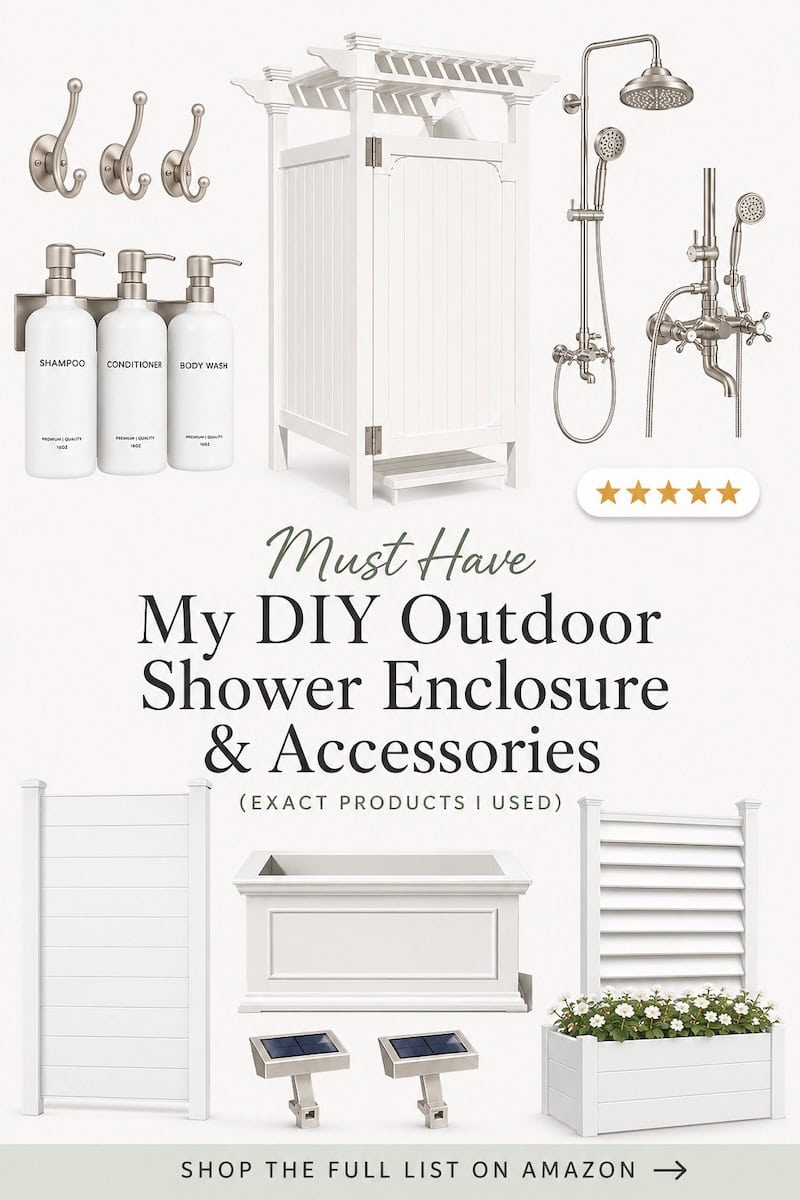
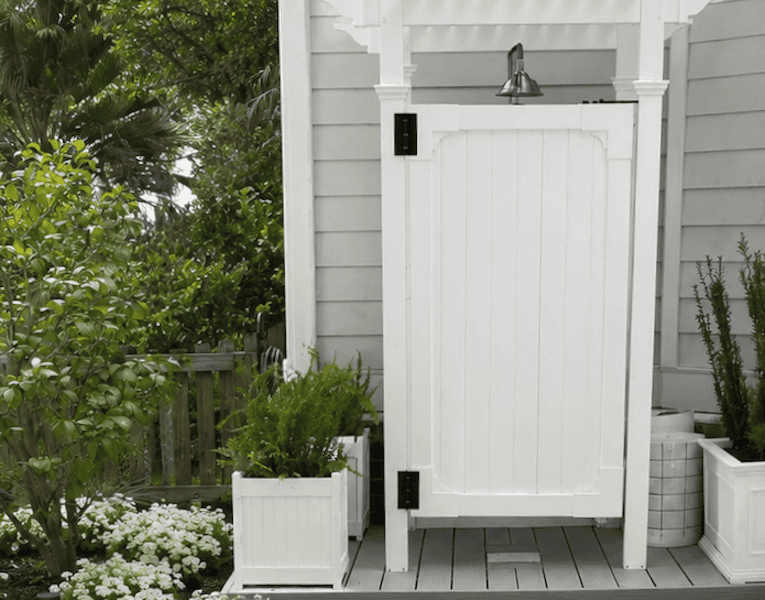
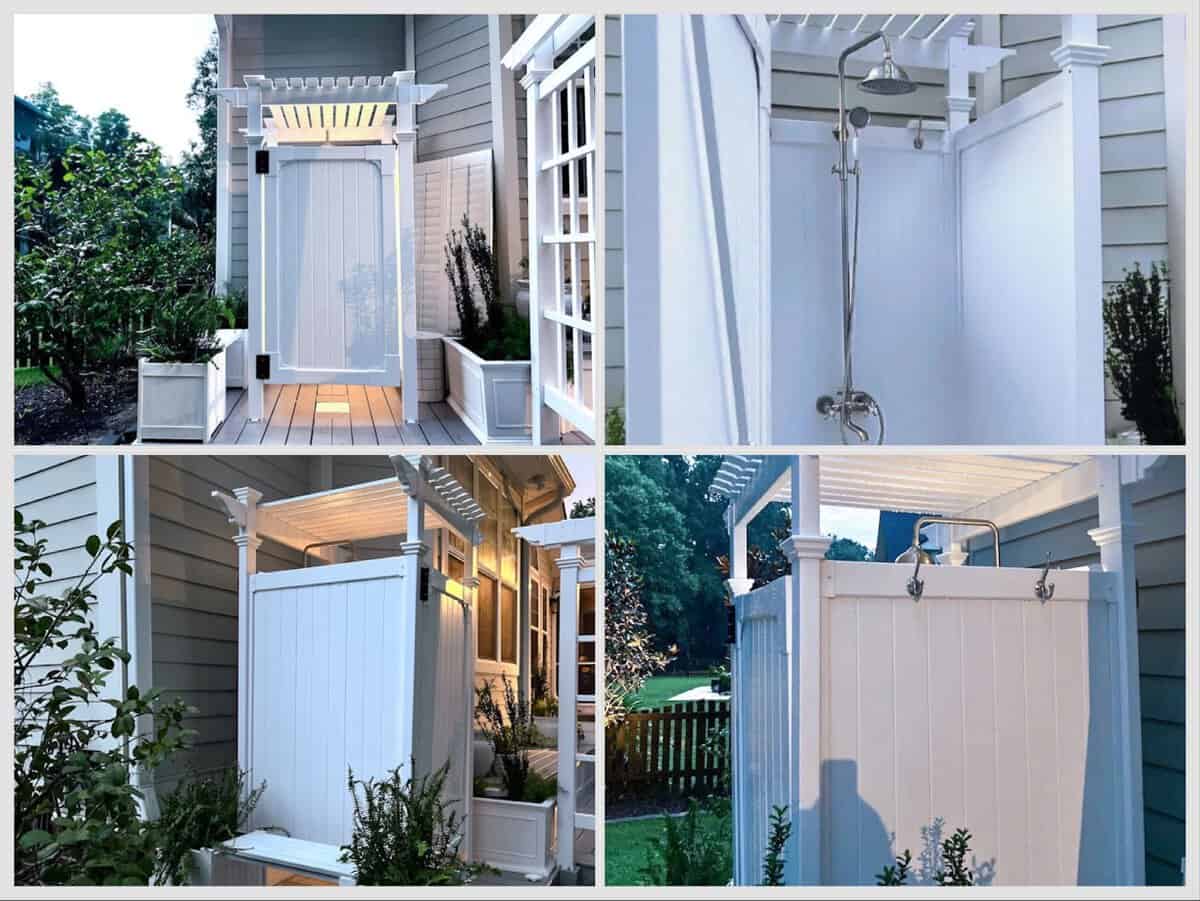
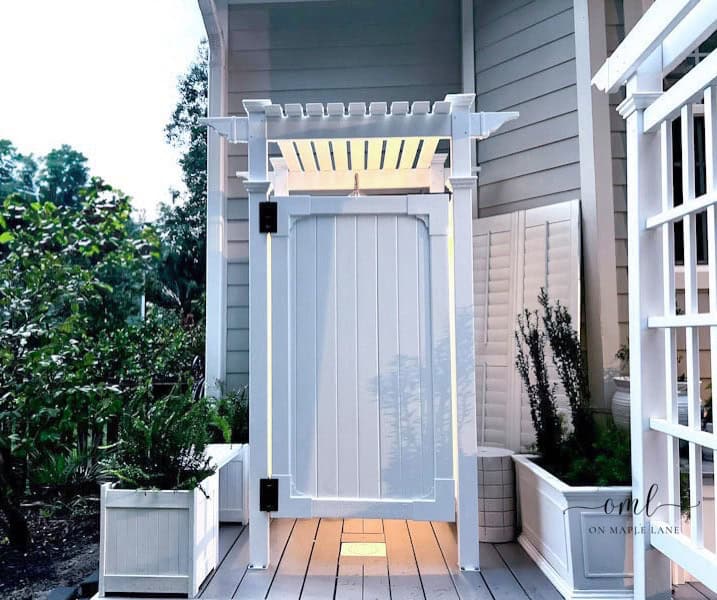
I chose this enclosure because I wanted something that looked custom without having to build it from scratch. The pergola top gives it beautiful classic look, and since it’s a complete kit, the DIY portion was simply following the assembly instructions instead of designing an enclosure from scratch. Would I buy it again? Absolutely.
2. Brushed Nickel Outdoor Shower Fixture (exposed pipe, rain shower head and foot wash)
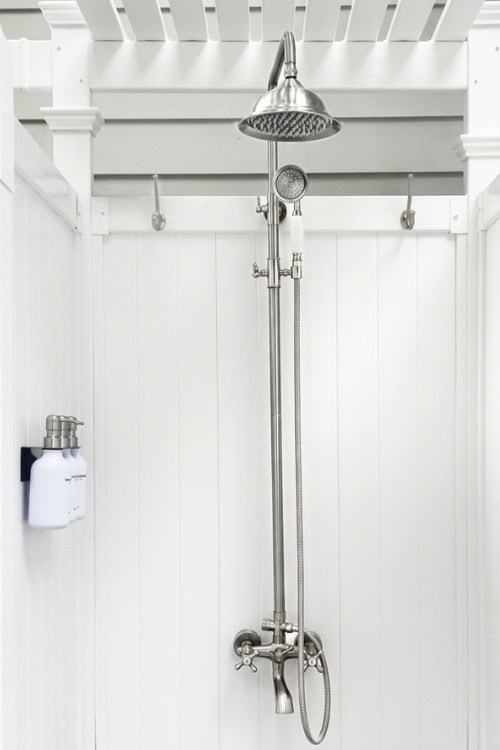
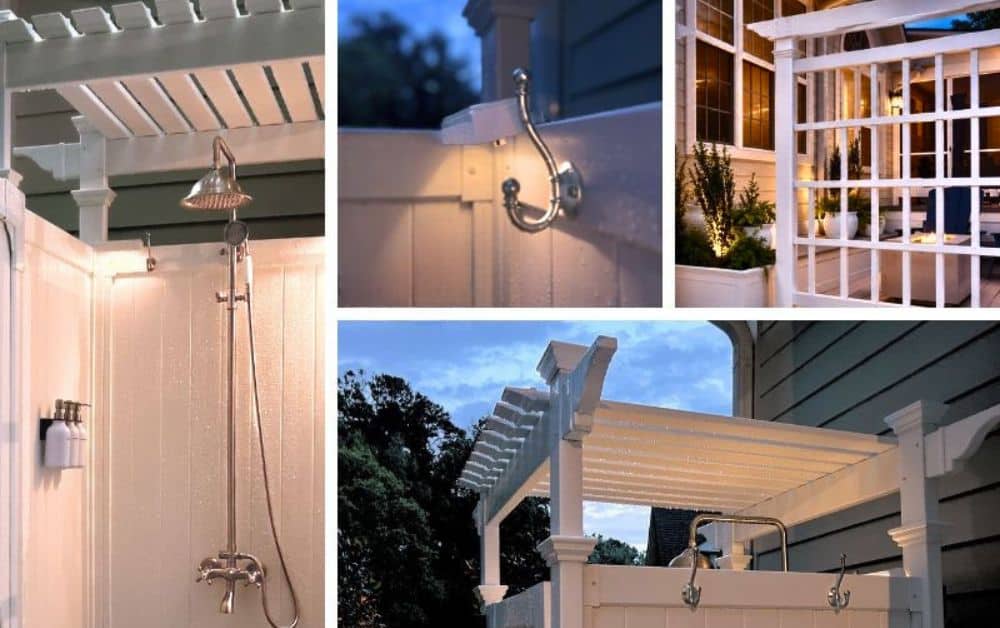
This shower fixture checked every box for me. I loved the classic cross-handle design and brushed nickel finish, but what really sold me was the size of the 8-inch rain shower head. It fits the enclosure perfectly and positions the water so it falls directly into the center of the shower floor and down the drain instead of splashing onto the deck. I’d recommend this to anyone building an outdoor shower.
3. Outdoor Planter Boxes for Privacy & Plumbing
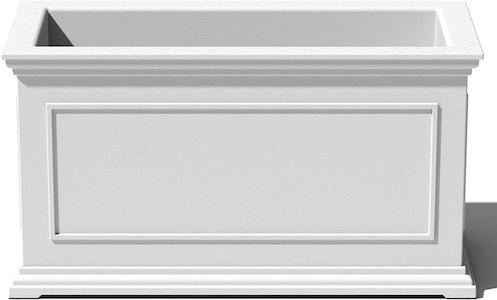
These planters solved two problems at once. They hide the plumbing running to the outdoor shower while providing the perfect place to plant tall Sky Pencil Hollies. I also wanted the shower and movie screen area to feel balanced, so placing matching planters on each side creates the symmetry that ties the entire space together.
4. Cutter-free Wall-Mounted Shower Dispensers
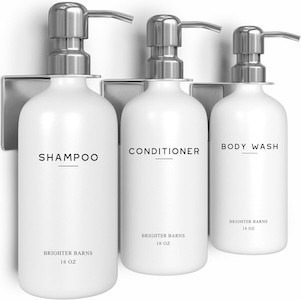
I wanted the shower to obviously be a place to rinse off, but also pretty. These wall-mounted dispensers match the brushed nickel shower fixture while eliminating clutter from shampoo bottles sitting on the floor. I also fill one with my homemade, eco-friendly peppermint body wash (made with castile soap, vegetable glycerin, and distilled water). The peppermint helps keep mosquitoes away.
5. Towel hooks
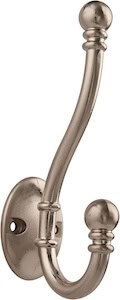
These hooks match the shower hardware perfectly. I installed two hooks inside the shower enclosure for towels and wet swimsuits. I also added three more on the outside so guests have a place to hang towels or bags before stepping into the shower.
6. Outdoor Shower Surface Mount Brackets
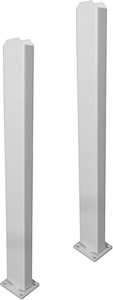
If you’re installing this outdoor shower enclosure on a deck, patio, or concrete, don’t skip these. The outdoor shower kit doesn’t include mounting brackets, so you’ll need either the surface mounts or the in-ground mounting kit (get that here) to secure it properly. It isn’t ideal that they’re sold separately, but they’re necessary for keeping it firmly anchored during high winds or storms. Since my enclosure has four posts, I used two 2-packs (four mounts total).
7. Best Solar Lights for an Outdoor Shower
These inexpensive solar lights are actually meant for your gutters but I mounted them directly to the inside walls of the enclosure. They charge during the day and automatically light up the inside at night. No wiring, no batteries, and no need to run electricity to the shower.
8. Outdoor Shower Bench and Planter Combo
I loved the size and design of these benches but wanted them to match the rest of my outdoor space. I painted them white using my favorite Rust-Oleum Satin Blossom spray paint, that perfectly matches the surrounding vinyl and PVC. A place to sit while changing shoes and home to my Kimberly Queen Ferns, which thrive in the warm, humid conditions around the outdoor shower.
9. Best Alternative Outdoor Shower Enclosure
This was actually my original plan for building the shower enclosure. I still think it’s a really great option if you’re looking for a simpler or less expensive DIY. The panels stand six feet tall, include planter boxes and the trellis can be positioned at different depths within the planter. That flexibility allows you to create a built-in shower bench behind the planter or position it closer to the front to conceal plumbing and add landscaping around your shower.
10. Matching Vinyl Privacy Screen
The Vita Camden Privacy Screen is what inspired the design of this entire outdoor space. It’s a privacy screen and the backdrop for our outdoor movie screen. Choosing a matching vinyl shower enclosure helped everything feel cohesive, giving the deck a built-in look instead of a looking like a bunch of unrelated projects. Repeating the same white vinyl throughout the space makes the shower look like it was always meant to be there.
If you were adding outdoor shower, what would be the ONE thing you’d want it to have? Tell me on Tik Tok

Latest Projects
Check Out My Latest Home Makeovers and DIY Transformations
More Ideas
If you’ve got more time for outdoor living ideas check out these projects.


Something went wrong. Please refresh the page and/or try again.















Leave a Reply