

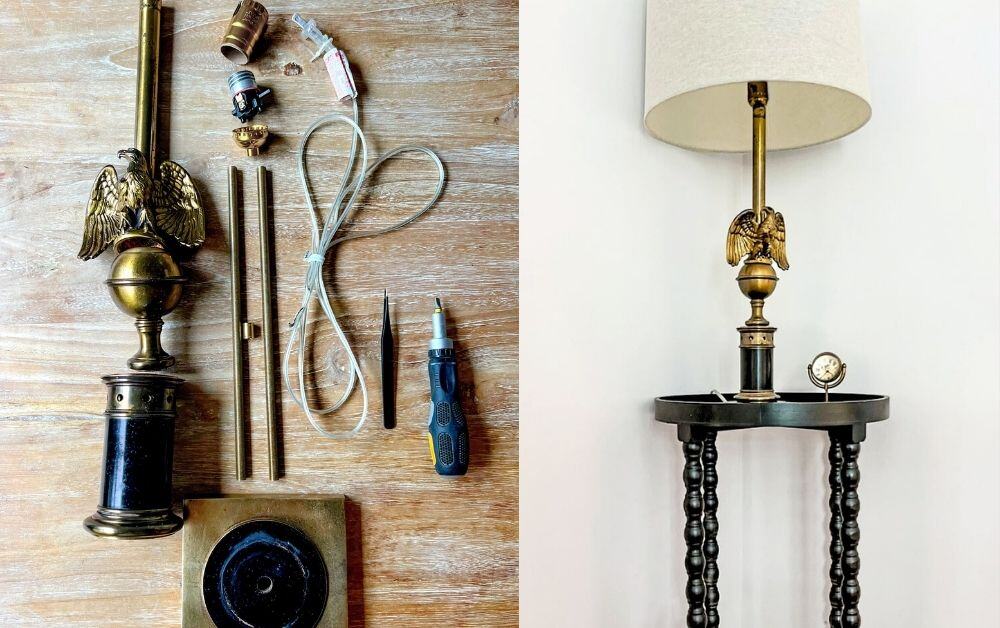
Is there anything cozier than the glow of an antique lamp? These classic pieces have so many stories to tell, but they might need a bit of love. Rewiring these lamps is super important for safety—make sure that old wiring isn’t a fire hazard or a shock risk! If you’ve scored a vintage lamp you really love and it needs some rewiring, I’ve got an easy step-by-step guide to rewire a basic lamp.
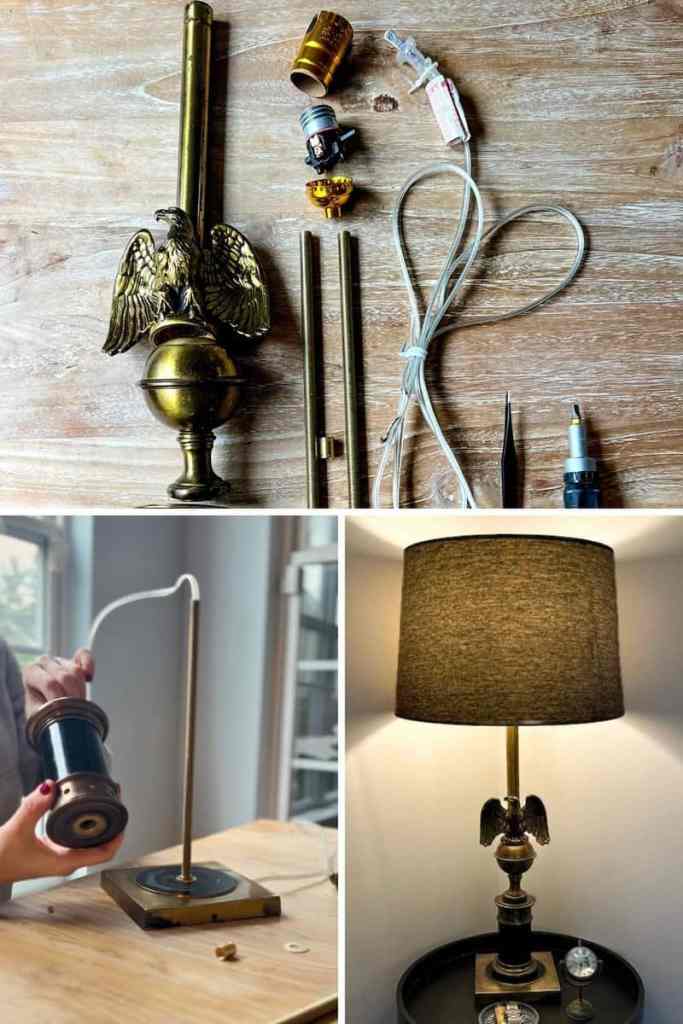
Table of contents
- **Safety Tips & Precautions:**
- Tools & Materials Needed:
- STEP BY STEP GUIDE TO REWIRE A BASIC LAMP
- Step 1: Disassemble the Lamp
- Step 2: Measure and Cut the New Threaded Pipe
- Step 3: Install the New Threaded Pipe
- Step 4: Thread the New Lamp Cord
- Step 5: Wire the Socket
- Step 6: Assemble the Socket & Secure Components
- Step 7: Test the Lamp
- Step 8: Reattach the Harp & Lampshade
- Wrapping It Up : How to Rewire a Lamp
- Lamp Shade Shapes
Disclaimer: This page may contain affiliate links. If you click on one of these links and make a purchase, I may receive a small commission at no extra cost to you. I only recommend products and services that I believe will add value to my readers. See our full Affiliate Disclosure at this link.
**Safety Tips & Precautions:**
- Obviously unplug the lamp before starting
- Inspect all electrical components for damage or wear
- Wear safety glasses to protect your eyes from any metal shards or debris.

Don’t worry if you’ve never worked with electrical wiring before—rewiring a vintage lamp is a simple, beginner-friendly DIY project that just takes a little patience and the right tools.
Tools & Materials Needed:
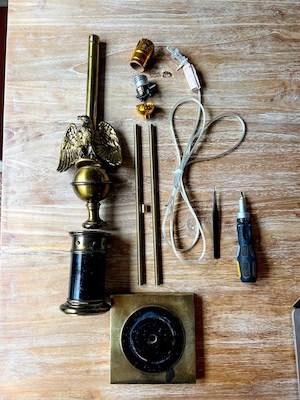
- Replacement threaded lamp pipe (same diameter as original)
- Lamp Cord
- Lamp Socket (I chose a push button, but you can use a 3-Way or a pull chain)
- Wire cutters/strippers
- Adjustable wrench
- Screwdrivers (flathead and Phillips) (this set is such a good price)
- Needle-nose pliers (so is this pliers set)
- Electrical tape
- Ruler or measuring tape
- Hacksaw (the pipe cutter doesn’t work for threaded pipes)
STEP BY STEP GUIDE TO REWIRE A BASIC LAMP
Step 1: Disassemble the Lamp
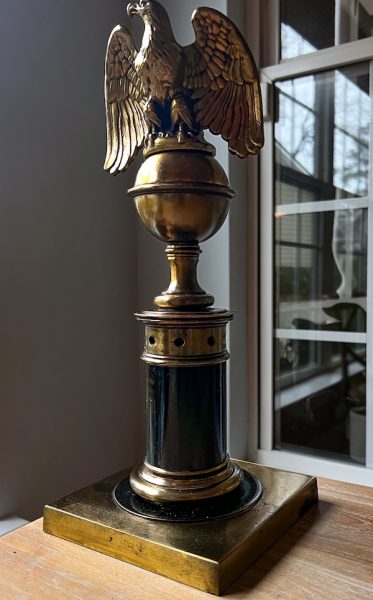
- Obviously unplug the lamp and take off the old light bulb and shade.
- Then you will unscrew and remove the socket shell to expose the wiring.
- You can use a screwdriver or pliers to detach the socket base from the threaded pipe.
- Once everything is disconnected, carefully pull out the old wiring from the base of the lamp.
- If the threaded pipe is rusted or damaged, use an adjustable wrench to unscrew it from the lamp base (which I had to do and it required quite a bit of elbow grease).

Step 2: Measure and Cut the New Threaded Pipe
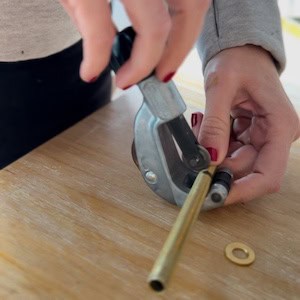
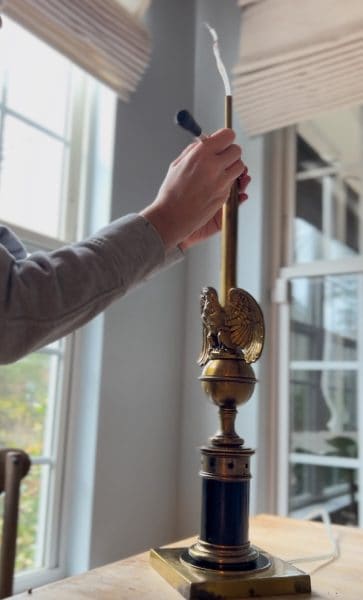
- Start by comparing the length of the old pipe to your replacement piece.
- If necessary, use a hacksaw to cut the new pipe to the appropriate length.
- After the pipe is cut, smooth any rough edges with sandpaper or a metal file.
Step 3: Install the New Threaded Pipe
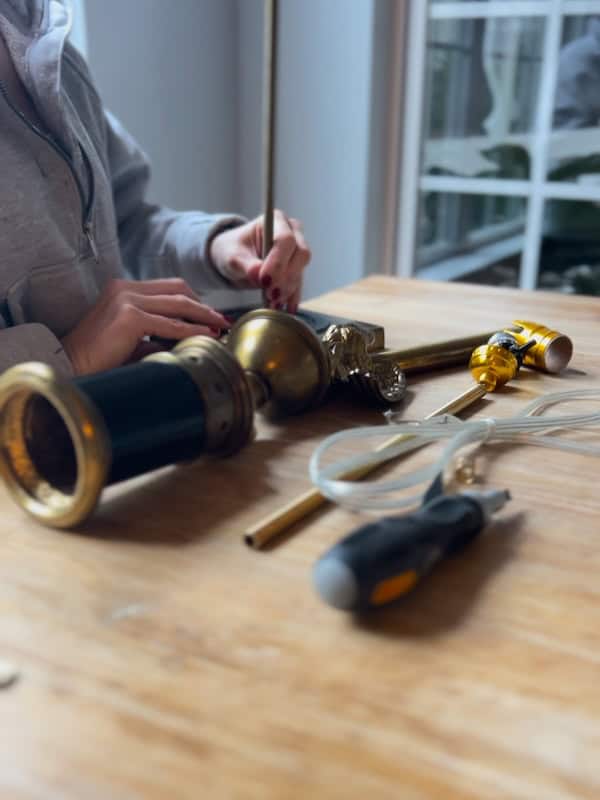

- Start by inserting the new pipe through the lamp base and secure it tightly using the provided lock nuts and washers.
- Ensure the pipe is centered and aligned correctly before fully tightening.
Step 4: Thread the New Lamp Cord

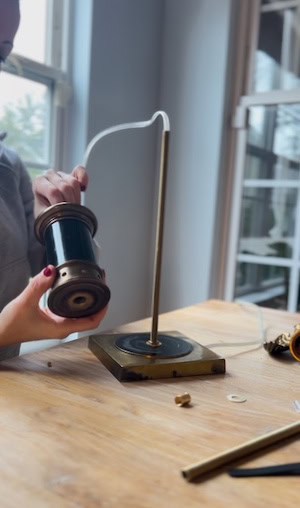
- Insert the new lamp cord through the bottom of the lamp and up through the threaded pipe.
- Leave enough slack at the top to comfortably connect the wires to the socket.
Step 5: Wire the Socket
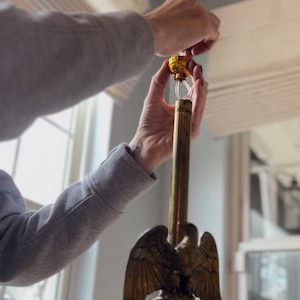

- Insert the new lamp cord through the socket.
- Screw in the new socket and tie an underwriter’s knot between the socket and cap. Here is a great video on how to tie that knot.
- Separate the two wires of the lamp cord.
- Strip about ½ inch of insulation from the ends of each wire.
- Attach the ribbed (neutral) wire to the silver screw on the socket.
- Attach the smooth (hot) wire to the brass screw on the socket.
- Tighten both screws securely to ensure a solid connection.
Step 6: Assemble the Socket & Secure Components
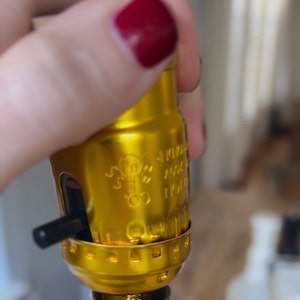
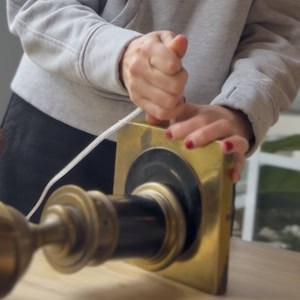
- Start by sliding the socket shell over the wired base and snap it into place.
- Screw the socket securely onto the threaded pipe, while holding onto the the nut at the base of the lamp.
- When everything is tightened, tug lightly on the cord at the base to ensure there’s no excess slack inside.
Step 7: Test the Lamp
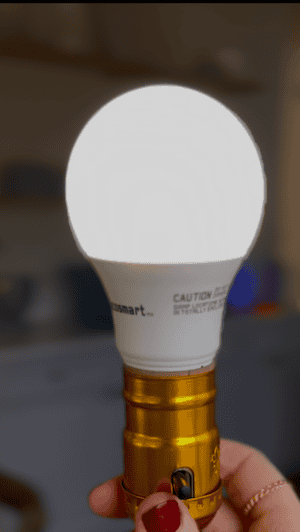
Make sure you use the correct bulb size and wattage that is compatible with your kit
- Before you add a lamp shade, screw in a light bulb and plug the lamp into the wall.
- Test the switch to ensure the lamp turns on and off properly.
- If everything works, unplug the lamp and proceed to the final assembly.
Step 8: Reattach the Harp & Lampshade

- Lastly, go ahead and pop the harp onto the socket base if you’ve got one. I went with a classic drum lamp shade that has an uno fitter. It just sits right on top of the bulb socket, letting the bulb poke up through the middle, without the need for a harp.
- Pop the lampshade on and give it a little twist to hold it snug.
- After that, give everything a final check to ensure stability.
Wrapping It Up: How to Rewire a Lamp
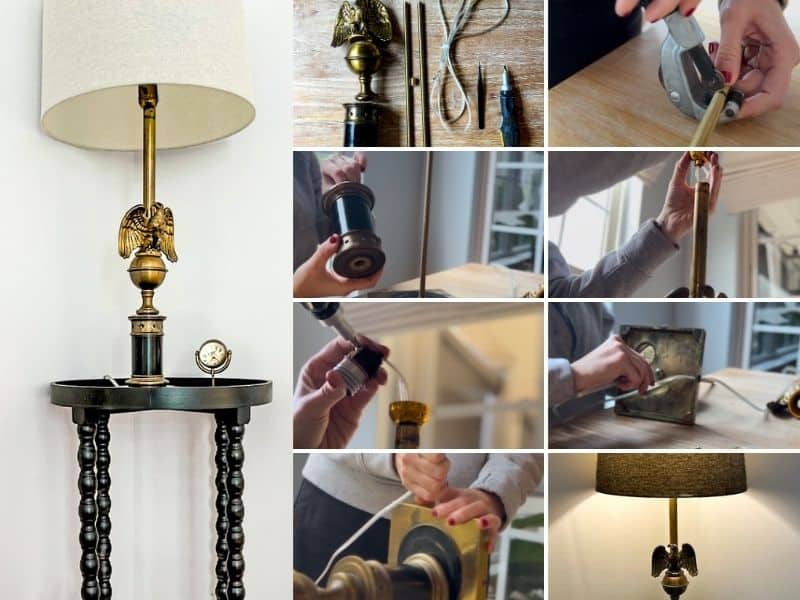
Don’t feel intimidated if you’ve never worked with electrical wiring before—rewiring a vintage lamp is a beginner-friendly DIY project. You can restore a beloved piece of the past, and you also get to appreciate its unique style and craftsmanship. With some simple steps, you can learn a cool new skill and easily bring your vintage lamp back to life.
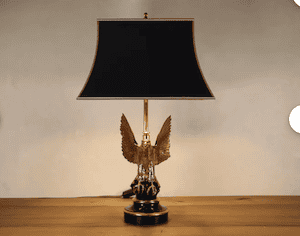
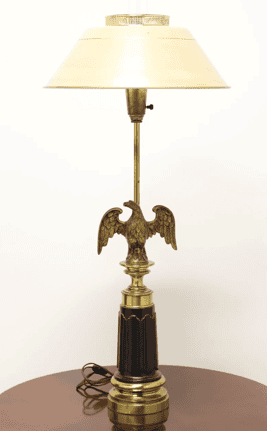
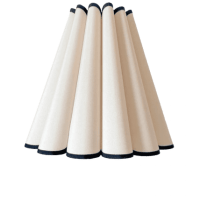
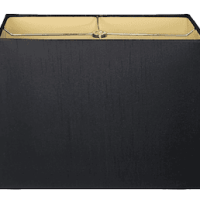
Lamp Shade Shapes



More Easy & Quick DIYs
Paint, peel-and-stick, hardware swaps, and small upgrades that make a big difference.

















Leave a Reply