Spray Painting Tips I Wish I Knew Sooner
Let’s be honest—painting can be a hassle. Between the brushes, the cleanup, and the inevitable paint splatters on your favorite shirt (because you definitely didn’t plan on getting paint on it), it’s enough to make anyone rethink the whole project. Here’s the secret: spray painting makes everything so much easier!
It’s quick, it’s easy, and best of all, there’s usually less to clean up. No need to dig out your painting clothes or scrub brushes afterward. All you need is to protect your space—and I’ve got a few little tricks to make it even smoother. I use a wipe-on liquid sandpaper, spray-on primer, a Lazy Susan, risers, and non-stick paper to prevent any messy pooling. Trust me, spray painting has never been this simple and fast! The simplest spray painting tip is to make sure the temperature and humidity is right.
Table of Contents

Spray painting sounds like a quick fix, right? But it is more than just squeezing a can and hoping for the best. I’ll walk you through my personal tips, the common hiccups I’ve run into, and how to fix them so you can avoid my mistakes. The right prep makes your “home project DIYs” —look like you didn’t do them yourself!

Safety First! Before you start spray painting, keep these precautions in mind:
- Always work in a well-ventilated area or outdoors t
- Wear a respirator mask
- Use gloves and safety glasses
- Keep spray cans away from heat sources and never puncture or store them in high temperatures.
Spray Painting Tips That Actually Make it Easier
1. Choose the Right Primer and Paint
After plenty of trial and error, I’ve found that high-adhesion primers are non-negotiable for slick surfaces like melamine, laminate, or glossy finishes. My favorites are:
- Zinsser BIN Shellac-Based Primer Spray Paint – This is my go-to for superior adhesion and fast drying time.
- Zinsser Bulls Eye 1-2-3 Primer – A great water-based option that still grips well.
- Kilz Adhesion Bonding Primer (not in spray paint form)– Perfect when dealing with smooth surfaces that don’t take paint easily.


I almost exclusively (except for metallics – check out my rub ‘n buff post) use Rust-Oleum Painter’s Touch® 2X Ultra Cover Satin spray paint. Here are some of the colors they offer:

2. Prep the Surface Properly
Use liquid sandpaper for a quick, dust-free way to roughen smooth or glossy surfaces before painting. TSP is great for cleaning off grease, grime, and dirt before painting to make sure there is good adhesion. Hand sanding is best for removing uneven surfaces. Hand sanding works well for tackling detailed areas where liquid sandpaper or machines can’t reach. Sometimes all three are needed for the best results.
- Prep and Clean the surface thoroughly
- (Optional) Lightly sand with 220-grit sandpaper to create texture for better adhesion.
- (Not Optional) Wipe away dust with a tack cloth before priming.
3. Applying Primer
- I’ve learned that thin, even coats work best rather than one heavy layer.
- Always let the primer dry 4-6 hours or overnight for the best adhesion.
- After, a light sanding with 320-grit sandpaper between coats helps achieve a smooth base.
4. Spray the Paint
- Shake the can for at least one minute before spraying.
- Hold the can 10-12 inches away from the surface.
- Start by applying light, even coats, moving the can in a steady, sweeping motion.
- After, let each coat dry 30 minutes to an hour before adding another.
5. Seal for Durability
- I always finish with Rust-Oleum® Clear Coat Spray for added protection.
- Apply two thin coats, letting each one dry for at least an hour.
- Allow the final coat to cure for 7 days before heavy use.

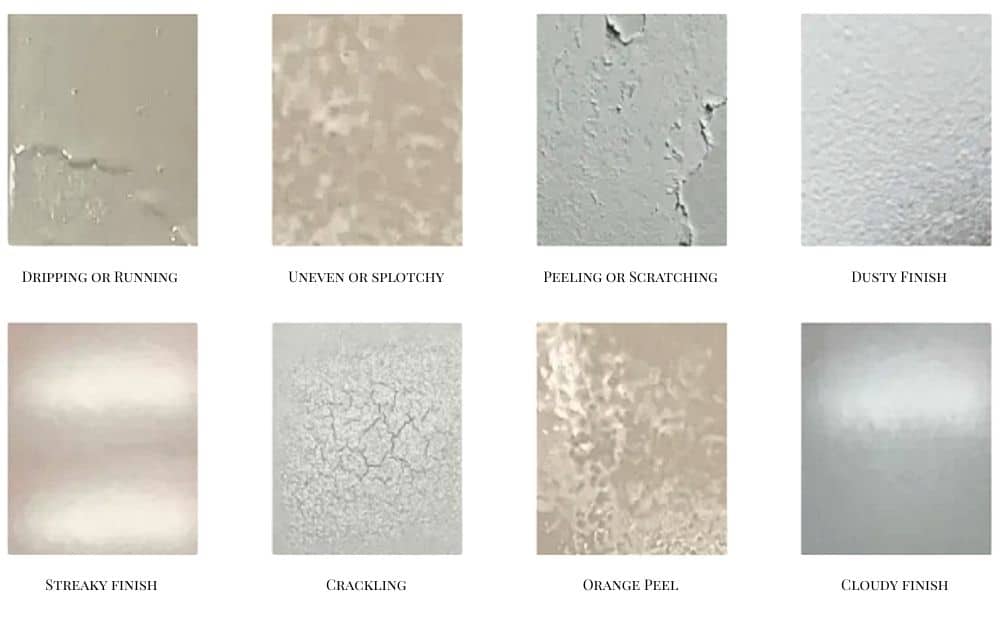
Troubleshooting: “Why Does It Look Like This?”


FAQ: Common Spray Painting Issues and How To Fix Them
Cause: Applying too much paint at once.
Fix: Let it dry, then sand down drips with an orbital sander (larger surfaces). I like to use my detail sander for smaller surfaces. Then finish with 320-grit sandpaper. Re-coat with light, even layers.
Cause: Not spraying in even lines at the same pace or not prepping thoroughly.
Fix: Make sure the surface is clean and smooth. Spray by overlapping passes and multiple light coats.
Cause: Poor adhesion from missing primer or not letting it dry enough in between coats.
Fix: Sand, re-prime with high-adhesion primer, and repaint with proper drying between coats.
Cause: Most likely from not shaking the can enough, over-spray or dust contamination.
Fix: Lightly sand with 400-grit sandpaper, wipe with a tack cloth, and reapply a thin, even coat.
Cause: Thick and uneven application or you didn’t shake the can long enough.
Fix: Apply thin, even layers of clear coat and keep consistent overlap.
cracking or wrinkling?
Cause: Painting over partially dried layers.
Fix: Sand down the cracks, and repaint with thin, fully dried layers. 
Cause: Either not priming smooth surfaces like melamine or holding the can too far away.
Fix: Sand with 400-600 grit sandpaper, wipe clean, and apply thinner coats with steady, overlapping passes.
Cause: Humidity issues.
Fix: Avoid spraying in humid conditions, the ideal temperature range for spray painting is between 55°F and 75°F, with a humidity level between 40% and 50%.
My Best Spray Painting Tip? The Right Tools

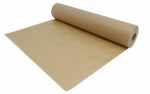
- Non-Stick Paper – Parchment paper prevents paint from sticking to surfaces and helps with cleanup.
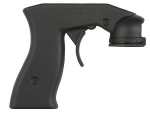
- Universal Spray Paint Trigger – Helps reduce finger fatigue and provides better control.
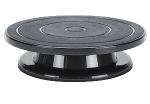
- Turntable Lazy Susan – Rotates the item for an even coat without touching it.
- Spray Paint Tent – Prevents over-spray and keeps dust off your project.
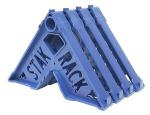
- Painter’s Pyramids or Risers – Keeps objects elevated for better access and prevents pooling.
Final Spray Painting Tips for a Rock-Hard Finish
- Always let primer and paint dry fully between coats.
- Spray in ideal conditions (50-85°F, low humidity).
- Use light, even coats to prevent drips and texture issues.
- Allow spray-painted surfaces to cure for at least 7 days before heavy use.
Get the perfect spray paint finish with the right prep, it won’t look like a DIY project – your DIYs will look professionally done. Or… you bought it like that. Got questions? Let me know, I’m happy to help with whatever project you’re tackling next.
Final Safety Reminder: Spray painting is usually quick and easy, but don’t neglect safety. Spray paint boogers aren’t normal. Make sure you’re working in a ventilated space, wearing protective gear, and disposing of used spray cans properly.


Disclaimer: This page may contain affiliate links. If you click on one of these links and make a purchase, I may receive a small commission at no extra cost to you. I only recommend products and services that I believe will add value to my readers. See our full Affiliate Disclosure at this link.


