
Your entryway door is probably the most-used door in your home, right up there with your bathroom door, so it’s going to show wear faster than anything else. Painting a door is one of those projects that sounds easy… until you’re dealing with drips, brush marks, or a door that never forever feels tacky. I’ve painted more doors than I can count. Interior and exterior, and the difference between a professional-looking finish and a frustrating mess comes down to prep, tools, and patience.

Step-by-Step
Step 1: Remove hardware + clean
Step 2: Sand and Fix Imperfections (Don’t Skip This)
Step 3: Prime (almost always)
Step 4: Paint (in the correct order)
Step 5: Let it cure (most important step)
Disclaimer: This page may contain affiliate links. If you click on one of these links and make a purchase, I may receive a small commission at no extra cost to you. I only recommend products and services that I believe will add value to my readers. See our full Affiliate Disclosure at this link.
For this project, I used HGTV Home by Sherwin Williams Door & Trim Acrylic Urethane Enamel, I wanted to test it out and it was on sale for $10 off. I chose the satin sheen because I wouldn’t use a semi gloss unless the door and the trim were brand new. This paint is a water-based option that applies smoothly like an oil-based paint but cleans up easily with soap and water.

Materials I Used I Used To Paint My Front Entry Door
- TSP
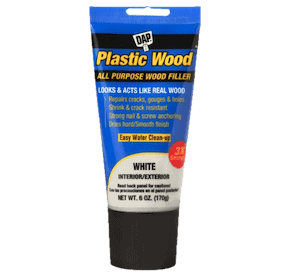
- Wood filler
- Sand Paper Sheets
- Painters Tape & Masking Film Combined
- Tack cloth
- Interior door and trim paint (I used this , but I wish I would have used this
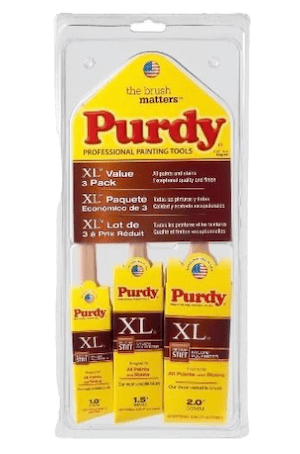
- Angled paintbrush
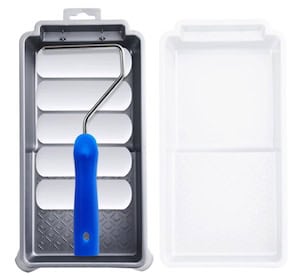
- Small foam roller
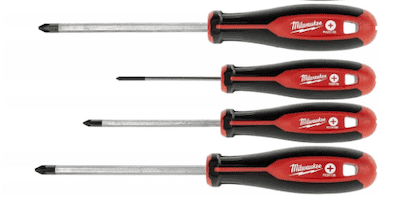
- Screwdriver (to remove hardware)
- This is the primer I recommend


How to Paint Your Front Door
- Remove Hardware
Start by removing anything you can easily take off, like knobs or hardware. I didn’t remove the hinges, and you don’t need to unless you’re removing the door from the frame (which I wouldn’t advise).

- Clean the Door
Then clean the entire surface using TSP. Doors collect grease, dust, and residue over time, especially around handles and edges. Even if it looks clean, it’s not. And it’s the first place the paint will start to peel.
Wipe everything down thoroughly and let it dry before moving on. This is what helps your paint stick and last.
- Sand and Fix Imperfections
Even if your door looks fine, you still need to lightly sand the surface. This removes any leftover sheen after cleaning and helps the paint stick better.
Focus on:
1. Lightly sanding smooth areas to dull the finish
2. Filling dents, dings, or chips
3. Sanding patched areas until they’re flush
I skipped fixing some imperfections on my trim, and once the paint went on, they stood out way more than I expected. Paint doesn’t hide flaws. It highlights them.
- Prime (Always for High-Touch Doors)
If you’re painting a front or entry door, don’t skip primer.
This is a high-touch surface that gets constant use, so you need a solid base for the paint to hold onto. Primer helps with adhesion, durability, and gives you a more even finish.
Apply a thin, even coat and let it fully dry before moving on.
Even if your door is already painted and looks fine, primer is what keeps the new paint from chipping, scuffing, or wearing down too quickly.
- Paint in the Right Order
This is what makes the biggest difference in how your door turns out.
Work in this order:
1. Recessed areas
2. Raised Panels
3. Vertical stiles
4. Horizontal Rails
5. Edges last
Use a brush for detailed areas and a roller for flat sections to keep everything smooth.
Stick to thin coats—thick paint is what causes drips and texture.
Total Commitment: 4-5 days and about $50 in supplies

I wanted to keep my plantation shutters white, so I relied on painter’s tape to protect them. I was also nervous about them chipping if they were painted. If any paint got on them, I quickly wiped it off with a my trusty clorox wipes before it dried.
After I painted everything I didn’t mind that the plantation shutters were white, because the “muntins” in my transom are also white. So I kept the frame of the transom white, I just carefully taped along the edge.
Letting It Dry & Reassembling Everything

I gave the paint a full 24 hours to dry before putting the hardware back on and using the door.

What I Used to Update the Hardware


My Thoughts on the Paint I Used
I used HGTV Home by Sherwin Williams Door & Trim Acrylic Urethane Enamel because it promised “a durable, factory-like finish with smooth application.” It’s a 100% acrylic formula with urethane enamel, making it more resistant to scuffs, stains, and mildew, and it cleans up easily with soap and water.
However, I had some serious issues with it. It was extremely runny and dripped more than any other paint I’ve ever used. I had to constantly go back and clean up drips or sand them off if they had dried before I noticed. It also kept separating, which meant I had to re-mix it every time I reloaded my brush. After three days, I noticed that it easily scratched off the smoother surfaces below the plantation shutters. I wouldn’t use this paint again, unless they update the formula.

I do love the color, it changes throughout the day; sometimes pulling baby blue, gray, and even a little green.
Wrapping It All Up In A Pretty Blue Bow


Painting my front interior door and molding really made a dramatic difference in my home’s entryway. It’s amazing how much a little paint can transform a space! If you’re thinking about doing this, take your time prepping, and don’t skip testing your paint color in different lighting.
FAQ: Painting Front Entry Door

Use a high-quality exterior or interior/exterior paint in a satin, semi-gloss, or gloss finish for durability and easy cleaning. I would recommend one that specifically says “Door and Trim Paint”. Unless it’s oil-based, since it’s designed for high-traffic areas. Once fully cured, it can withstand daily wear, scuffs, and exposure to the elements.
Primer is recommended if you’re painting over a dark color, bare wood, or a glossy surface. It helps with adhesion and gives a smoother finish.
Use a brush for recessed areas and edges, and a small foam roller for the flat surfaces to get a smooth, even finish
Start with the recessed panels, then paint the vertical and horizontal sections, and finish with the outer edges for a seamless look.
Yes, sanding helps remove imperfections and creates a surface the paint can grip to, especially if the door has a glossy finish.
Semi-gloss or gloss is best for front doors because they’re more durable, easier to clean, and highlight architectural details. But it really highlights any imperfections.
Use a high-quality angled brush for detailed areas and a foam roller for smooth sections. Apply thin coats, and sand lightly between coats for the best finish. This is my favorite secret weapon to add to paint: Floetrol Latex Paint Additive or Floetrol Oil-based Paint Additive. But I would skip it for thinner paint like this one from Lowe’s.
To figure out what your front door is made of, try tapping on it—wood will sound solid, while metal or fiberglass will have a hollow or metallic sound. Look for seams (common in fiberglass and steel), natural grain patterns (a sign of real wood), or use a magnet—if it sticks, your door is steel. And if you’re lucky, you may still have the manufacturers label on the edge of the door.
Now, if you live in the South like me. The best time to paint a wood front door is when the weather is mild—think spring or fall—with temps between 50-85°F and low humidity. If it’s too cold, the paint takes forever to dry and might crack or peel. If it’s too hot, it dries too fast and can end up looking streaky. Other materials have their own issues too—metal doors expand and contract with temperature changes, and fiberglass doesn’t absorb heat like wood, but humidity can still mess with the finish. Basically, aim for a day with stable, mild weather, and avoid painting in direct sun or rain.

More Ideas
If you’ve got more time for home improvement ideas check out these projects.


