Our staircase isn’t just how we get from one floor to another — you can see it from almost every room in the house. And for a long time, it drove me crazy. I did not want carpeted stairs and the banister was dated in an early nineties way. A full renovation would’ve meant living in construction chaos longer than I was willing to tolerate — and I had very specific opinions about how these stairs should look. So I went the DIY route, and with a little creativity (and patience), these stairs ended up looking completely different without a full renovation price tag.
Staircase Renovation Before and After
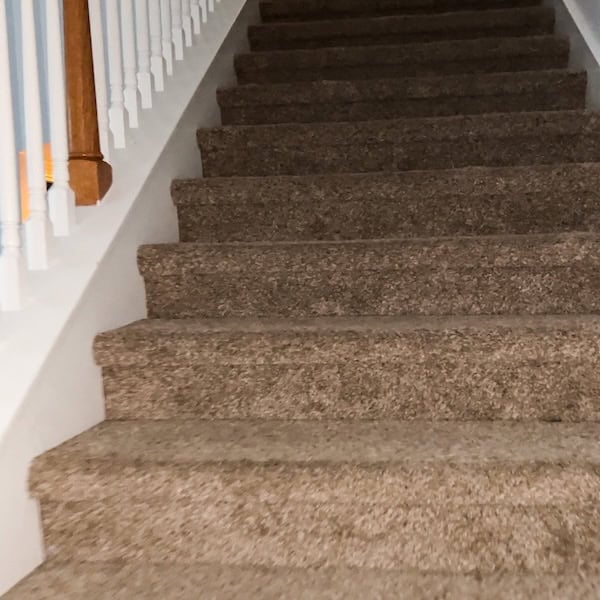
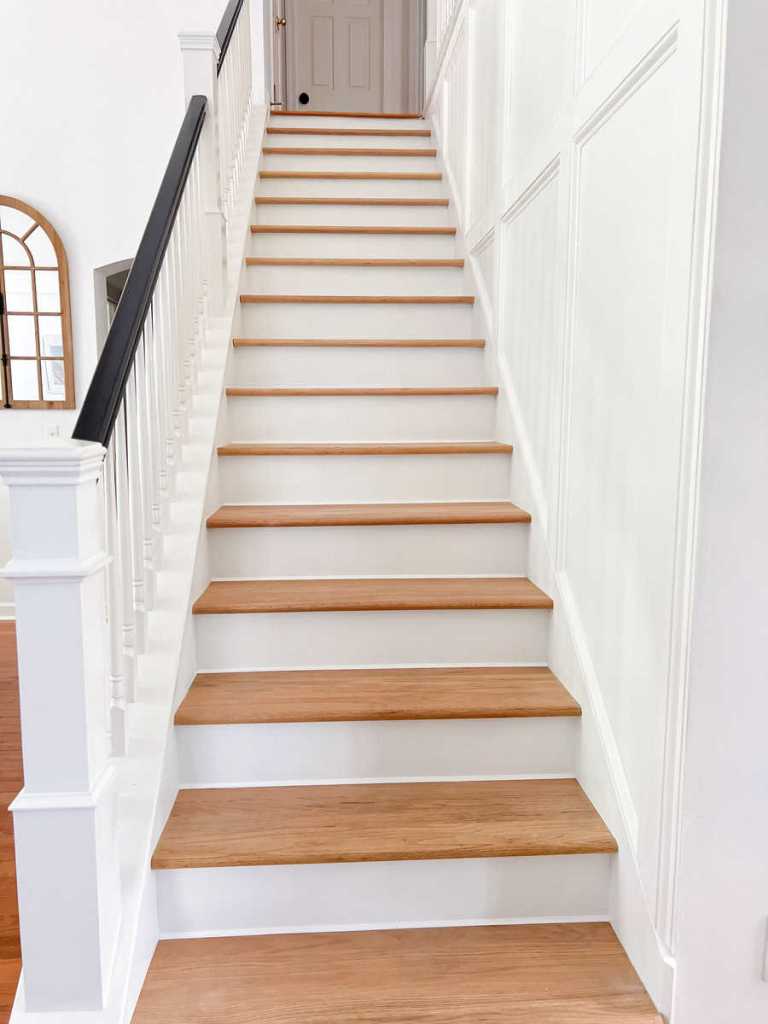
Table of Contents
Disclaimer: This page may contain affiliate links. If you click on one of these links and make a purchase, I may receive a small commission at no extra cost to you. I only recommend products and services that I believe will add value to my readers. See our full Affiliate Disclosure at this link.
How Much Did It Cost to Go from Carpet to Wood Stairs?
If you’re trying to figure out how much this actually costs, here’s what I spent doing it myself.
This wasn’t a full staircase rebuild. I kept the existing structure and focused on removing the carpet and refinishing everything.
Here’s a rough breakdown:
- Wood treads and risers: $400 (half price because of a Facebook marketplace steal)
- Paint, stain, and supplies: $100
- Tools and extras: $100
Total cost: around $600
If I had hired this out, it would have easily been a few thousand dollars. Most staircase renovations fall somewhere between $2,000 and $8,000 depending on materials and labor, but doing it yourself brings that cost way down.
For me, the biggest trade-off was time. It’s a lot of prep and detail work, but the savings were worth it.
Step 1:
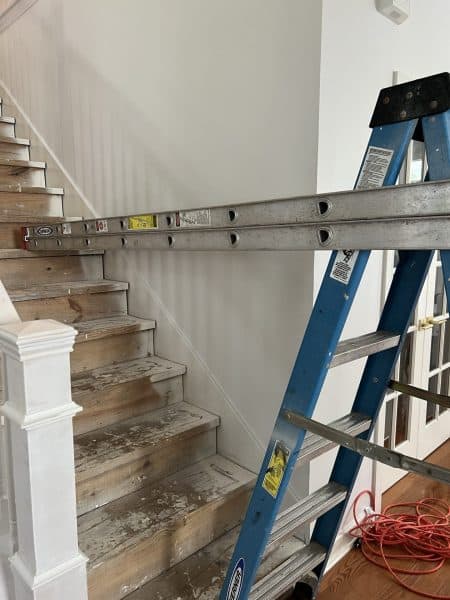
Remove the Carpet From The Stair Treads
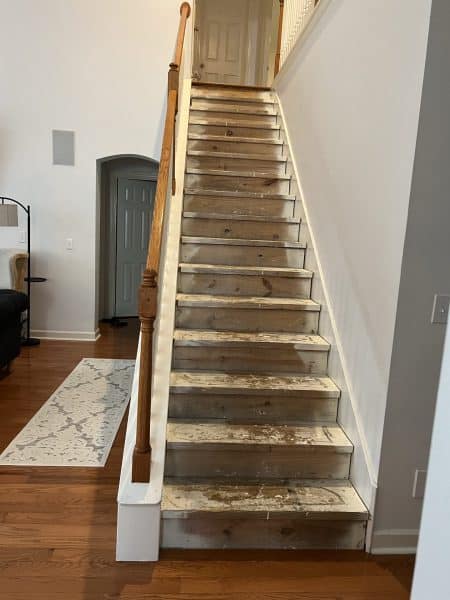
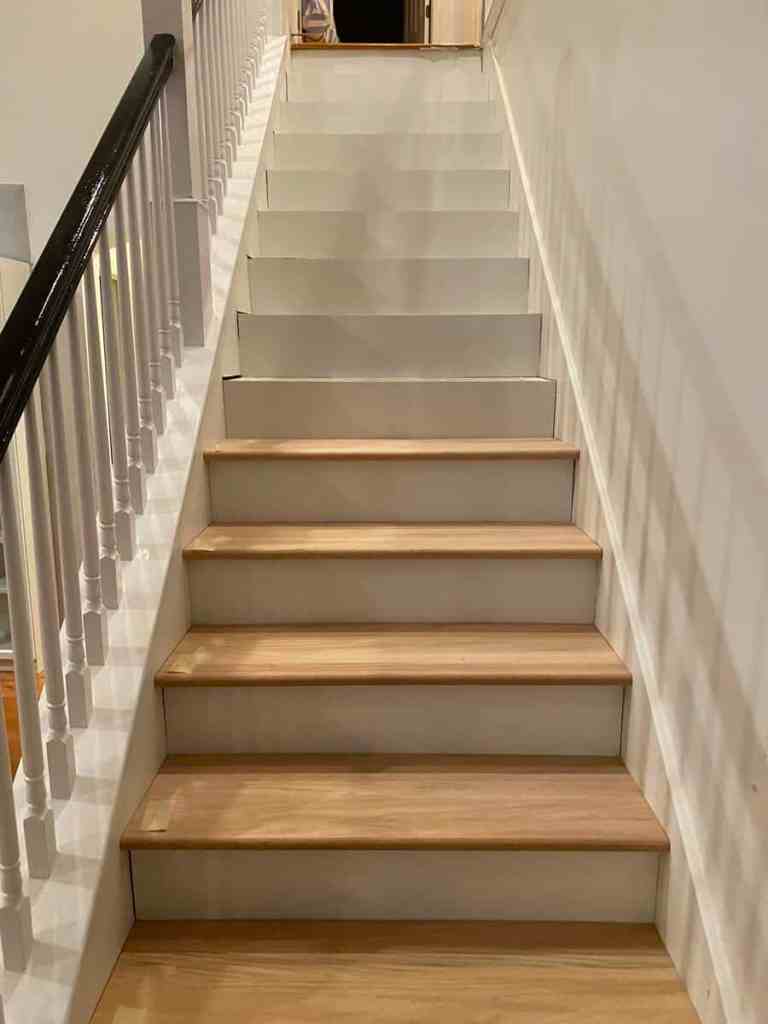
One day I stopped vacuuming the carpeted stairs and ripped off the carpet, thinking the plywood beneath would be better. It was, and we lived with it for weeks. Life and decision making got in the way.
Step 2:
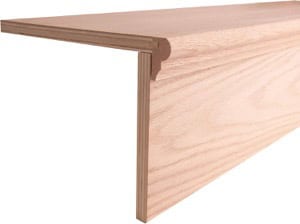
Choose Your Stair Tread
We had to decide which type of stair tread we wanted and these were our options.
Option 1:
Spend $600+ on 16 oak stair treads, cut our own risers, but have to remove the existing construction lumber treads to adjust the step height.

Option 2:
Buy a retrofit stair tread for about $700, and hope our boys don’t snap the front edge off when they are running up the stairs.
Step 3:
Update Newel Posts
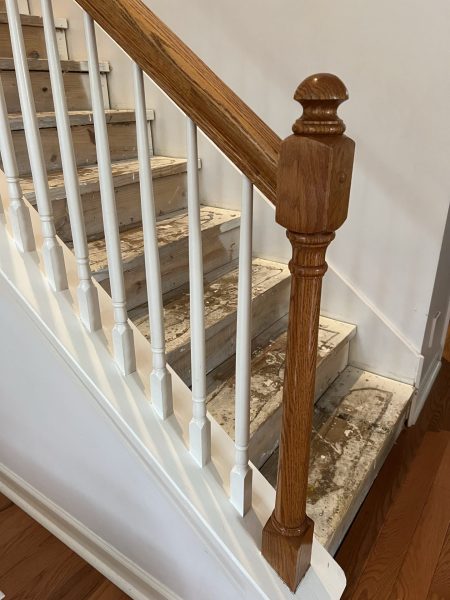
Replacing the newel post would’ve required rebuilding the entire railing system. Removing the newel post would’ve turned into a much bigger project, requiring us to take out and replace the balusters and railing too.
Instead of replacing the newel posts and banister, this is where we got creative. We decided to give them a new look by wrapping them in MDF and adding trim details. It was amazing how much of a difference this one change made to the overall look of our stairs.
This definitely saved us money, but also shortened the project by weeks.
How to Wrap Newel Posts in MDF
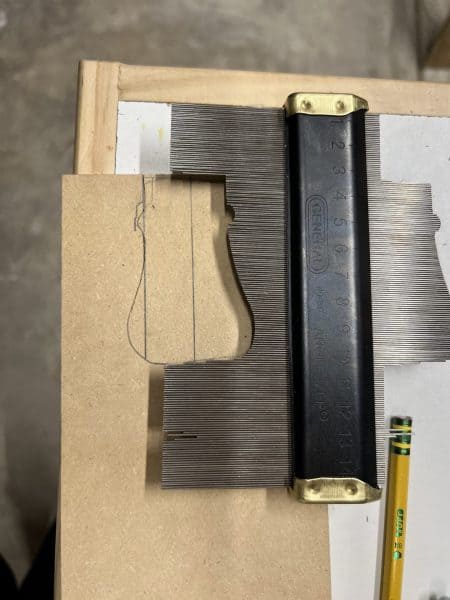
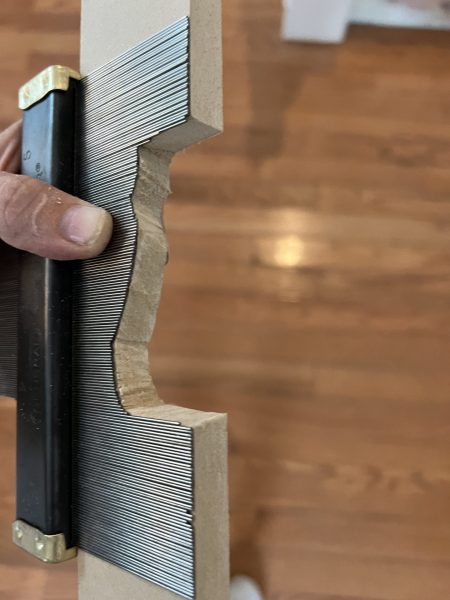
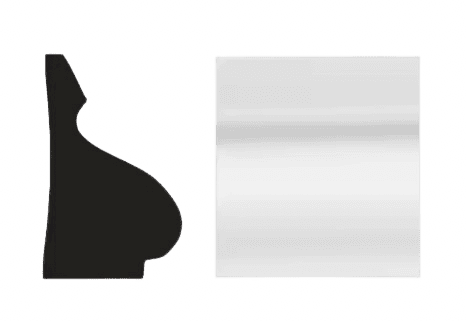
The most challenging step in the process is finding the angle to cut the MDF where it meets the base of the railing. We used a combination of tools to get the measurement exact in order to cut the MDF accurately. We used a contour gauge (for the profile), angle finder (for the incline measurement) and protractor (to trace the angle).
Additional MDF and trim were added at the bottom to give more dimension. Be sure to use plenty of wood filler and sand thoroughly at this stage.

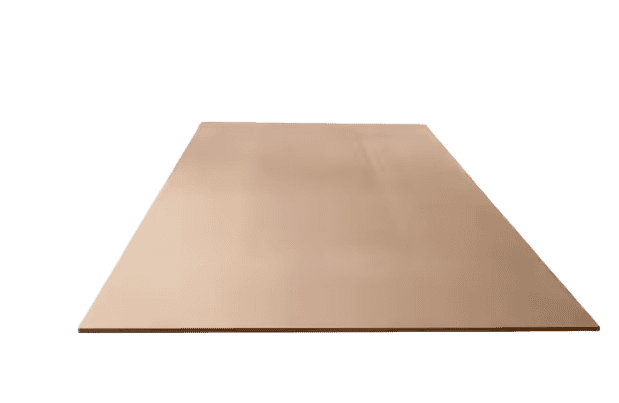
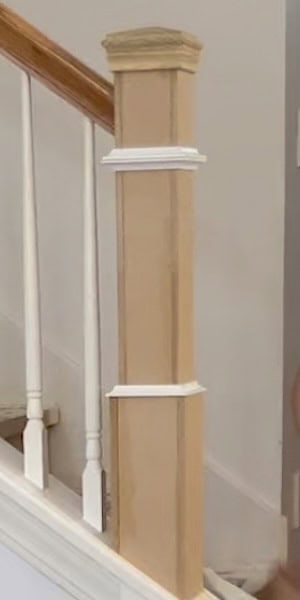
MDF needs to be primed, otherwise it soaks up all your paint
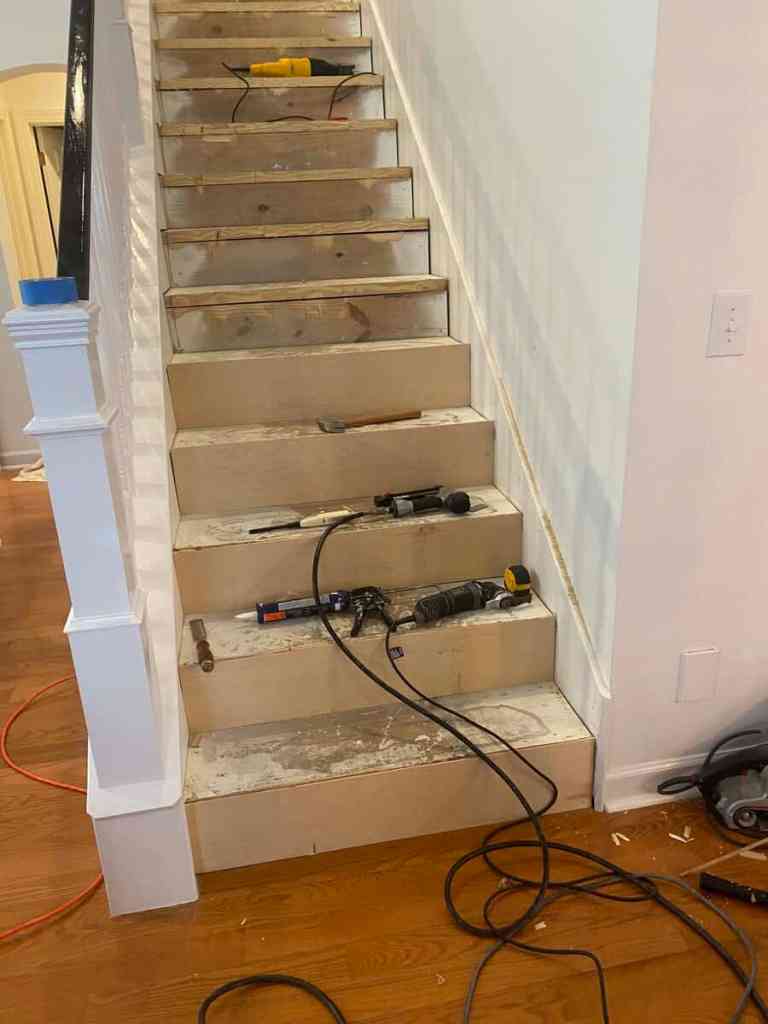
Step 4:
Install New Stair Treads
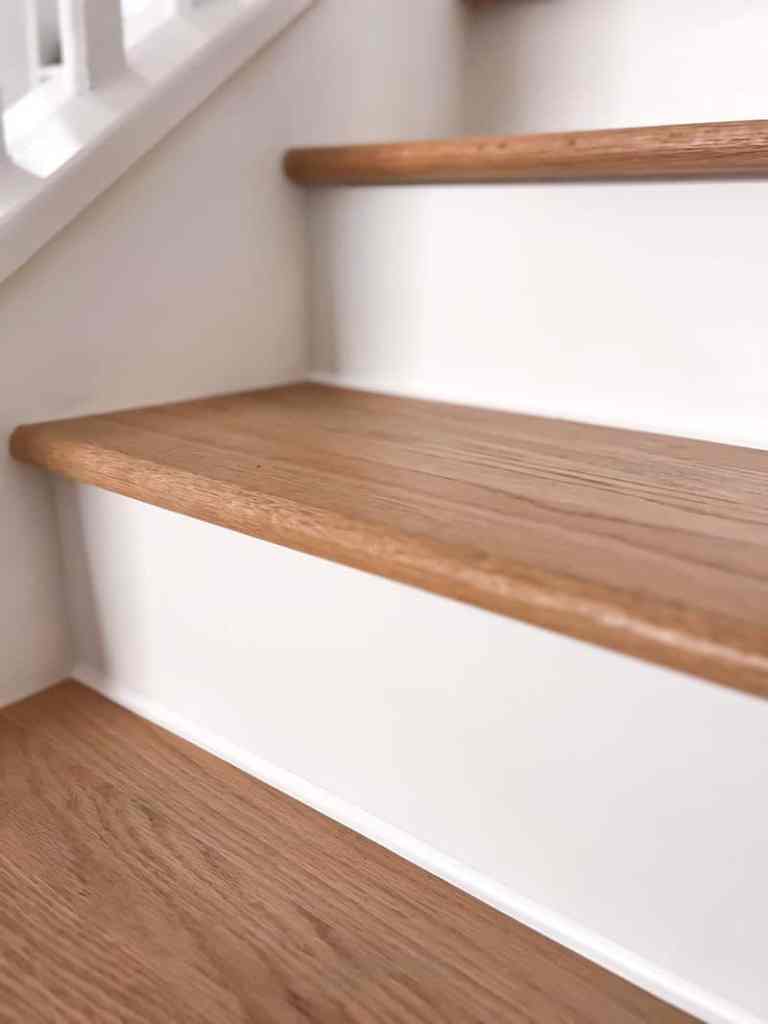
We found a steal on Facebook Marketplace. This sweet couple was selling 14 oak stair treads for $150. We ended up without question going with option 1. A few treads had been cut already, so we needed to purchase 5 extra. They look amazing, and I’m glad we went with solid wood.

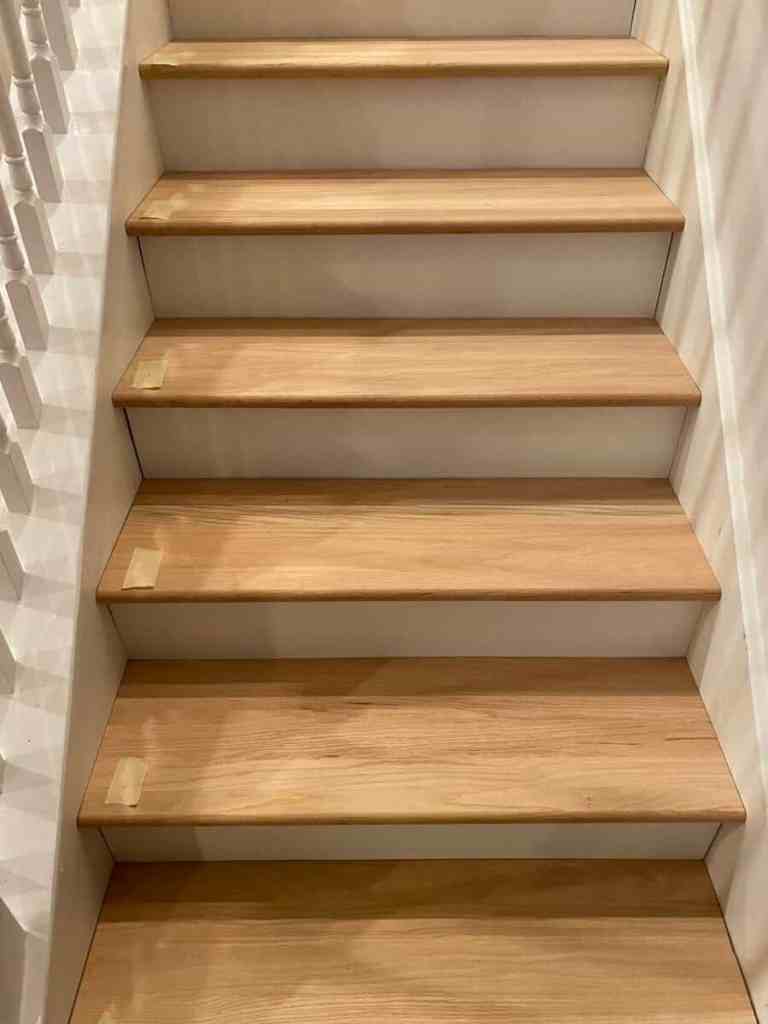
The new treads not only look good, it is so much easier to clean and disinfect. But honestly anything is better than carpet. A quick broom sweep or mop, instead of shortening or adjusting your vacuum and praying that the dirt/debris/dust mites/pet dander/lead/mold spores/pesticides/fecal matter is actually being removed. Is it just me that worries every cough is a result of the carpet you would love to replace?
Step 5:
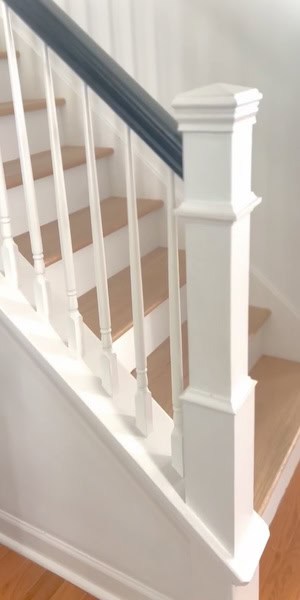
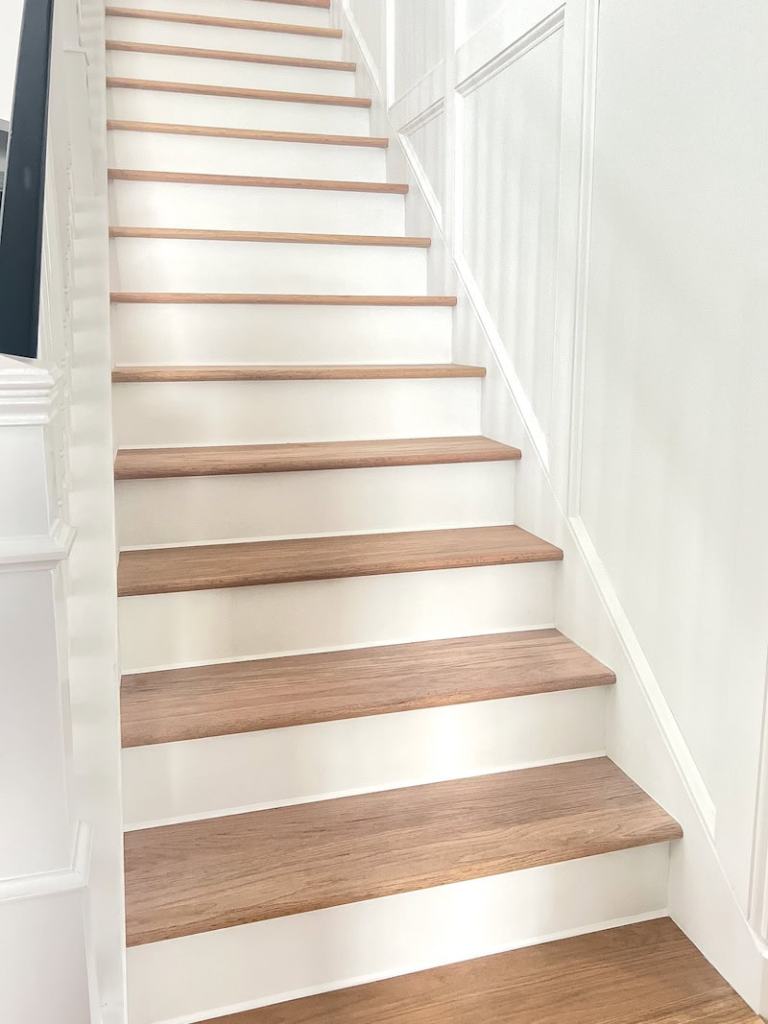
Paint and Finishing Touches
We used an oil-based enamel paint in black and white on the balusters and newel posts. You get a durable finish, that is easily cleaned with a Clorox wipe or magic eraser. And the high gloss finish made it look way more expensive than it actually was.
The paint job is going to be reflective of your prep, unfortunately high gloss paint shows every single imperfection.
We ended up painting a satin sheen over the high gloss on the newel posts because of this. It covered very nicely with only one coat. But if you are confident in your cuts go for the high gloss.

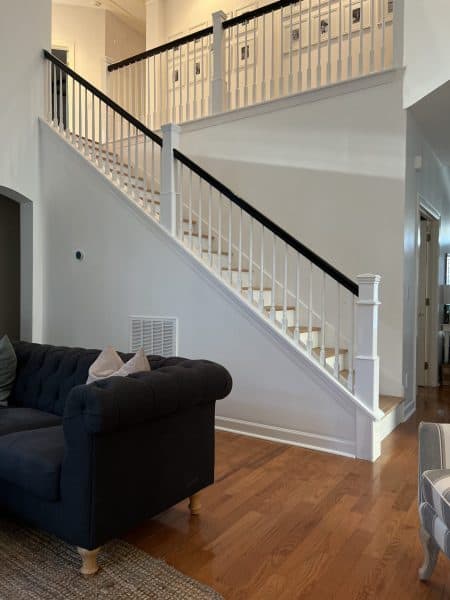
Staircase Renovation Before and After


Overall, renovating our stairs was a great experience and gave our home a fresh new look. If you’re considering a similar project, I would highly recommend it. I would also highly recommend coming up with a plan before you start ripping up carpet. It just takes a little creativity, inspiration pictures, and some DIY skills.
Still more to come…
Upgrade Your Stairs with InstaTrim
I was this close to calling it done. My staircase renovation was almost finished, but one tiny detail kept bugging me—those little gaps where the treads meet the risers and stringers. Normally, I’d grab a caulk gun, but the thought of taping off every single step? Nope, not happening. That’s when I found InstaTrim, a…
A Step-by-Step Guide to Installing Wainscoting Panels
Staircase Renovation Part 2: Learn how to easily install wainscoting panels; measuring, marking, and installing the molding.
More Staircase Projects

Weekend DIY: Repairing and Painting Exterior Stairs
f your exterior stairs keep peeling, chipping, or just won’t hold paint, this is exactly what fixed mine. I’m breaking down what actually caused the problem, what I did differently this time, and how I got the paint to finally last.

Upgrade a Staircase Rosette
Check out how I transformed my staircase with a simple weekend DIY project! Using scrap materials and a bit of creativity, I upgraded the rosette and gave the railing a fresh look. This budget-friendly makeover was easy to do and perfect for a quick weekend project!