How I Fixed a Broken Chair by Replacing the Springs with Chair Webbing
This chair had been getting worse for a while. A bent spring, lopsided seat, unstable, and honestly annoying to sit in. I knew I didn’t want to mess with rebuilding the springs. I’ve tried that before, and between the tension and the sharp metal, it’s way too easy to hurt yourself. After a little bit of research, I found out that you can swap out the springs for chair webbing. Upholstery webbing is the strong woven material that stretches across the frame of a chair or sofa to support the seat. Replacing the springs for chair webbing turned out to be a surprisingly quick and simple way to fix a broken chair.

Table of Contents
- What Was Actually Broken
- What I Used
- Step 1: Remove the Springs
- Step 2: Clean Up the Frame
- Step 3: Add the First Layer of Webbing (Front to Back)
- Step 4: Add the Second Layer (Side to Side)
- Step 5: Test It Before Closing
- Step 6: Close It Up
- FAQ: Reupholstering Chairs | Replacing Springs with Webbing
- Some More Quick Diy’s


What Was Actually Broken
Once I removed the fabric on the bottom, I found a snapped support board. The springs were still there, but one end had been tacked to the seat with a flimsy piece of plywood. So not very sturdy in the first place.
The padding and top fabric were still in good shape, which meant I didn’t need to reupholster the whole chair—just fix what was underneath.

Disclaimer: This page may contain affiliate links. If you click on one of these links and make a purchase, I may receive a small commission at no extra cost to you. I only recommend products and services that I believe will add value to my readers. See our full Affiliate Disclosure at this link.
What I Used
- Elastic upholstery webbing
- Heavy-duty staple gun (compressor) + staples
- Pliers and a screwdriver (or this kit)
- Scissors or a utility knife
One roll of webbing was more than enough. I fixed two chairs and still had some left over.


Step 1: Remove the Springs
I flipped the chair over and removed all the staples holding the seat fabric in place. Using a hammer, screwdriver, and pliers, I pulled out the metal clips and springs.
Once the springs were out, I had a clean wood frame to work with—and honestly, it was way easier than trying to wrestle broken coils back into place.

Step 2: Clean Up the Frame
I pulled out any loose staples and checked that the wood frame was still solid. If anything had been loose, I would’ve glued or screwed it first—but mine was still sturdy.

Step 3: Add the First Layer of Webbing (Front to Back)
I started by running webbing strips from the front of the seat to the back.
- First, I stapled the end closest to the seat back (about 4–5 staples).
- Then I pulled the strip tight—firm, not stretched like a trampoline—and stapled it in place.
- I wrapped the loose end around the front of the chair and stapled again.
- I used 5 strips, spaced about ½” apart.
The goal is a strong base with no big gaps that could sag later.

Step 4: Add the Second Layer (Side to Side)
Next, I ran webbing side to side over the first layer to create a grid.
- Stapled one end, then pulled it tight from underneath
- Same tension: tight, not overstretched
- Again, 5 strips across
This grid replaces what the springs used to do.


Step 5: Test It Before Closing

Before stapling everything back:
- I tucked the fabric back into place
- Put the legs back on
- Replaced the cushion
- Sat on it
- Checked it against the matching chair
If it dips more than about an inch in the center, it needs more webbing. Mine felt firm and even, so I left it.

Step 6: Close It Up
Once I was happy with the support, I stapled the dust cover back on and trimmed any loose fabric.
That was it.


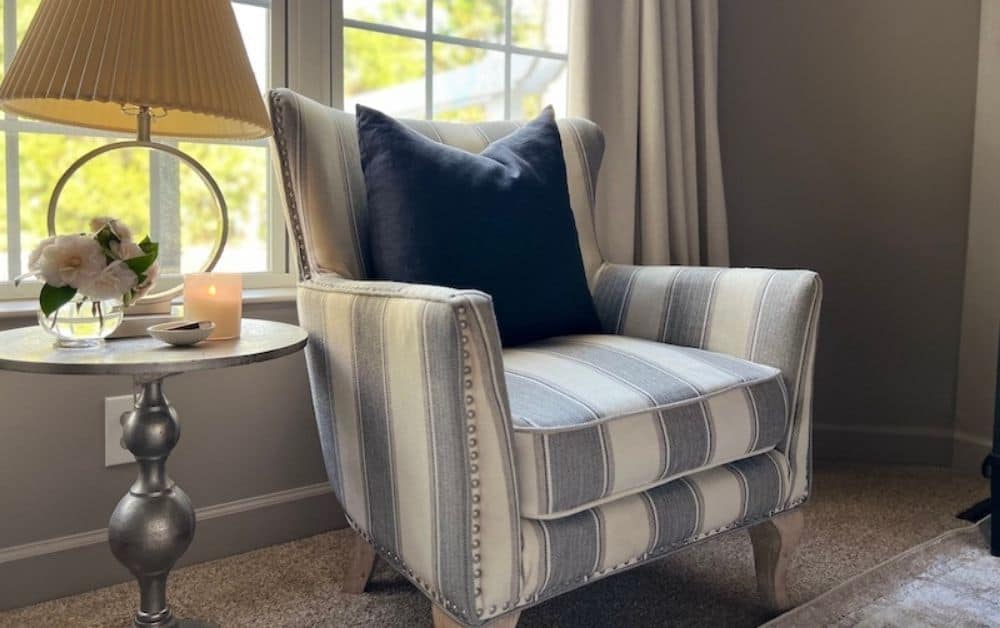
What It Feels Like Now
It’s more comfortable than it was with springs. There’s no bounce—but it’s solid, supportive, and doesn’t sag.
It feels almost exactly the same height as the other chair, which is exactly what I wanted for this space.


Would I Do It This Way Again?
Absolutely—and I already did. Right after this chair, I fixed an antique cane-back chair on my front porch using the same method. I just had to fold the front ends of the webbing neatly since they were visible.


Pros:
- Cheap and simple
- Quick
- No metal to fail later
- Quiet—no squeaks
- Strong and supportive
Cons:
- None so far
Final Take
If your chair has broken springs or collapsed support, you don’t have to rebuild the whole thing. Removing the springs and replacing them with upholstery webbing is a simple way to make it solid again.
It’s not traditional upholstery.
But it works—and sometimes that’s the only goal that matters.

FAQ: Reupholstering Chairs | Replacing Springs with Webbing
You can—but it’s way harder than it looks. Between special clips, tensioning tools, and wrestling heavy springs, it’s easy to make it worse or unsafe. After trying it myself, I’d say spring repair is better left to professionals unless you’re fully set up for upholstery work.
Natural fibers like jute or cotton give a firmer feel. Nylon and polyester are stronger and will last longer, especially outdoors. Elastic webbing is more flexible and comfortable, which is why I used it. The right choice really comes down to the style of the chair, how much support you want, and whether it’s for indoor or outdoor use.
No. It helps, but I just pulled the webbing tight by hand and stapled it in place. For elastic webbing you would use a stretcher with clamps, for traditional jute webbing you would use one with teeth.
Staple one end first, then pull the webbing tight and staple the other end. If it feels too soft after testing, add another strip or replace the loose one.
Some More Quick Diy’s

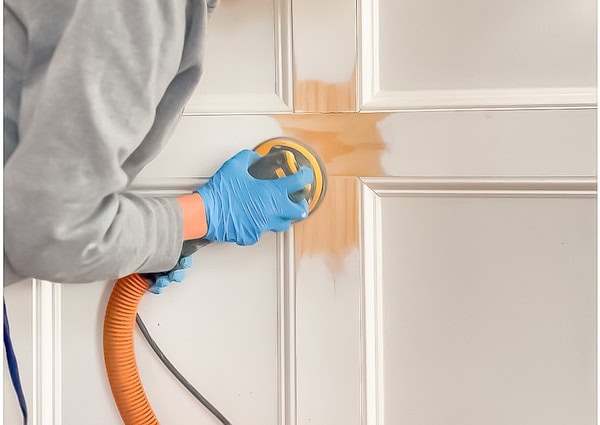
How I Used Restor A Finish to Fix Scratches on an Antique Vanity
Surface scratches don’t always mean sanding or stripping. I used Restore a Finish to refresh an antique sink vanity, soften scratches, and bring the wood back to life without refinishing.

Top Ways to Update a Home on a Budget
You don’t need a full renovation to make your home feel new again. From quick paint touch-ups and lighting swaps to creative furniture flips and DIY fabric projects, these budget-friendly ideas prove you can make big changes with small updates.

Turn an Old Mirror into a Headboard
Turn an Old Mirror Into a Faux Leather Headboard I upcycled a 90s dresser mirror into a faux leather headboard using foam, batting, and a staple gun. It’s budget-friendly, easy to clean, and the perfect DIY for a kid’s room or guest room.
Something went wrong. Please refresh the page and/or try again.