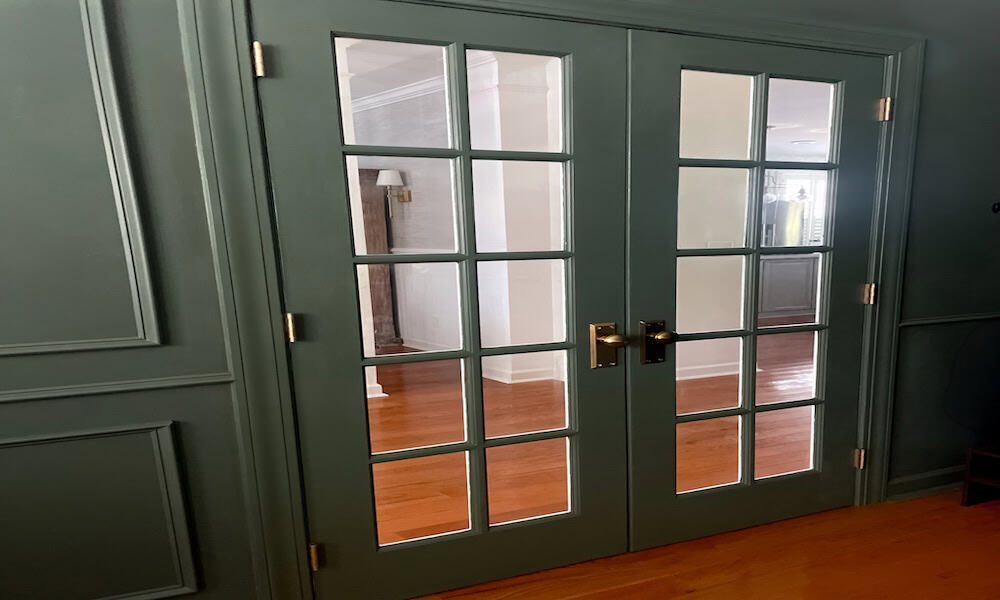
Painting French doors is a beginner friendly project, but it is easy to mess up if you skip prep or paint them in the wrong order. Peeling paint, brush marks, and sticky doors are usually caused by skipping steps, not the paint itself. Against the dark green walls, the stark white doors stood out and made the room feel unfinished.


Short on time?
Jump to the part you need
- Tools & Supplies (What’s Worth Buying — and What’s Not)
- What Went Wrong (Mistakes That Cost Me the Most Time)
- Prep Steps That Prevent Peeling
- How to Paint French Doors Without Brush Marks
- Finishing Touches & How to Keep Paint From Sticking
- The Before & After Reveal
- Final Tips Before You Start Painting
Tools & Materials You’ll Need
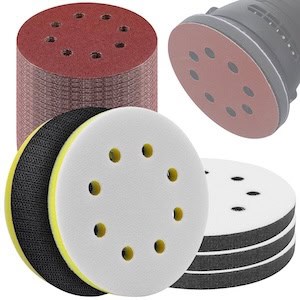
- Sanding Paper: I used a sanding block and my orbital sander with the foam attachment
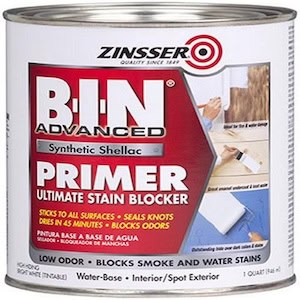
- Primer: Zinsser Bin Shellac primer (oil-based or water-based version)
- Oil-based paint: I used the Lowes Trim and Door paint because I had to match a discontinued color
- Paint brush: 1 1/2 angled brush and 2 1/2″flat brush
- Roller: Mohair works the best with oil based paint, but a high quality foam roller will work.
You don’t need anything fancy — just the right tools in the right places.


Disclaimer: This page may contain affiliate links. If you click on one of these links and make a purchase, I may receive a small commission at no extra cost to you. I only recommend products and services that I believe will add value to my readers. See our full Affiliate Disclosure at this link.
Tip: Investing in quality tools will save you time, frustration, and mess — Even if it means avoiding mistakes like scratching glass with a sander OR picking the wrong finish (like I did).

How I Prepped My French Doors
If your doors aren’t smooth, clean, and lint-free, this project will take longer—or just look bad. Mistakes are more noticeable in bold, saturated, color drenched rooms. So quality prep and tools are important.
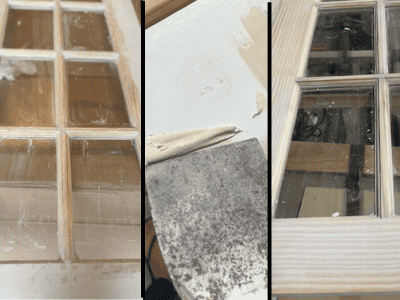
I bent sandpaper, used the putty knife, I even used a wood skewer to get into the grooves.
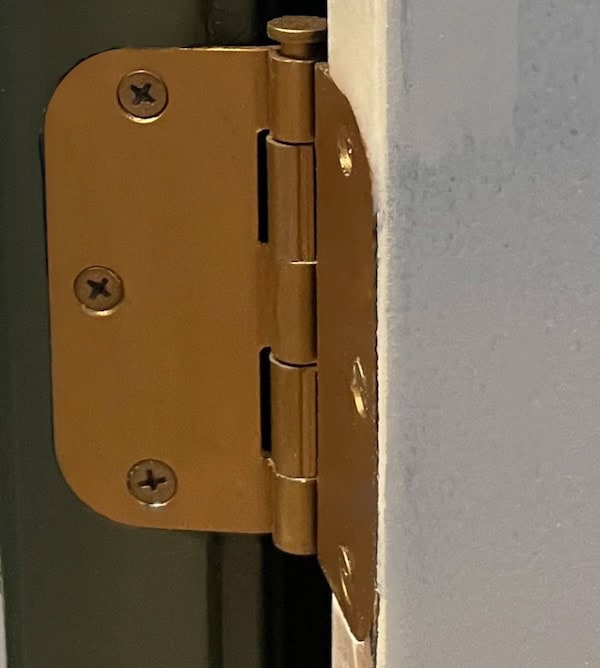 Remove hardware — knobs, locks, and hinges. (I rub ‘n buffed the hinges in antique gold)
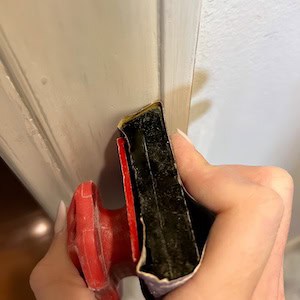 This is my favorite sanding block when using sheets
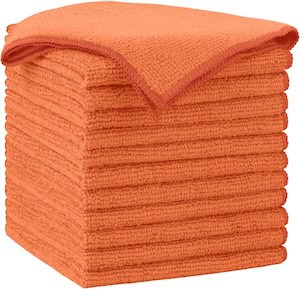
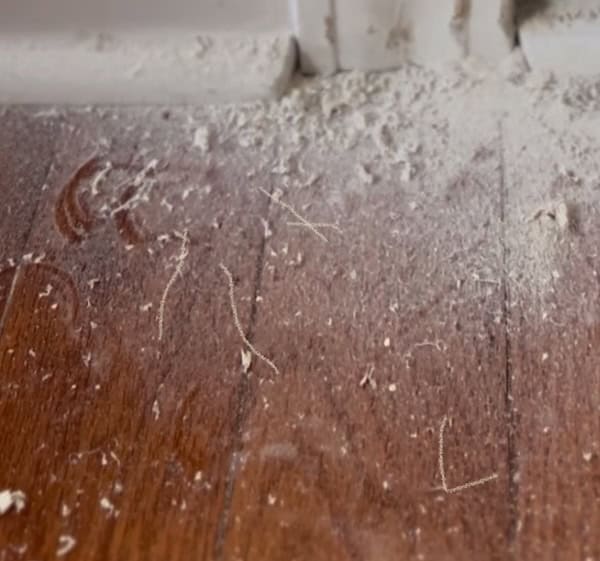 So much dust. I used a microfiber cloth, vacuum and tack cloth
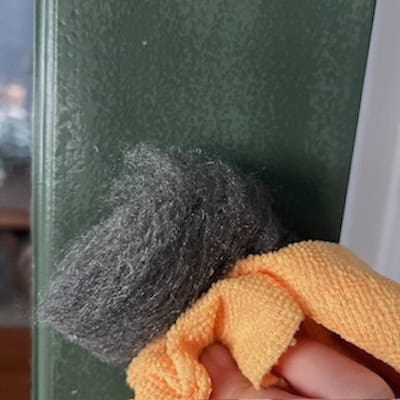 I like to use very fine steel wool to smooth out the paint
Tip: Be extra careful near the glass when sanding, I accidentally created tiny swirls in the panes when the orbital sander hit the glass.
Applying Primer and Paint to French Doors
I started with a shellac-based primer — “shellac sticks to everything and everything sticks to shellac” Once that was fully dry, I moved on.

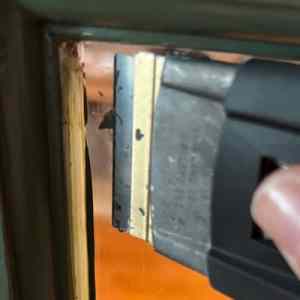
Instead of taping off every single pane, I used a putty knife in the grooves and then scraped any tiny mistakes with a paint scraper. It saved me money and time and the lines looked cleaner.
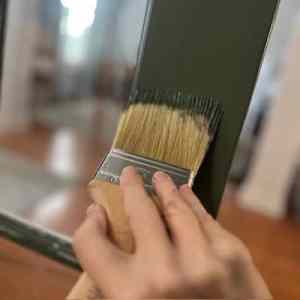
For the edges, I grabbed a tiny brush and carefully cut them in.
On the panels, I alternated between a roller and a larger flat brush and always back-brushed so the finish stayed smooth.
Between coats, I gave everything a light sanding to smooth out imperfections.

If I spotted any heavy drips, I used the carbide scraper first and then sanded again.

Finally, I went in with a second (and even third in some areas) coat until the coverage looked perfect.
Finishing Touches & Maintenance
I let the doors cure for a full 24–48 hours before putting them back up. But really wanted to put the doorknobs on.

Once they were dry, I went over every surface with a microfiber cloth to catch the last bit of dust and peeled paint, then followed with a tack cloth (I hate the way a tack cloth makes you’re hands feel).
On the hallway side, I grabbed the Windex out of habit and started wiping down the glass. Within minutes, I watched in horror as the paint basically dissolved with the cleaner. Lesson learned: windex is way too harsh. After that, I stuck to a water and microfiber cloths only.
The Grand Reveal Of The French Doors
Before & After
 This project made such an impact, which was what I was hoping for after all that work.
- Here is a reminder of the Before
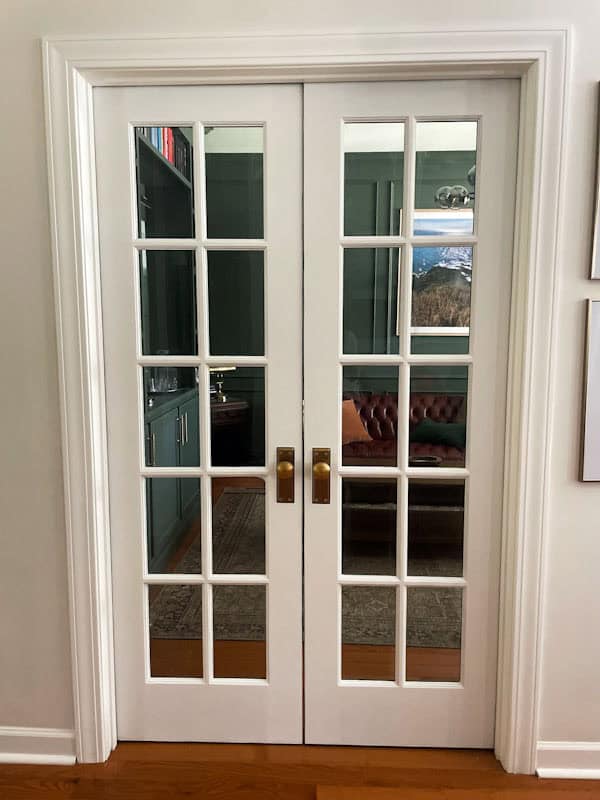
- The after is so much better
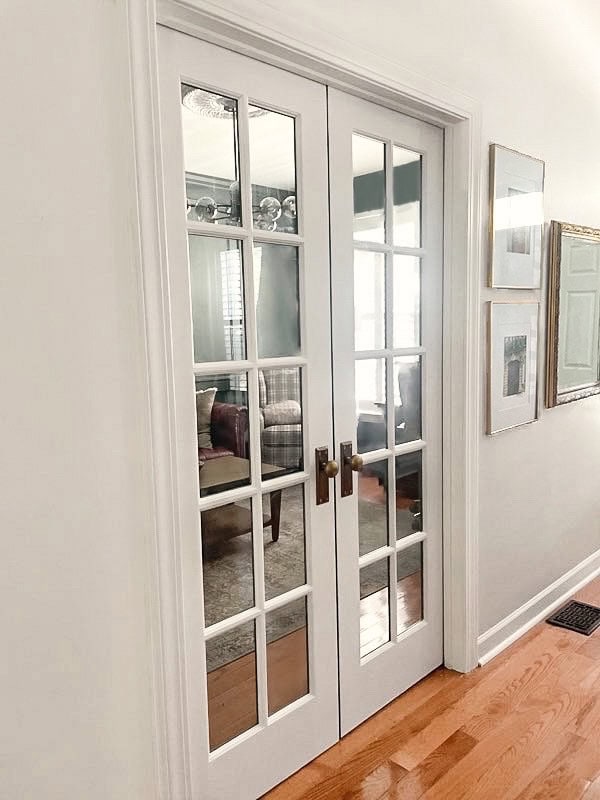
- The view from the hallway
- Another view from the hallway
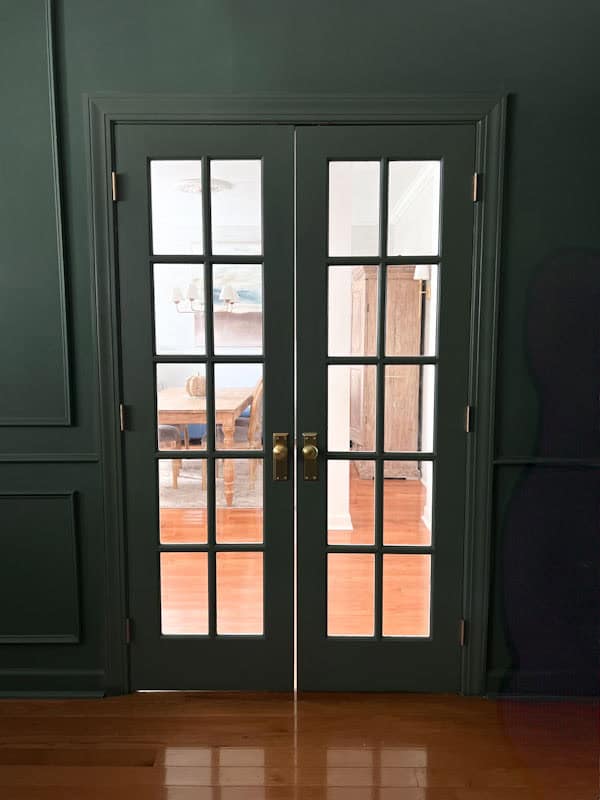
Before: White doors clashing with dark green walls— it felt boring and unfinished.
After: The green side ties into the office, and the white side blends into the hallway — everything finally looks finished.


What Went Wrong (and How I Fixed It)
I made every mistake you can imagine trying to get these French doors right… and the final paint choice that saved them wasn’t even my original plan.
Before I finally got these doors right, I had so many fails. I tried every method to get the old paint off. Some sort of worked (sanding— but it ruined the profile of the trim), some definitely didn’t (citri-strip— was a huge mess), and in the end I realized I should have just invested in a heat gun from the start.

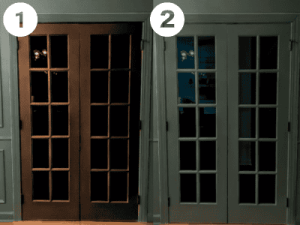
I was going back and forth on whether to stain or paint. Decided on the hallway side white and the office side stained. We have a lot of light cool colored wood in the room across. The dark mahogany color would look wrong if it was stained on both sides.
I used a dark gel stain that looked gorgeous. Then I sealed it with a lacquer… and that’s when things went downhill. Our garage door was opened and dust/debris landed all over the wet finish. I had to sand the entire thing back down and basically start from scratch.
After finally getting (another) smooth finish, I rehung the doors. When the hinges didn’t line up I realized I had stained the wrong side. At that point I just laughed (and maybe cried a little). Back to the drawing board.

Third times a charm? To block the dark stain from bleeding through I used a shellac-based primer. They were going to be white so I need to make sure this would be the last time I painted them.
Tip: If you choose the shellac oil-based primer it is like painting with sticky quick-drying milk. Use very thin coats and work quickly.

Wrapping Up This French Door Project
Painting French doors was way more involved than I expected, but totally worth it in the end. Between the sanding, the primer, and (more than) a few frustrating do-overs, I learned what not to do — and the final result completely changed the room. Now the doors tie the whole office together, and the white hallway side still feels bright and classic. If you’ve been waiting for a sign to paint, now you know all the ways you could mess up and now you can avoid them.


Longer than I thought! Between sanding, priming, painting, and curing, I spent a multiple days working on these doors. The actual hands-on painting didn’t take that long, but waiting for coats to dry and fixing mistakes definitely stretched it out. If you’re tackling French doors, don’t plan it as a one-evening project.
Honestly? The glass panes. No matter how careful you are, it’s tedious to work around that many little sections. I hated dealing with dried drips on the edges, but once I figured out my putty-knife-and-scraper method, it got way easier.
I’d skip the stain experiment, start with shellac primer right away, and set up in a cleaner workspace. I also wouldn’t open the garage doors mid-project—learned that one when dust blew right into the lacquer. Basically, better prep = less swearing.
Bonus: Grab Your Free Painting Guidebook
Quick note on the paint color: “Pristine Wilderness” (HGTV Home by Sherwin-Williams) is archived now — but you can still request the exact formula using code HGSW3262 at the paint desk. If you want something extremely similar, look for deep saturated moody greens with a low LRV around 13 so you get the same depth and richness.
More Painting Projects and Tips
Projects, tutorials, tips and ideas you can use for your next paint project.


Something went wrong. Please refresh the page and/or try again.