

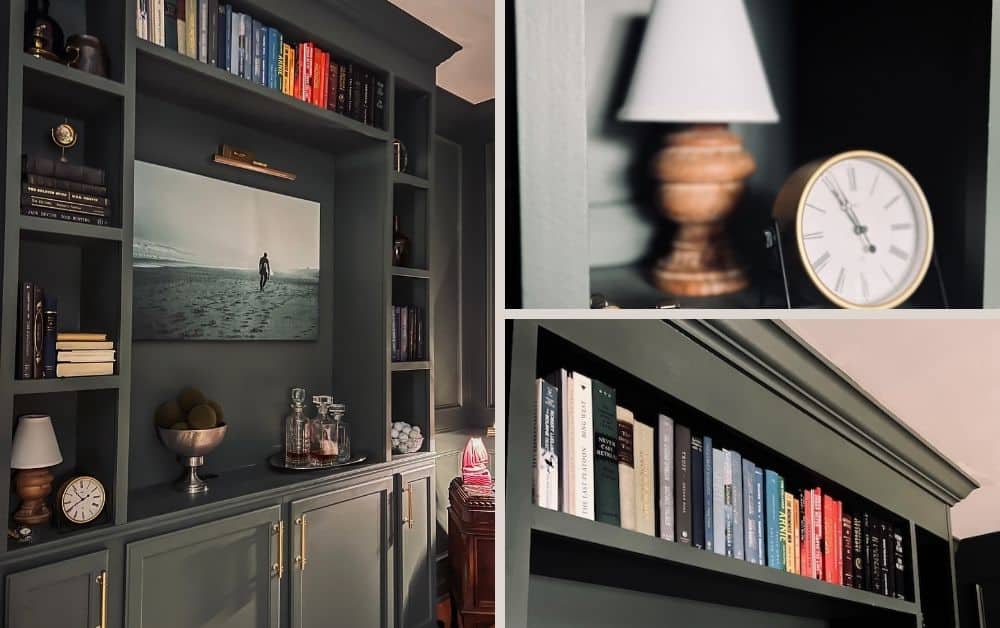
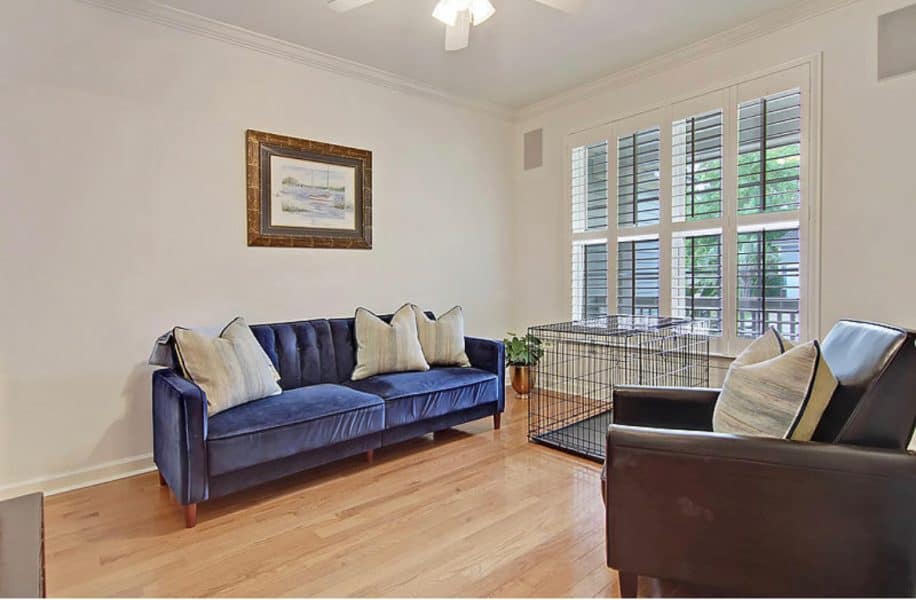
If you’ve been thinking about built-ins but have no idea where to start, this is exactly how I did mine—what worked, what didn’t, and what I’d do differently. This room used to feel unfinished and underused, with mismatched furniture and not nearly enough storage. I wanted it to function as a home office but still feel warm and pulled together, so built-in bookshelves with cabinets ended up being the best solution..
Home Office Renovation
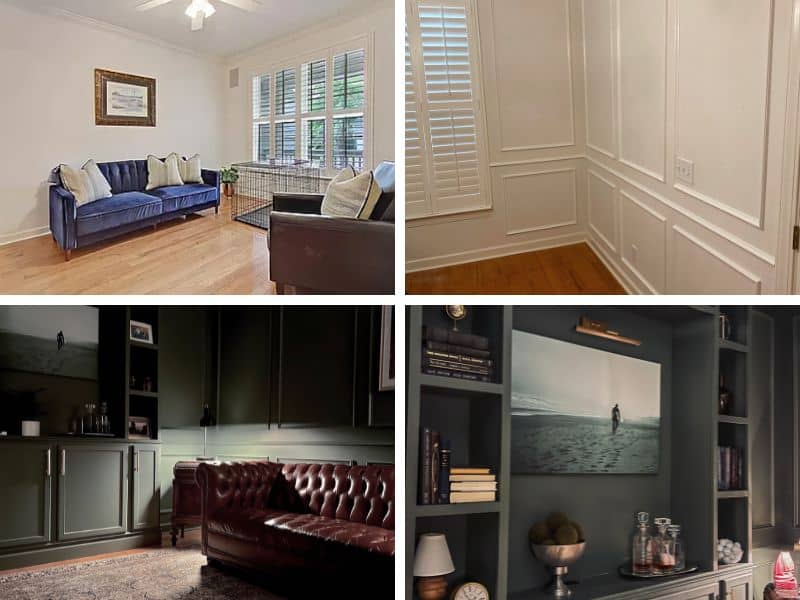
Before: What This Home Office Looked Like


Disclaimer: This page may contain affiliate links. If you click on one of these links and make a purchase, I may receive a small commission at no extra cost to you. I only recommend products and services that I believe will add value to my readers. See our full Affiliate Disclosure at this link.
What to Know Before Building DIY Built-In Bookshelves
- This is not a one-day project
- Walls are never straight (this matters more than you think)
- Cabinets save a ton of time vs building from scratch
- Planning spacing is harder than building
How to Build Built-In Bookshelves with Cabinets (Step-by-Step)
Materials and Tools for DIY Built-In Bookshelves
These are the materials we used, but you can swap these out to achieve any look you like!
Materials
- 24″x30″ cabinets for the center cabinets
- 12″x30″ cabinets for the side cabinets
- 4/8 Sheet of 3/4″ Sande Plywood for the built-in open shelving
- Primed Trim board along the top
- 1×2’s for the face-frames.
- Crown Moulding to frame the top of the bookcase
- Cap Moulding to hide where the bookcases met the cabinets
Step 1: Measure and Plan Your Built-Ins
Sometimes everything works out exactly the way I pictured it, and sometimes you have to adjust as you go because a wall is uneven, a cut is slightly off, or something unexpected happens during the build. That was definitely the case with our closet renovation, and this project had a few of those moments too. The best thing you can do is plan as much as possible, then stay flexible.


Step 2: Build the Base Using Stock Cabinets
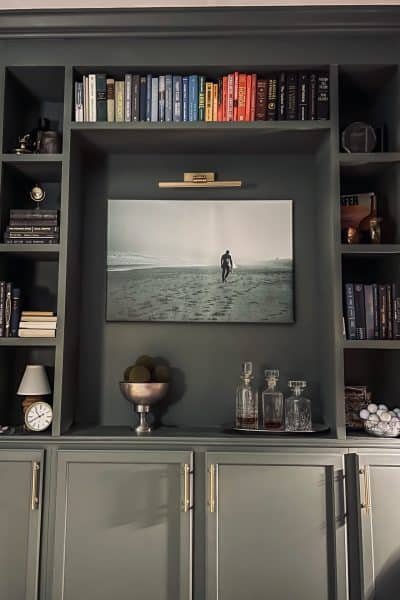
We used stock cabinets to create the base, then built everything else off of that. For this project, we used two 24″ x 30″ cabinets and two 12″ x 30″ cabinets. The shelving only took one 4×8 sheet of 3/4″ Sande plywood, which helped keep costs down. We also used a primed trim board across the top and 1x2s for the face frames to give everything a more finished, built-in look.
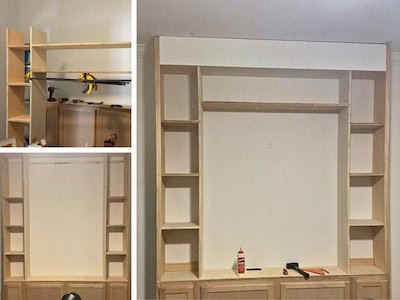
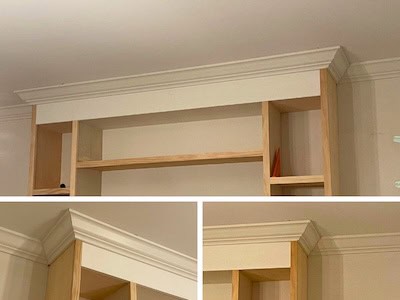
This is where we used the primed trim board across the top. We needed a 1″ x 12″, but the size you need will depend on your ceiling height and the height of your shelves.
Step 3: Add Trim for a Custom Built-In Look
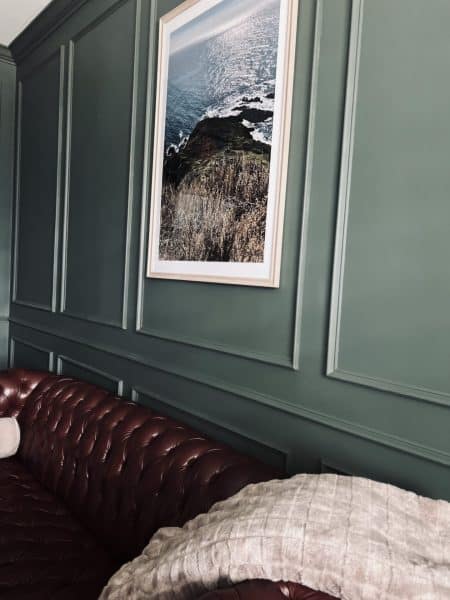
Once the main structure was in, the next step was adding trim. This is what gave the room more character and helped everything feel custom instead of pieced together. We matched the existing crown moulding in the room for the top of the bookcases.
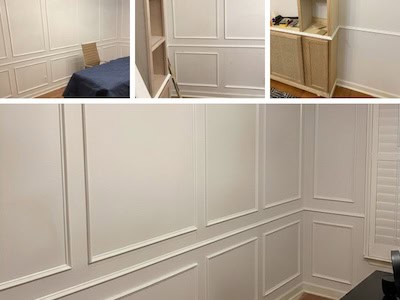
We also used base cap trim for the wall detail and to wrap the bookcases. One thing I would do differently: I would skip PVC moulding if you’re planning to use a dark paint color. It can work, but only if you prime it really well first and give it enough time to fully cure before painting. I tested that the hard way, and for dark paint, waiting the full three days really does matter.
Step 4: How I Painted These Built-Ins (And What Made the Difference)
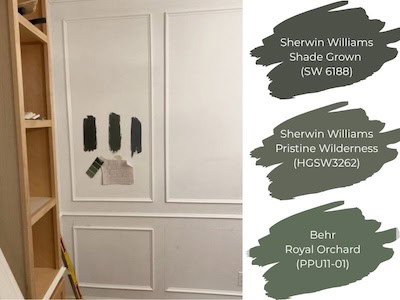
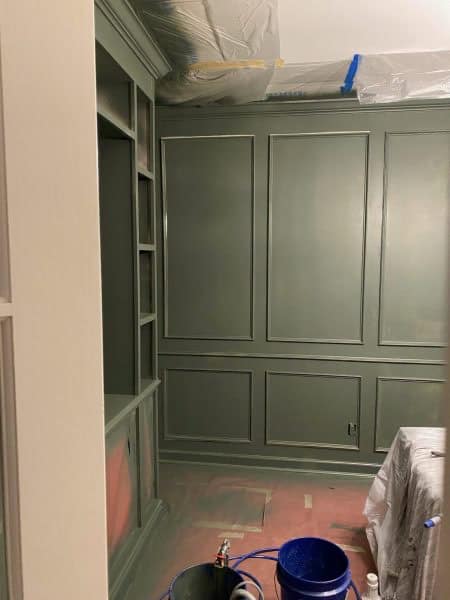
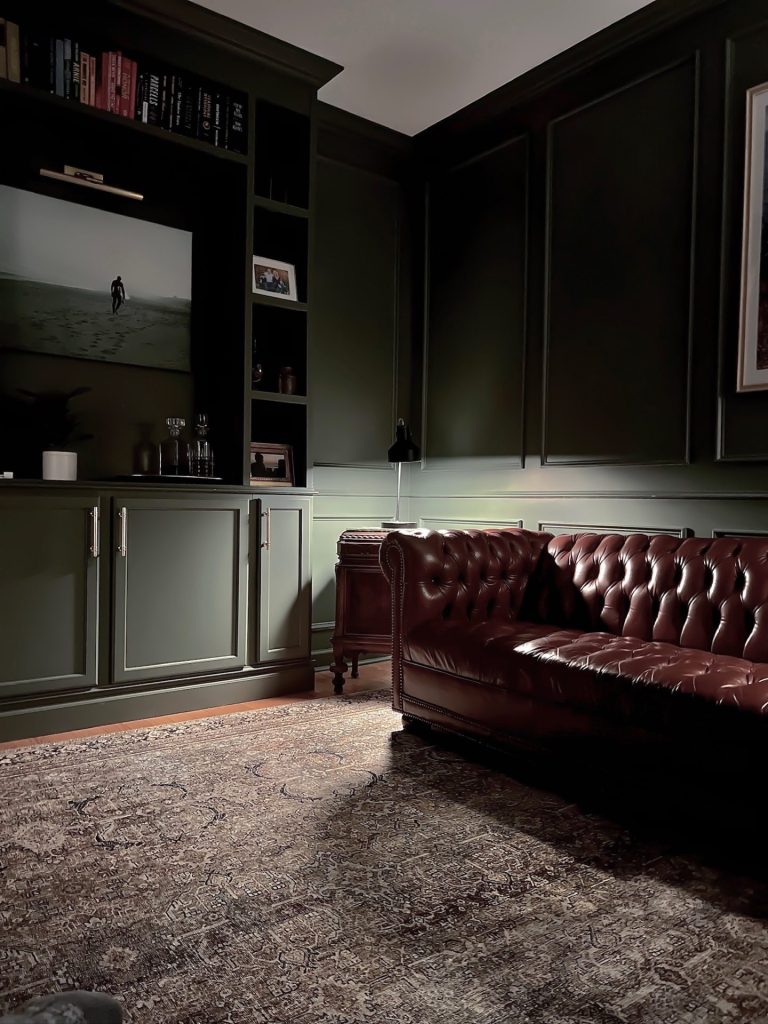
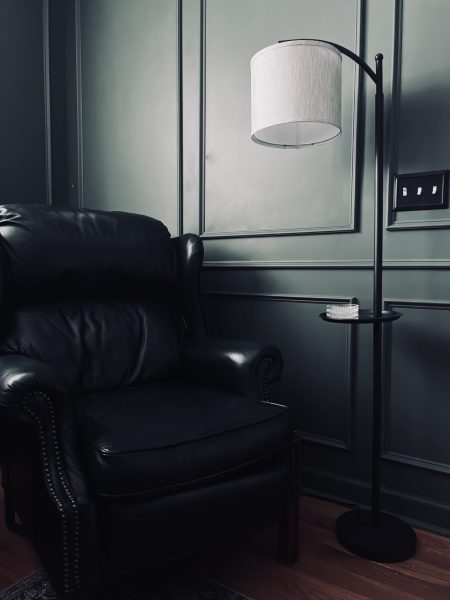
To save time and get a smoother finish, we used a paint sprayer (Graco Magnum 257025 Project Painter Plus Paint Sprayer) instead of a brush and roller. It made a huge difference, especially on the built-ins and trim. We ended up choosing SW Pristine Wilderness, which gave the room the rich, moody look I wanted. Using a sprayer made the whole process faster and gave much more even coverage.
Step 5: How to Style Built-In Bookshelves
Once everything was painted, it was finally time for the fun part—styling the shelves. I mixed books, vintage pieces, decorative boxes, and a few personal items so it didn’t feel too staged. The cabinets below gave us a place to hide office supplies and all the less pretty stuff, which made the room feel a lot calmer and more functional.


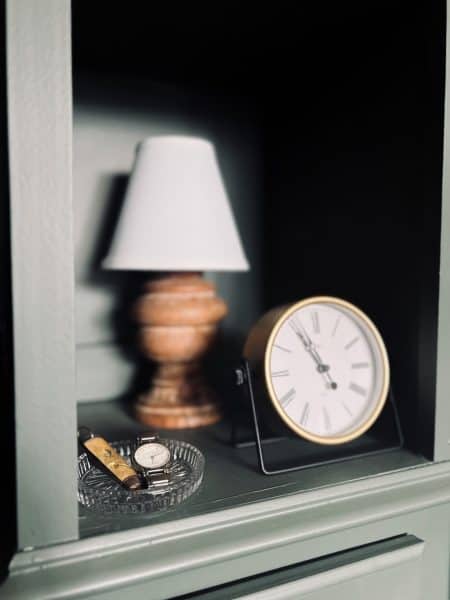

Home Office Built-In Bookshelves: Final Reveal
Common Problems When Building Built-Ins (and How to Fix Them)
Like every renovation project, this one came with a few issues along the way:
- Uneven walls: We had to shim and adjust more than expected to keep everything level.
- Learning curve: This was my first time using a paint sprayer, and there was definitely some trial and error.
- Time: It took longer than I expected, mostly because I didn’t want to rush the details.
What I’d Do Differently If I Built These Again
- I would finalize shelf spacing even more before starting the build.
- I would avoid PVC trim for dark paint unless I had extra drying time built in.
- I would expect more shimming from the start, because the walls were definitely not straight.
Are Built-In Bookshelves Worth It? (My Honest Take)
This project completely changed the way this room functions. The built-in bookshelves added storage, made the whole space feel more finished, and gave us a place to hide a lot of the everyday clutter. It took more time than I expected, but it was absolutely worth it.
If you’re thinking about doing built-ins in your own home, my biggest advice is to plan as much as you can, expect a few adjustments along the way, and don’t let that throw you off. A project like this can feel intimidating at first, but once it starts coming together, it makes a huge impact.
More Ideas
If you’ve got more time for home improvement ideas check out these projects.















Leave a Reply