A Fresh Start for a Cramped Closet. I hit my breaking point in our narrow, cluttered walk-in closet — wrestling with useless wire shelves that made the space feel smaller and less functional. With my husband out of town and no plan in place, I tore everything down and committed to a total closet makeover. What started as frustration became my favorite DIY projects in our home.


Go straight to
Disclaimer: This page may contain affiliate links. If you click on one of these links and make a purchase, I may receive a small commission at no extra cost to you. I only recommend products and services that I believe will add value to my readers. See our full Affiliate Disclosure at this link.
The Closet Before: Wasted Space Everywhere
Our “walk-in” wasn’t working. The wire shelving sat too high, there was zero storage for folded clothes or shoes, and the whole layout felt wasted. It functioned — barely — but it didn’t solve any of our storage problems
The Impulse Move (and What Came Next)
I’ll admit it: demo without a plan isn’t the smartest start. But sometimes desperation beats logic. Once the shelves were gone, I had to figure out how to rebuild this closet into something organized, functional, and worth walking into. After a lot of research, measuring, and trial and error, this project became one of the most life-changing DIYs in our home.
Preparing the Closet for Renovation
When we decided to go all in on this project, the first thing I tackled was the flooring. The old carpet had to go.

Later, we replaced it with an affordable laminate from Home Depot. While it looks good, I wouldn’t recommend this option for high-traffic areas. It scratches easily, so consider spending a little more on a durable flooring if you’re renovating a space that will get daily use.


Before building anything, I had to figure out exactly what I was working with. That meant grabbing a reliable measuring tape (shop my favorite measuring tools here) and drawing out the space.


With the plan in place, it was time to clear the space. The builder-grade wire shelves came down quickly, but they left behind plenty of holes to patch and walls to repaint. Starting with clean walls gave me a blank canvas for the build.


Building the Closet System
Instead of buying a custom closet system, I pieced together a solution using a mix of affordable pieces and DIY modifications:


- Back wall: Three IKEA Pax wardrobes, cut narrower so they’d fit the depth of the closet.
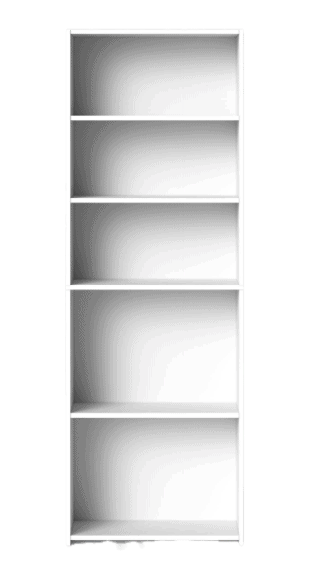
- Left wall: Target bookcases, modified (stacked and one section cut narrower) to create storage and shelving.
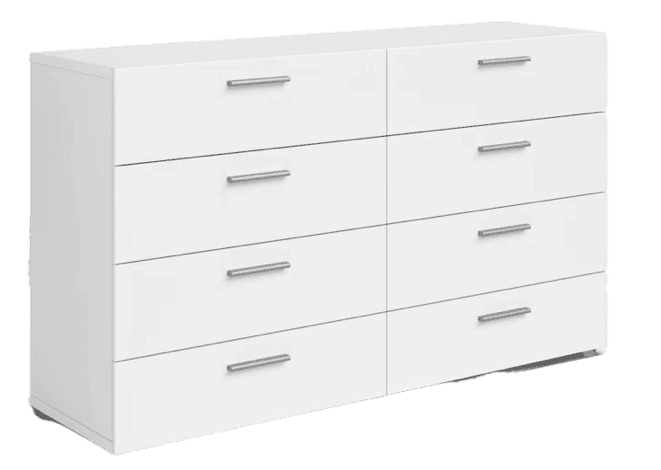
- Right wall: Melamine panels that I created frames from, combined with an existing dresser I already owned.


DIY Note: Working with ready-made pieces (like IKEA wardrobes or Target bookcases) sounds simple, but cutting and modifying them to fit a non-standard space takes patience. Measure carefully and expect to make adjustments.


What I Learned (the Hard Way) : Accurate measurements are everything. I found out the hard way when I assembled shelving for my handbags in the bathroom, only to realize it didn’t fit once I tried to move it into the closet. I had to disassemble, re-cut, and rebuild — a mistake I won’t make twice.

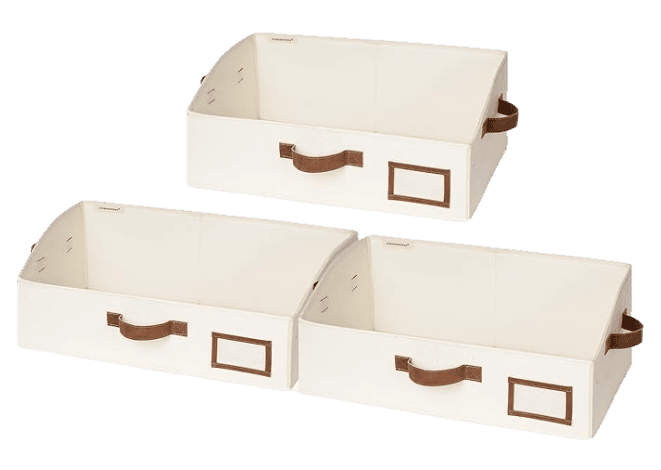
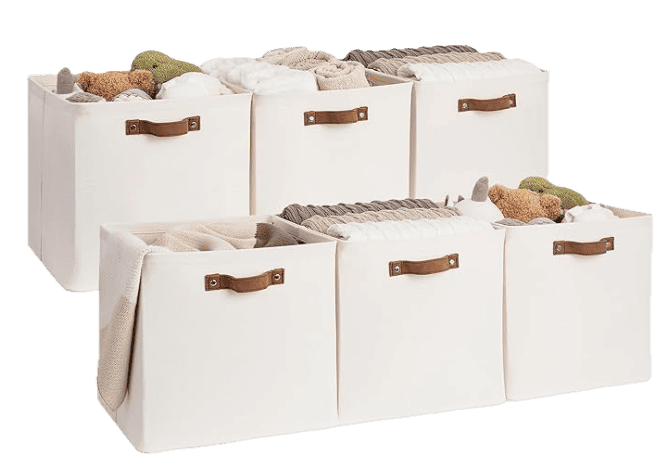
Once the major pieces were installed, I added additional shelving to maximize vertical space. Adjustable shelves gave me flexibility for shoes, open cubbies created space for bags and folded clothes. By using pre-made elements and making DIY adjustments, I finally had a closet layout that worked for our real, everyday needs.

DIY Note Bring a piece of the melamine to the paint store to color match, I only had the paint the face frames to get everything to match. I used Behr’s Alkyd Enamel in Semi-Gloss.

Design Finishes (Make It Feel Built-In)

- Trim & Fillers: I added simple face frames and filler strips to close gaps around the IKEA/Target parts so everything looked like a single unit.
- Caulk & Paint: Caulked seams, filled nail holes, and painted everything the same color (inside edges included).
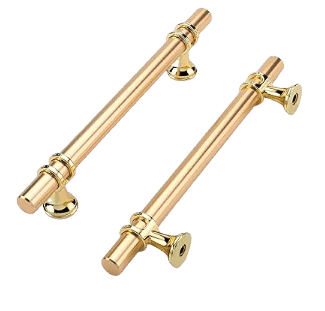
- Hardware & Rods: Swapped in sturdier closet rods and added new hardware
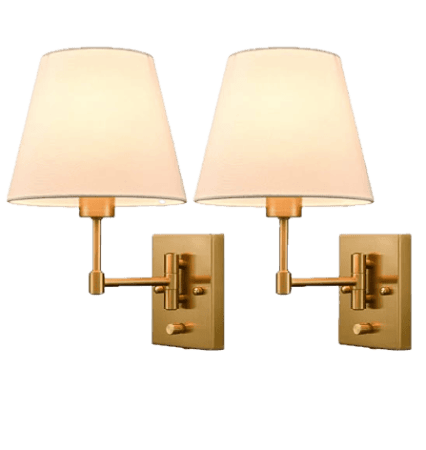
- Lighting: Bright, neutral-white bulbs since there is absolutely no natural light
Before & After Reveal
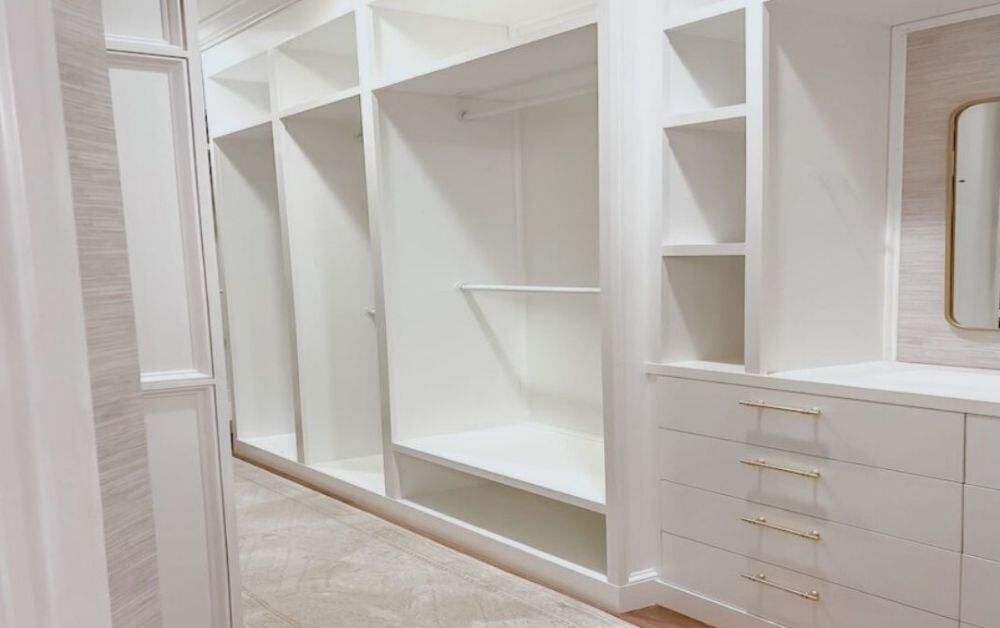
 The finished build before moving clothes back in — everything finally has a place.
 From basic storage to a custom shoe wall — these Target bookcases were modified to create built-in shelves.
 The full transformation: a builder-grade closet with wire shelving turned into a functional, stylish space with custom storage.
Budget & Timeline (Real Numbers)
Budget
- Flooring: $130 (laminate; looks good but scratches—would upgrade for high-traffic areas)
- IKEA Pax units (3), cut narrower: $450
- Target bookcases (6) (modified): $240
- Melamine panels/pocket hole screws/glue: $450
- Paint/caulk/filler/trim/rods: $350
- Finishing Touches: $250
Total: ~$2000
Timeline:
(*estimate if I worked straight through without interruptions)
Demo & patch: 2 days
Cut/modify installs: 10days
Trim/paint/finish: 3 days
Total project time: 15 days
Lesson Learned: Modifying ready-made pieces always takes longer than you think. Dry-fit every unit with what you will actually be storing inside, before you commit.
The Result: A Functional and Stylish Closet


Challenges and Lessons Learned
This project tested me in more ways than I expected. From ripping out shelves without a plan to re-cutting pieces that didn’t fit, I learned the importance of slowing down, measuring carefully, and giving myself room for mistakes. DIY isn’t always perfect, but every misstep taught me something new — and in the end, that’s what makes the space feel so rewarding.
Ready to Start Your Own Closet Renovation?
If you’ve been putting off tackling your own chaotic closet, let this be your sign. You don’t need a massive budget or a fully custom system to create something functional and beautiful. With a little creativity (and some trial and error), you can turn even the most awkward space into a closet that works for you.
Shop the sources from this renovation below. And if you’re looking for more inspiration, check out my DIY Laundry Room Makeover and Built-In Bookshelves Project.
Shop The Look


Frequently Asked Questions
Go vertical. Use tall shelving, double rods, and cubbies that fit your needs. I customized my walls differently—Target bookcases on one side, an IKEA Pax hack on the back, and a dresser with melamine panels on the other. Designing around how you actually store clothes makes a narrow closet way more functional.
My closet is still narrow, but it feels functional instead of frustrating. Clear zones for shoes, folded clothes, and hanging items.
Honestly, I’d slow down and measure more carefully. Cutting down IKEA units and bookcases to fit a narrow closet isn’t forgiving, and a fraction of an inch makes a difference. If you’re doing this yourself, give yourself time and don’t rush.
For me, it was modifying ready-made pieces to fit a space that wasn’t standard. And the weight of the melamine boards, I have a scar from dropping one on my foot!


