


Restoring Scratches in an Antique Sink Vanity with Howard’s Restor-a-Finish
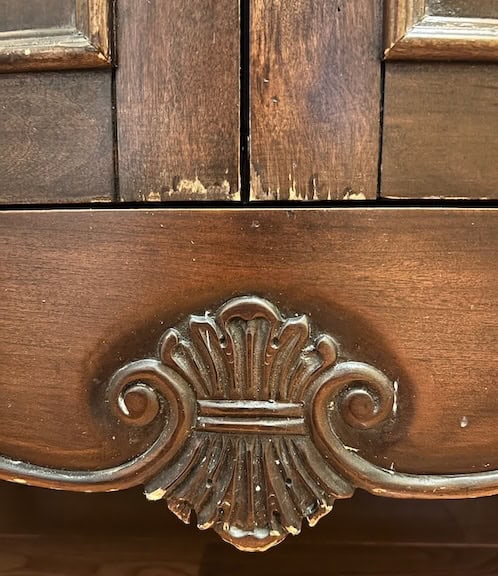
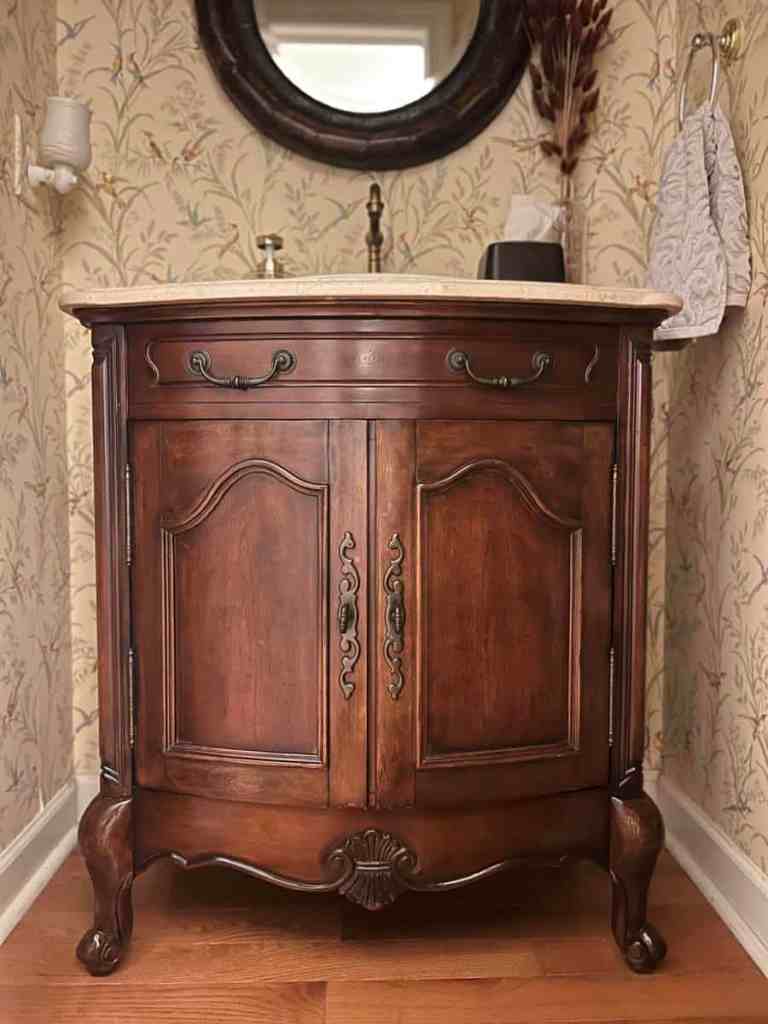
This antique sink vanity had good bones, but years of use left visible scratches on the cabinet doors and worn spots around the feet. I was looking for a way to make it look better without sanding, stripping, or refinishing it. All I wanted was to bring back some of it’s original beauty without losing its character, and Howard’s restor a finish is the perfect way to do just that.
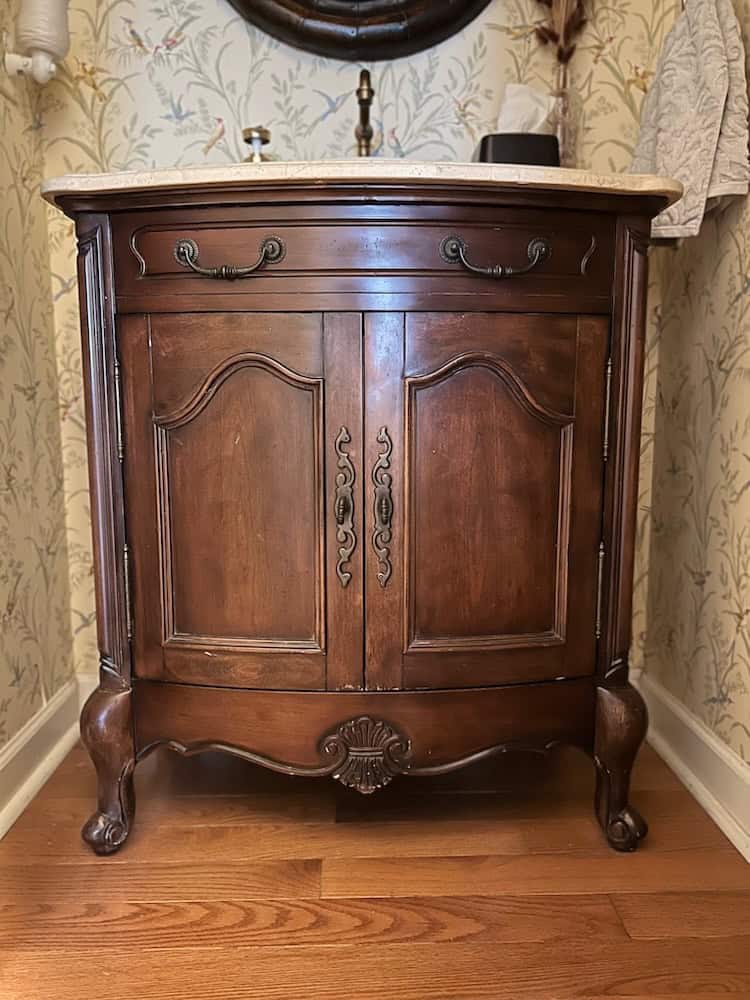
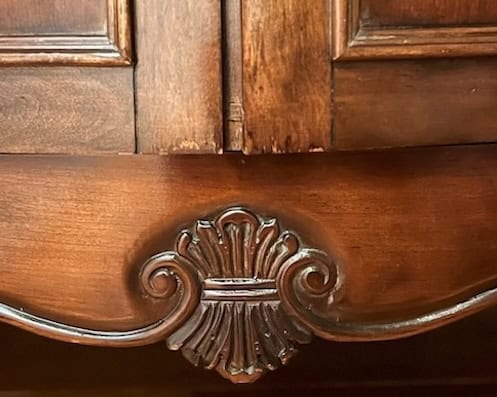
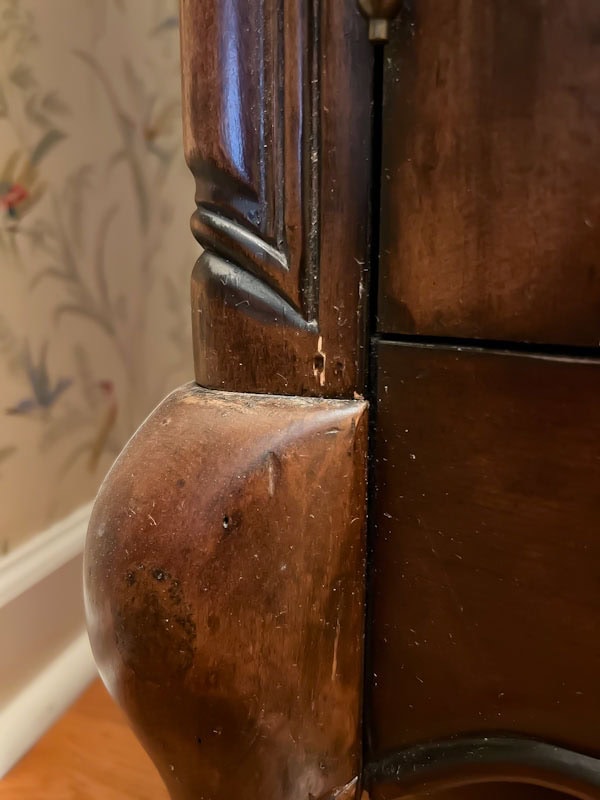
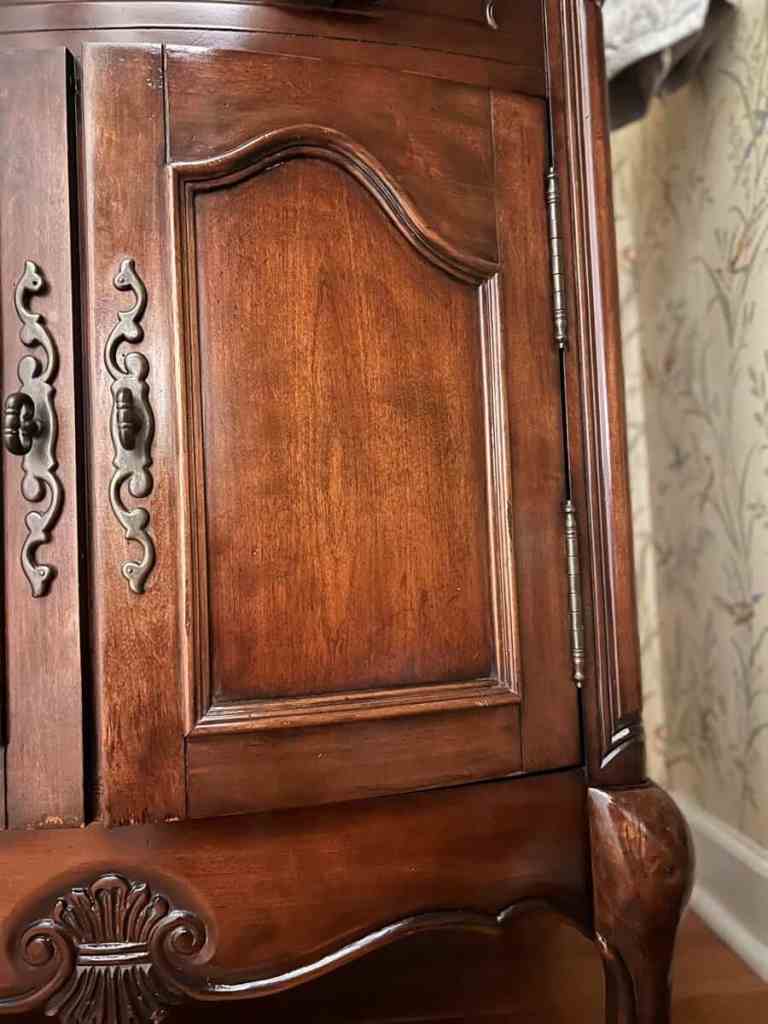
 Worn and scratched before restoring the wood with Restore a Finish.
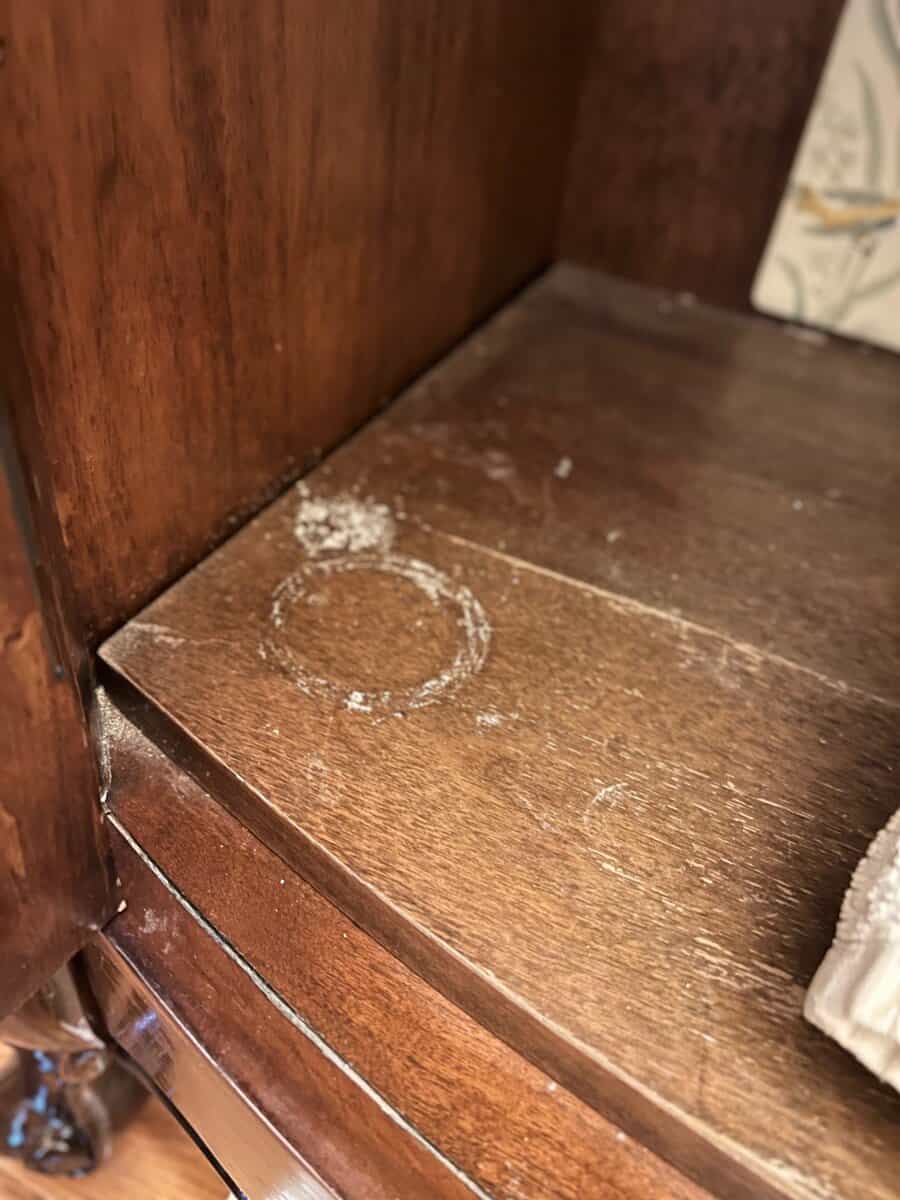
- Restor a Finish works really well on water rings
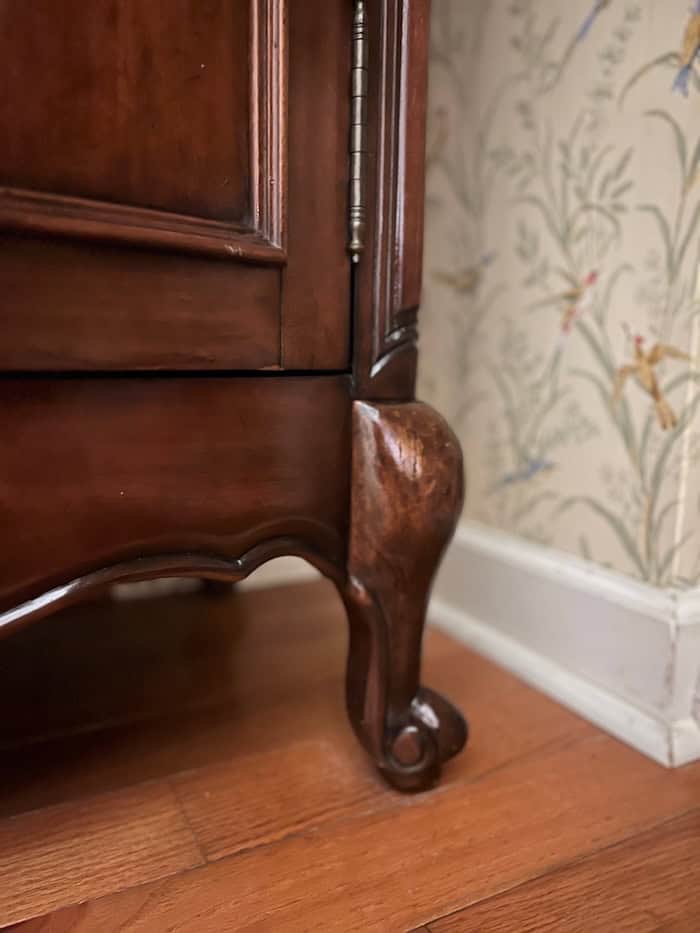
- Dull faded wood on the vanity legs
- The reality before restoring — scuffed, scratched, and showing their age


Short on time?
What Is Howard’s Restor a Finish?
It refreshes wood without removing any of the existing finish. This is what makes it so appealing for antiques and older furniture. There is no need for sanding down to bare wood, avoids stripping. Instead, it helps revive the original color and luster. This brings back the depth of grain that gets lost over time. The result isn’t a brand-new surface, just a newly restored finish that still looks appropriate for the age of the piece.
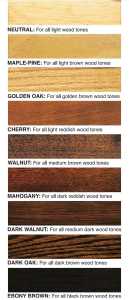

It works by blending color back into the existing finish instead of covering everything with a thick new layer. It’s made to improve the appearance of scratched, faded, or worn wood without sanding or stripping.
I used it on the wood cabinet doors and the feet of this antique sink vanity. The vanity top and sink are stone, so those were left alone (this product is strictly for wood).
What Types of Damage Can it Help With?
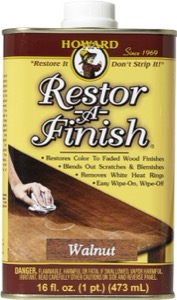
Restor a Finish
Restor a Finish works best on cosmetic wear, not structural damage. It can improve light scratches, faded areas and help with some white heat rings left behind from hot mugs or styling tools. Also, it can help reduce the appearance of light smoke damage. Where wood looks dull or slightly yellowed, but it isn’t permanently stained.
Does it Really Work?
Restor a Finish
As long as you know what it can:
It works best for:
- Light surface scratches
- White heat rings
- Dull or faded areas
- Worn spots that make furniture look tired
And can’t do:
- Fix deep gouges
- Water-damaged wood
- The finish is failing
- You want a color change
- You’re doing a full refinish




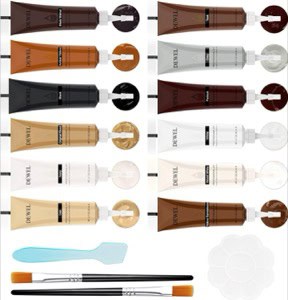
I wouldn’t recommend any stain repair markers, it’s very hard to get the right match and have to be applied precisely on the scratch (or it looks like you used permanent marker)
How to Use Howard’s Restore a Finish:

What you’ll need:
- Howards Restore a Finish (I chose Walnut) & Feed-N-Wax
- A chip brush, Lint-free cloths or #0000 steel wool
- Gloves (optional, because mine got a little stained and I was careful!)
How I Used These Howard Products
(Step by Step)
First, I cleaned the vanity and let it dry completely.
I made sure all dust and residue were removed before applying anything.
Then I applied Restor-a-Finish.
I used a chip brush to apply it, which helped get into all the crevices of the trim. The manufacturer recommends using a cloth or steel wool, but the brush worked well for detailed areas. I let it sit for about 15-30 minutes.
After, I wiped back any overly wet or shiny areas.
Using a clean cloth, I gently wiped off excess product so the finish didn’t look streaky or uneven.
Last I applied Feed-N-Wax once the surface dried.
After everything dried, I used a lint-free cloth to apply Feed and Wax, working it into the wood and trim. I let the Feed and Wax sit for about 20 minutes, then buffed off the excess with a clean, dry cloth. This step helped condition the wood, even out the sheen, and bring back more depth to the grain.

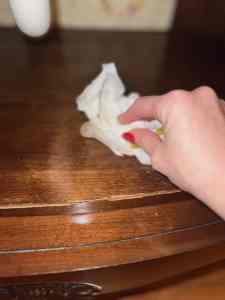
I worked in small sections, especially around the feet where the wear was more noticeable. If you go over the areas a few times the color gets darker with each pass.
When Not to Use Restore a Finish
Don’t use it if:
- The wood is bare or unfinished
- The finish is peeling or flaking
- You plan to paint or fully refinish
- The surface is stone, laminate, or lifting veneer
Do I Need to Sand Before Using Restore a Finish?
No, and sanding actually makes this product ineffective. Cleaning is all the prep you need.
Is Restore a Finish Permanent?
Not completely.
It doesn’t seal or protect it long-term on its own. That’s why I like to follow it with Feed-N-Wax, which helps condition the wood and keep the refreshed look.

Think of Restore a Finish as the color-correcting step, and Feed-N-Wax as the maintenance step. Together, they help preserve the wood finish without locking you into a permanent refinish. Especially helpful on bathroom furniture that sees humidity.
How Many Coats of Restore a Finish?
Usually one coat is enough.
If certain areas still look uneven after drying, you can touch them up with a second light application.

Is It Better to Strip or Sand Furniture?
It depends on your goal. For this antique sink vanity, restoring instead of refinishing made the most sense.
Tools & Supplies I Used (or Recommend)
- Howard Restor a Finish – Used to blend scratches and refresh worn wood.
- A Chip Brush – I used a chip brush to work it into the trim and detailed areas.
- Lint-Free Cotton Cloths – For smooth application and wipe-back.
- #0000 Steel Wool (Optional) – Helpful for heavier wear areas.
- Disposable Gloves – Trust me, you’ll want them.
- Howard Feed-N-Wax (Optional) – Adds light protection and keeps the wood from drying out.
Guest Bath Shopping Sources




Quick DIY
More easy, low-cost home updates you can tackle this weekend














Leave a Reply