
If you want a gift that grandparents will treasure forever (without spending hours crafting) personalized etched glasses made with etching cream and kids’ handwriting are such an easy win. Your child’s real handwriting makes a simple glass feel custom and expensive, but the entire project takes just 10–15 minutes from start to finish.
Once you get the hang of etching, you’ll start spotting new things to personalize everywhere — I’ve used this same method on:
How to Make Personalized Etched Glasses Using Kids’ Handwriting
A Quick, Easy Handmade Gift Grandparents Love
- Monogrammed decanters
- A cookies-for-Santa dish
- A full set of beer glasses
- Glass ornaments
- A glass cutting board
- Pantry storage jars

What You Need
- A smooth glass (stemless wine glass, mug, vase, etc.)
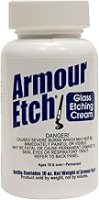
- Etching cream
- Adhesive vinyl
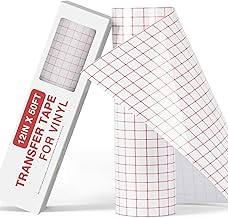
- Transfer tape
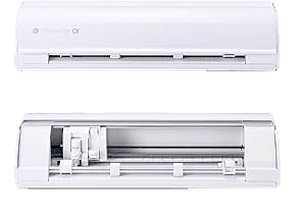
- Craft knife or cutting machine
- Small paintbrush
- Tape
- Your child’s handwritten note or doodle


Disclaimer: This page may contain affiliate links. If you click on one of these links and make a purchase, I may receive a small commission at no extra cost to you. I only recommend products and services that I believe will add value to my readers. See our full Affiliate Disclosure at this link.
Time needed: 10 minutes
How to Make It
1. Capture the Handwriting
Have your child write a short message — “Grandma,” “Love you,” their name, or even a tiny doodle.

2. Turn It Into a Stencil
Upload the photo into your cutting machine software (I used the Silhouette Cameo) or trace it manually.
Cut the stencil so the handwriting becomes the open space where the etching will appear.
Weed out the letters and apply transfer tape.

3. Apply the Stencil to the Glass
Press the stencil firmly onto the glass and tape off the surrounding area to avoid accidental etching.

4. Brush on the Etching Cream
Apply a thick, even layer and let it sit for 3–5 minutes (follow your brand’s instructions). Layer it on thick.

5. Rinse + Reveal
Rinse the cream off under warm water and peel off the vinyl.
You’ll be left with a crisp, permanent matte design that looks professionally engraved.

Why Grandparents LOVE This Gift
- It’s sentimental — their grandchild’s real handwriting.
- It’s practical — not another knick-knack to dust. We use in as a toothbrush holder for when they come stay
- It’s quick — you can make multiple glasses in under an hour.
- It’s inexpensive — the cream lasts forever and vinyl scraps work great.
Pair it with their favorite drink, fill it with candy or mini ornaments for an easy, inexpensive thoughtful gift.
It’s proof that the simplest projects are often the ones that matter most
What starts as a quick DIY ends up feeling surprisingly meaningful. It’s the kind of gift that gets used every day, not hidden in the back of a cabinet. And something that reminds them of how little they once were.
FAQs
Gift Guides
More ideas I’ve pulled together for different people and budgets.


