“Can You Put Peel and Stick Tile Over Grout Lines?”
Short answer: Yes. You can install peel-and-stick tile over existing tile, but only if the tile and grout lines are flat, clean, and prepped. If your tile has deep grout lines, cracks, or texture, keep reading I’ll show you exactly how to fix that before installing.

Peel and Stick Over Tile
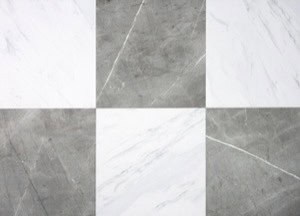
Shop this tile here:

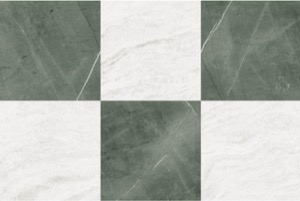
Other Color Options


Why Demo Isn’t Always Worth It
Ripping out tile is loud, messy, and usually snowballs into a bigger project than planned. Peel-and-stick tile is great because it’s quick, budget-friendly, and doesn’t require special tools. But, these tiles are thin. They don’t hide imperfections — they highlight them.
Installing over existing tile can work really well when:
- The peel and stick tile is exactly the same size and layout as your previous tile
- Grout lines are very shallow
- The surface is smooth and clean

If you don’t fill in the grout lines, overtime they will become visible indents in your new tiles.
When Peel-and-Stick Tile Is a Bad Idea
Before you waste time or money; peel-and-stick tile won’t last if it’s installed directly over tile with deep grout lines, cracks, uneven spots, or heavy texture like stone. It can also start to lift if the surface is dusty, greasy, or too glossy for the adhesive to grab onto.
That doesn’t mean you can’t do this — it just means there’s an important prep step you can’t skip.
What You’ll Need
S U P P L I E S :


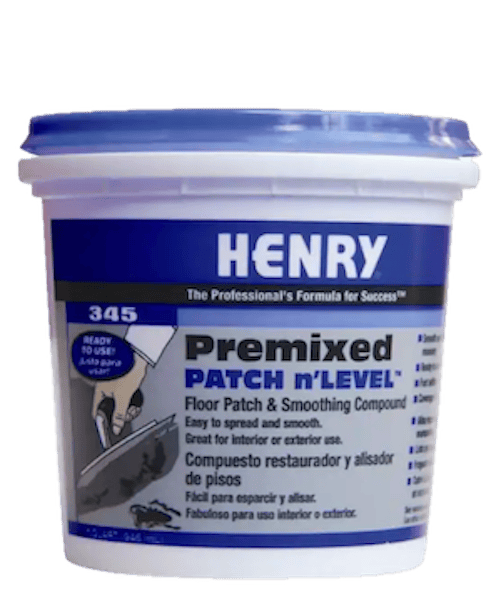
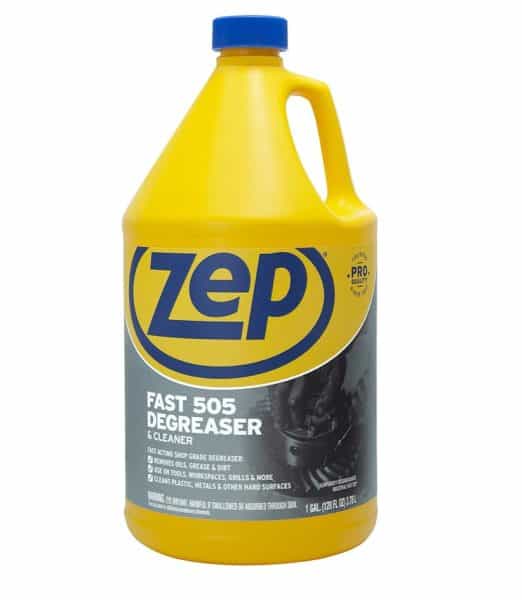
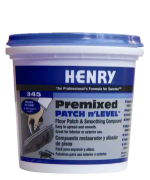
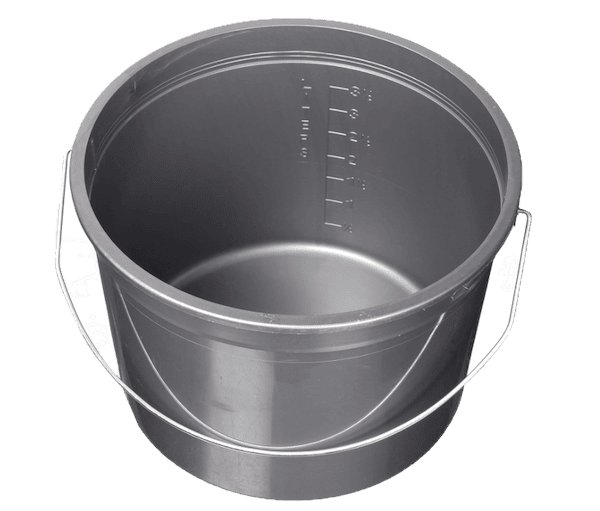
For filling grout lines, grab a grout filler or floor patch — options like Ardex Feather Finish or MAPEI Planipatch work well. A bucket and a drill with a mixer attachment make mixing easier, but you can mix by hand for small areas. Protective gloves and a mask are smart while sanding.


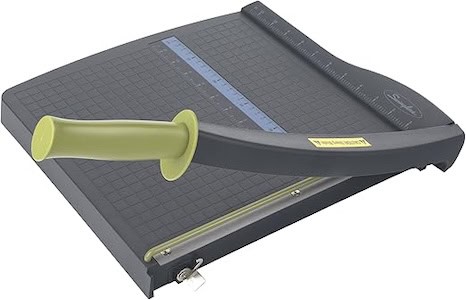
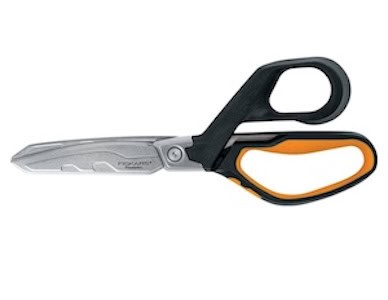
To prep the surface, have sandpaper (around 120 grit for light sanding), a sanding sponge or optional extension pole sander for larger rooms, and a vacuum or damp cloth to clean up dust. You’ll also want a measuring tape, level, utility knife, and a straight edge or carpenter’s square for clean, accurate cuts.
Step 1: Clean the tile

This isn’t a quick sweep-and-mop situation. Clean the floor thoroughly to remove:
- Dust
- Grease
- Soap residue
- Anything that could interfere with adhesion
Why this matters: Peel-and-stick tile sticks only as well as what’s underneath it. Any dust, grease, or residue gets in the way and makes it easier for tiles to lift later.
After cleaning, let the floor dry completely.
Step 2: Fill in the grout lines

The Most Important Step of This DIY Project
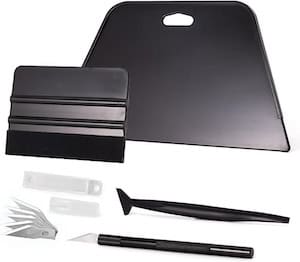
Start by mixing your grout filler or floor patch according to the package directions. You want a smooth, spreadable consistency, not runny. Using a flexible putty knife or taping knife, press the compound firmly into the grout lines, working it back and forth so it fully fills the low spots. Don’t worry about being perfectly neat at this stage; the goal is coverage, not a finished surface.
Once the grout lines are filled, skim a thin layer over the surrounding tile to feather everything together. Let the compound dry fully before moving on, even if it looks dry on the surface.
Why this matters: Peel-and-stick tile is thin, so any low spots or grout lines you leave behind will show through once the tile is installed.
Work in small sections and keep the layer thin — it’s better to build up in multiple passes than try to do it all at once.
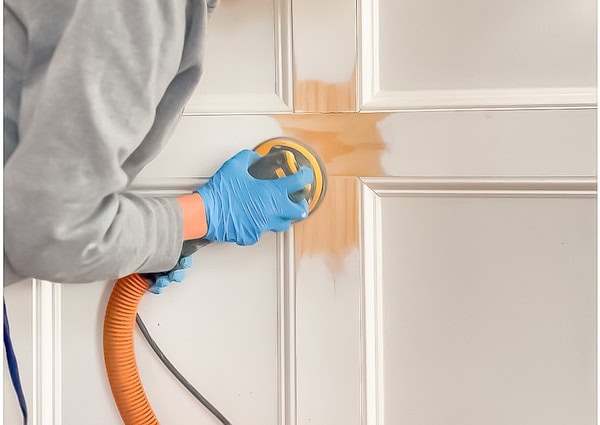
Step 3: Sand everything smooth

After it dries, run your hand across the floor. You shouldn’t be able to feel where the grout lines were. If you still feel dips or ridges, apply a second thin coat and let it dry again.
Why this matters: If you can feel grout lines now, you’ll see them later.
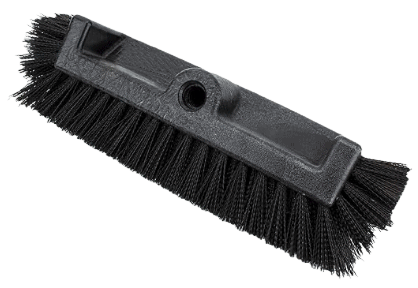
Once the filler is dry, lightly sand the entire floor. You’re not trying to remove material — just smoothing high spots and evening things out.
An extension pole and sanding attachment are great for large areas. Vacuum really good when you’re done.
Step 4: Dry-fit your layout

Before peeling anything:
- Lay out tiles without removing the backing
- Check cuts along walls and doorways
- Adjust so you don’t end up with tiny slivers at the edges
Checkerboard floors look best when both tile colors feel equally represented. Dry-fit the pattern first and adjust where you start so one color doesn’t end up taking over.
Step 5: Install the peel-and-stick tile

If you’re still deciding on tile, I shared a few ☞ peel-and-stick options that work well for installs like this
Start from a straight reference point, I started at the center of the back door. Since it’s a checkerboard layout, I wanted it to look the best (and even) when entering the room.
- Start from a straight reference line, not a wall: Keeps the pattern aligned.
- Dry-fit the first few tiles before peeling anything: Check spacing and alignment first.
- Peel the backing as you go: So you can adjust the tile as needed.
- Press firmly from the center outward: Working outward helps push out air
- Check alignment after every few tiles: Prevents crooked lines.
- Use a straight edge for clean cuts: Multiple light passes for the best edge.
- Dry-fit edge and corner pieces before sticking them down: Test the fit first.
- Roll the tiles once a section is finished: Secures seams and edges.
Try to avoid heavy foot traffic for at least 24 hours.
Some Helpful Tools For Installation


The before images of this laundry room


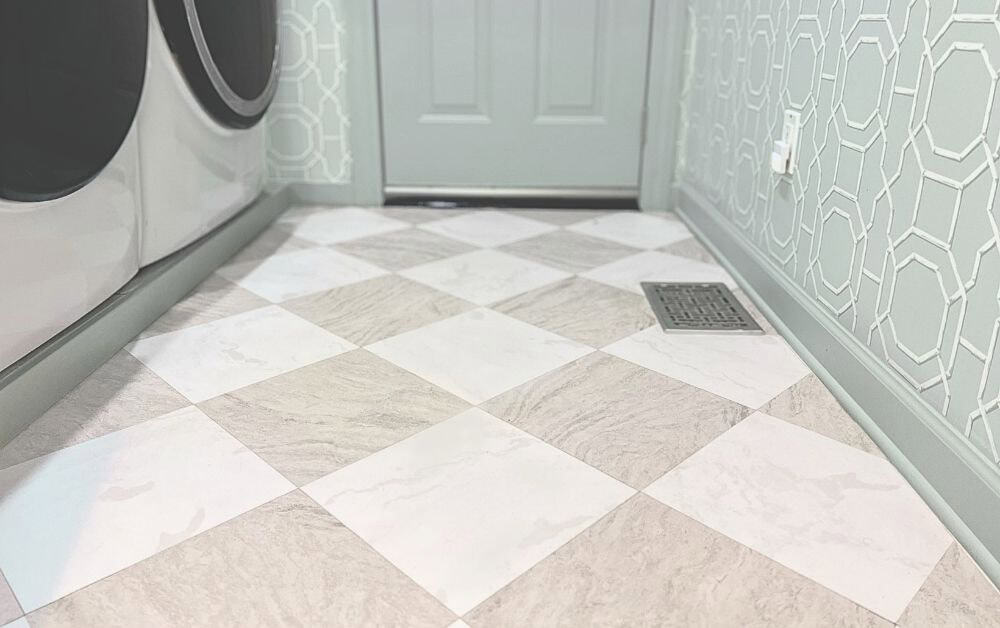
And After…


FAQ: Can You Install Peel and Stick Tile Over Existing Tile?
For the best bond, clean the area really well so it’s free of dirt or grease. If you need extra grip, use a primer on the grout lines. An adhesive promoter can help the tiles stick even better.
Peel-and-stick tiles typically aren’t designed to be grouted. Since the tiles flex a bit, grout can crack over time, so caulk is a better choice if you want to seal the seams.
It depends.u003cbr/u003eIn low-traffic spaces like laundry rooms, powder rooms, or closets, peel-and-stick tile can hold up surprisingly well when installed correctly. In high-traffic areas, expect wear sooner.u003cbr/u003eu003cbr/u003eThe key isn’t the tile — it’s the prep.
A Few Final Notes Before You Start
Installing peel-and-stick tile over existing tile can be a great solution when demo isn’t realistic — but only if you take the time to prep properly. Flat, clean, and smooth surfaces make all the difference.
If you’re on the fence, prep a small test area first. It’s much easier to fix mistakes before the whole floor is installed.
Happy tiling—you’re almost there!
Everything I Used


Disclaimer: This page may contain affiliate links. If you click on one of these links and make a purchase, I may receive a small commission at no extra cost to you. I only recommend products and services that I believe will add value to my readers. See our full Affiliate Disclosure at this link.
My Top Picks for Peel and Stick Tile Options
For Floors


For Walls


More Ideas
If you’ve got more time for home improvement ideas check out these projects.