

Swapping cabinet hardware is one of the easiest (and cheapest) ways an easy way to give your kitchen or bathroom a quick upgrade. Although, I have accidentally turned this small project into a much larger project. Eyeballing it or just using a tape measure leaves you with crooked holes, inconsistent spacing, holes that were too big, and lots of repairs to fix your mistakes. Below are the tools that help avoid those problems.
Disclaimer: This page may contain affiliate links. If you click on one of these links and make a purchase, I may receive a small commission at no extra cost to you. I only recommend products and services that I believe will add value to my readers. See our full Affiliate Disclosure at this link.
Installation: Tools & Jigs
 This jig works with knobs and pulls with spacing from 1-3/4” up to 12”
 Kreg Cabinet Jig
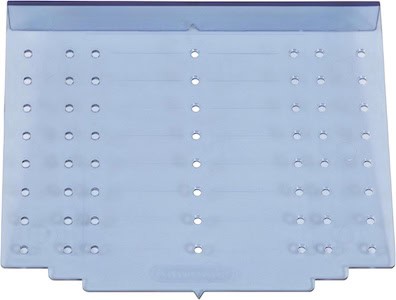 Amerock Cabinet Jig
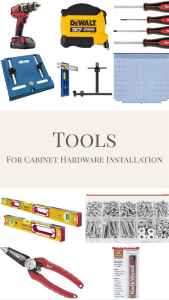
 Cordless drill with red and black design, ideal for cabinet hardware installation and woodworking projects.
 Level
Level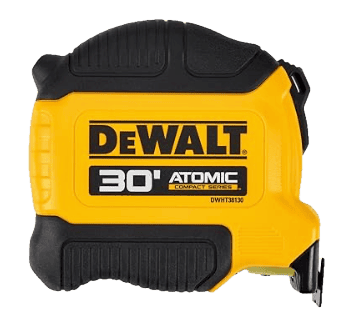 Measuring Tape
 A comprehensive set of screwdrivers designed for installing and adjusting cabinet hardware.
- Measuring Tape – the most important tool
- Level – to make sure your pull is straight (don’t forget to make sure you cabinet door is first)
- Cordless Drill & Driver Set – I’ve owned a lot of drills, this one checks every box
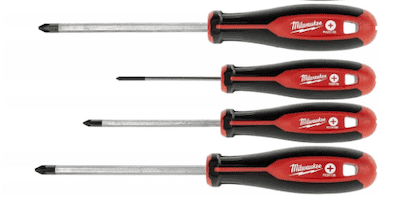
- Screwdriver Set – For tightening and adjusting screws without stripping them (*guilty but you really shouldn’t use a power drill for this step)
- Cabinet Jig – Ensures consistent hole placement for knobs and pulls. In order of cost:
- Amerock Cabinet Drawer Hardware Installation Template 3″ to 5⅛” between hole centers
- Kreg Cabinet Hardware Jig up to 10″ spacing
- Kreg Cabinet Hardware Jig Pro 1-3/4″ to 12″ center-to-center
Hardware: Screws, Hinges & Slides
- Machine Screws
- Pulls & knobs use #8-32 machine screws. 1-inch is common for doors, while 1-3/4 inch break-away screws are used for drawers. Here’s a set with multiple sizes.
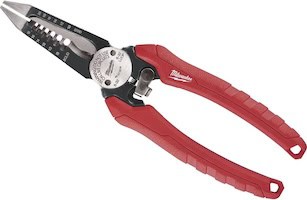
You can cut screws that are too long with wire strippers. They have holes for a #6 and #8 size machine screws to cut them to the right length for your drawer or door thickness.

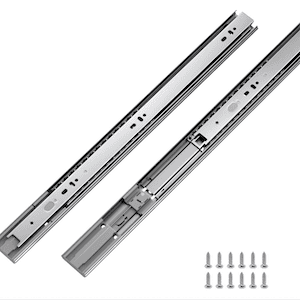
Drawer Slides (if you want to upgrade; this affordable set comes with 10 pairs of full-extension soft-close slides)
Hinges
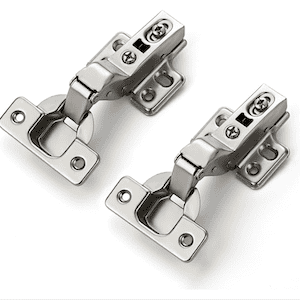

- Partial overlay- you can see part of the face frame
- Full overlay- cabinet door covers face frame completely
- Inset- door sits inside face frame
- Concealed (European)- you can’t see the hinge when the door is closed
- Butt hinge- recessed into the cabinet door and the hinge pins are visible from the side
- Face-mount (surface-mount) the hinge is attached to the outside of the cabinet door, the whole hinge is visible
Tools to Fix Mistakes
 Woodfiller
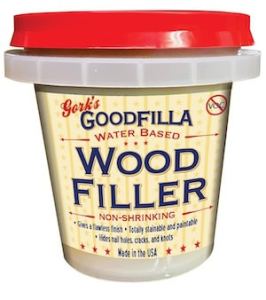

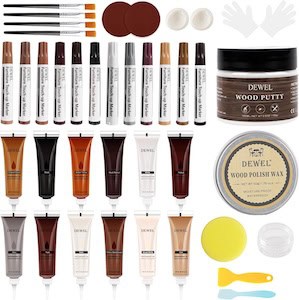
- Wood filler: works well for filling old screw holes from smaller hardware before staining or painting
- Wood Repair kit: this furniture/cabinet repair kit has 12 colors and includes a paste, touch-up markers, wax sticks and more
- Epoxy putty stick: this one dries light beige, so you a primer before touching up with your cabinet paint color.
I’m excited to test out these Preval mini aerosol paint sprayers. It converts any paint and is great for small projects where you need precision (like not removing the cabinet doors to re-paint.



Ready to Build?
See my other recommended tools for DIY projects to make every project easier!